What makes a classic dessert even better when its made with Oreos and requires minimal baking. This easy homemade Oreo icebox cake is a quick family favorite that relies on simple layering and chilling to set, using cream and cookies as main ingredients. Save this idea for your next weeknight dinner treat.
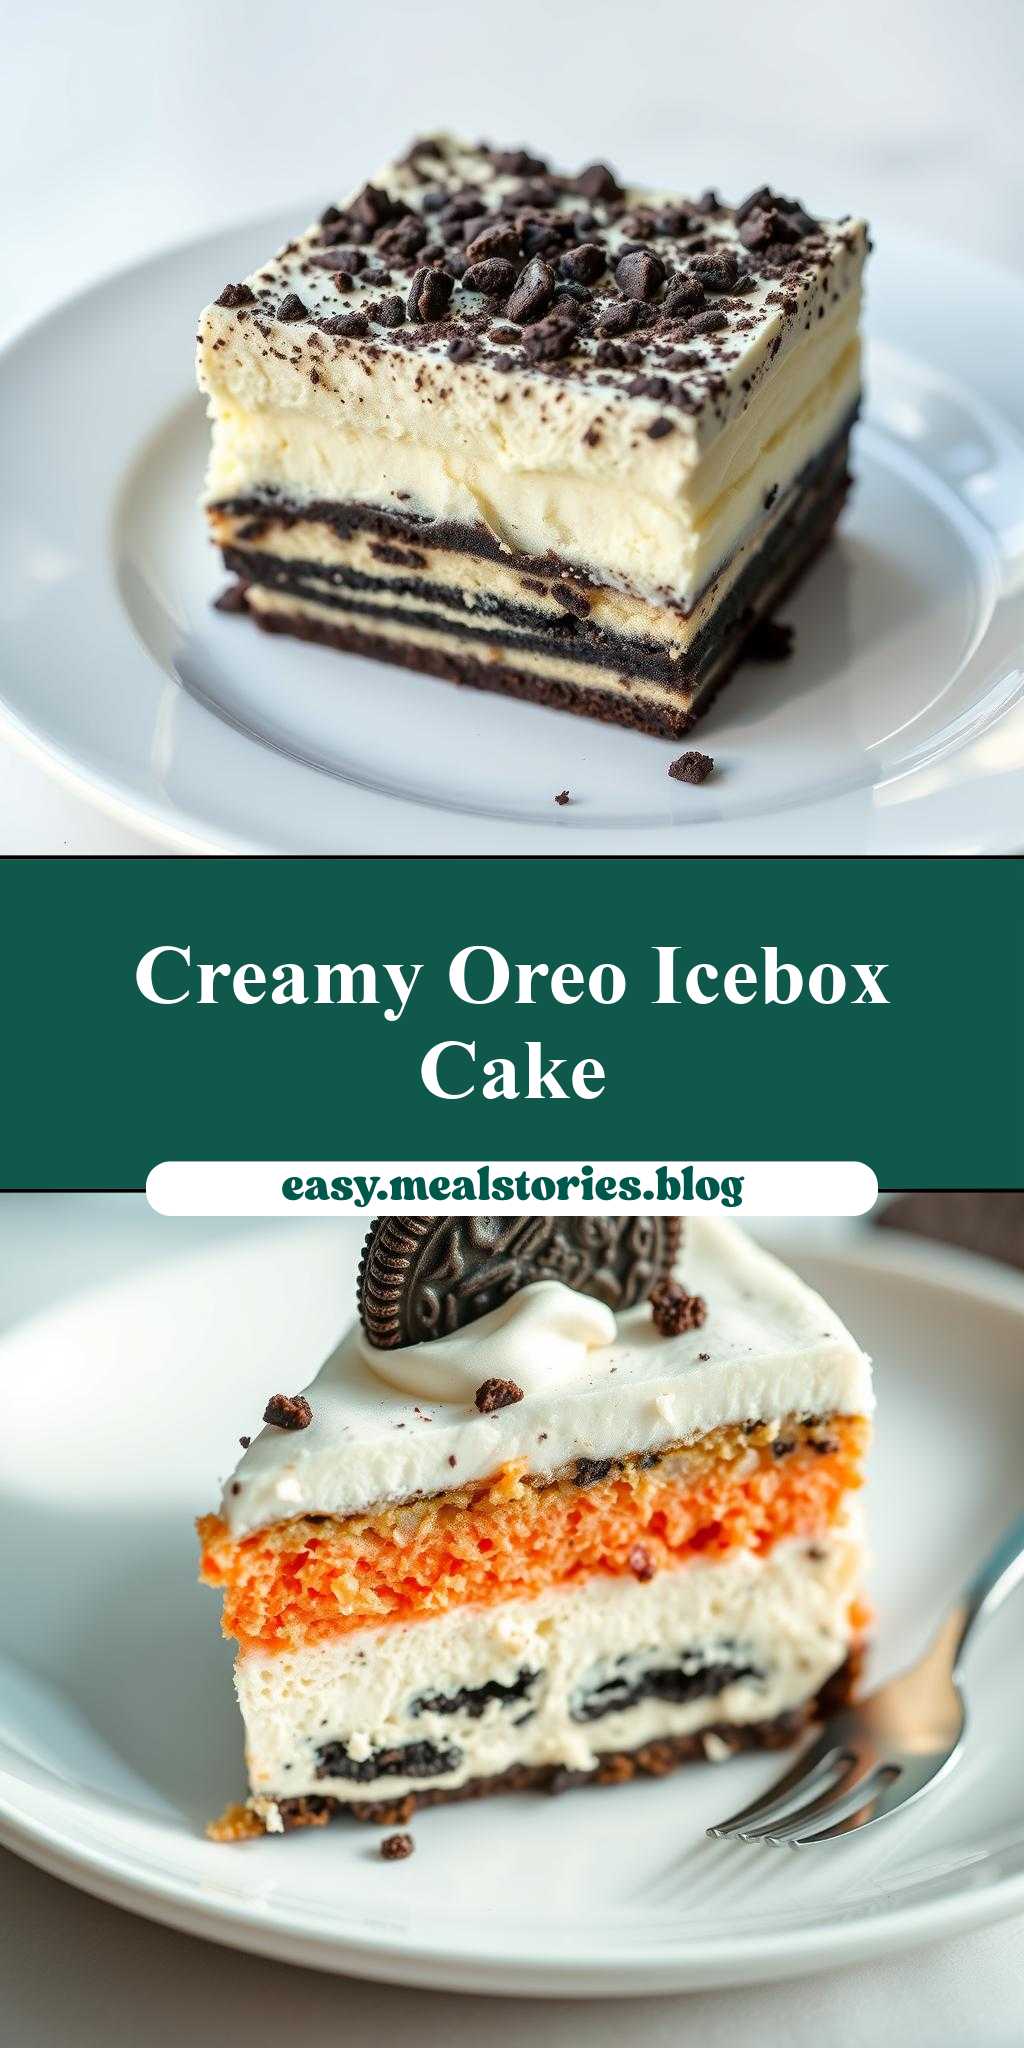
oreo icebox cake on a white plate
Introduction
Imagine a dessert that’s as easy to make as it is impressive to serve: the Oreo icebox cake. This no-bake wonder is a masterclass in simplicity, requiring just a few everyday ingredients to create a show-stopping treat that’s sure to delight both kids and adults alike. With its perfect balance of creamy texture and crunchy cookie flavor, this cake is a testament to the magic that happens when you combine the right ingredients with a dash of creativity. Whether you’re a seasoned baker or a beginner in the kitchen, this recipe is a must-try for anyone looking to whip up a delicious dessert with minimal fuss and effort.
Why This Works
- Flavor balance and ingredient accessibility: The combination of Oreos, cream cheese, and whipped cream creates a delightful harmony of flavors that’s both familiar and exciting. Plus, the use of store-bought cookies and cream cheese makes this recipe a breeze to shop for.
- Ease of preparation: With no baking required, this cake is a cinch to prepare, even for those with limited kitchen experience. Simply layer the ingredients, refrigerate, and serve – it’s that easy!
- Impressive results with minimal effort: Despite its simplicity, this cake is sure to impress your friends and family with its elegant presentation and decadent flavor. It’s the perfect dessert to serve at parties, potlucks, or special occasions.
Key Ingredients
The star of the show is, of course, the Oreo cookie. You’ll need a package of regular Oreos, as well as some cream cheese, powdered sugar, and heavy whipping cream. For the cream cheese mixture, you’ll also need some vanilla extract and a pinch of salt. If you want to get fancy, you can add some chopped nuts or chocolate shavings on top for extra texture and flavor. As for substitutions, you can use different types of cookies or even graham crackers if you prefer. Just be sure to adjust the amount of sugar and cream cheese accordingly to achieve the right balance of flavors.
Instructions
- Step 1: Begin by preparing your ingredients. Crush about 20-25 Oreos in a food processor or place them in a plastic bag and crush them with a rolling pin. Set aside. In a large mixing bowl, beat the cream cheese until it’s smooth and creamy. Add the powdered sugar, vanilla extract, and salt, and mix until well combined.
- Step 2: In a separate bowl, whip the heavy whipping cream until it forms stiff peaks. Fold the whipped cream into the cream cheese mixture until no white streaks remain. Be careful not to overmix, as this can result in a dense and soggy cake.
- Step 3: Now it’s time to assemble the cake. In a large serving dish or individual glasses, create a layer of crushed Oreos. You can use a single layer or get creative with a pattern – the choice is yours! Next, spread half of the cream cheese mixture over the Oreos. Repeat the layers, starting with the Oreos, then the remaining cream cheese mixture, and finally another layer of Oreos on top.
- Step 4: Refrigerate the cake for at least 4 hours or overnight to allow the flavors to meld together. Just before serving, top with additional whipped cream and chopped nuts or chocolate shavings, if desired. Slice and serve – and enjoy the oohs and aahs from your guests!
Handy Tips
- Make sure to use room temperature cream cheese for the best results. This will ensure that it mixes smoothly and evenly with the other ingredients.
- If you’re using a different type of cookie, be sure to adjust the amount of sugar and cream cheese accordingly. Some cookies, like chocolate sandwich cookies, may be more bitter or sweet than Oreos, so you’ll want to balance the flavor accordingly.
- Don’t overmix the cream cheese mixture, as this can result in a dense and soggy cake. Stop mixing as soon as the ingredients are combined, and then fold in the whipped cream gently.
Heat Control
Since this is a no-bake recipe, you won’t need to worry about heat control. However, it’s worth noting that you should refrigerate the cake for at least 4 hours or overnight to allow the flavors to meld together. This will also help the cake to set and become more firm, making it easier to slice and serve.
Crunch Factor
The crunch factor in this cake comes from the crushed Oreos, which provide a delightful textural contrast to the creamy cream cheese mixture. To achieve the perfect crunch, be sure to crush the Oreos finely, but not too finely – you want to retain some of the cookie’s texture and crunch. You can also add some chopped nuts or chocolate shavings on top for extra crunch and flavor.
Pro Kitchen Tricks
- Use a food processor to crush the Oreos quickly and evenly. This will save you time and effort, and ensure that the cookies are crushed finely and consistently.
- Don’t overmix the cream cheese mixture, as this can result in a dense and soggy cake. Stop mixing as soon as the ingredients are combined, and then fold in the whipped cream gently.
- Experiment with different types of cookies or mix-ins to create unique flavor combinations. Some ideas might include using chocolate sandwich cookies, peanut butter cookies, or even candy pieces like M&M’s or chocolate chips.
Storage Tips
- Refrigerate the cake for at least 4 hours or overnight to allow the flavors to meld together. This will also help the cake to set and become more firm, making it easier to slice and serve.
- Store any leftovers in an airtight container in the refrigerator for up to 3 days. You can also freeze the cake for up to 2 months, but be sure to thaw it overnight in the refrigerator before serving.
- When serving, be sure to slice the cake cleanly and evenly, using a sharp knife to prevent the cake from tearing or falling apart.
Gift Packaging Ideas
If you want to give this cake as a gift, you can package it in a variety of creative ways. One idea might be to use a large glass or plastic container, such as a Mason jar or a Tupperware container, and fill it with individual servings of the cake. You could also use a decorative cake stand or pedestal to showcase the cake, and add some fresh flowers or greenery for a pop of color and fragrance. Whatever you choose, be sure to include a personalized note or card to make the gift even more special and meaningful.
Flavor Variations
- Different spices: Try adding a pinch of cinnamon, nutmeg, or cardamom to the cream cheese mixture for a unique and intriguing flavor combination.
- Creative toppings: Experiment with different toppings, such as chopped nuts, chocolate shavings, or candy pieces, to add texture and flavor to the cake.
- Ingredient swaps: Substitute different types of cookies or mix-ins to create unique flavor combinations. Some ideas might include using chocolate sandwich cookies, peanut butter cookies, or even candy pieces like M&M’s or chocolate chips.
Troubleshooting
- Texture problems: If the cake is too dense or soggy, it may be due to overmixing the cream cheese mixture. Try folding in the whipped cream more gently, or using a higher ratio of whipped cream to cream cheese.
- Ingredient replacements: If you’re missing an ingredient or want to substitute something else, be sure to adjust the recipe accordingly. For example, if you’re using a different type of cookie, you may need to adjust the amount of sugar or cream cheese.
- Over/undercooking signs: Since this is a no-bake recipe, you won’t need to worry about overcooking. However, be sure to refrigerate the cake for at least 4 hours or overnight to allow the flavors to meld together and the cake to set.
FAQs
- Can I freeze it? Yes, you can freeze the cake for up to 2 months. Simply thaw it overnight in the refrigerator before serving.
- Is it gluten-free? Depending on the type of cookies you use, this cake may or may not be gluten-free. Be sure to check the ingredient label to ensure that the cookies are gluten-free, and adjust the recipe accordingly.
- Can I double the recipe? Yes, you can double the recipe to make a larger cake. Simply multiply all the ingredients by two, and adjust the baking time accordingly (if you’re using a different type of pan or container).
Conclusion
In conclusion, the Oreo icebox cake is a delicious and easy-to-make dessert that’s perfect for any occasion. With its perfect balance of creamy texture and crunchy cookie flavor, this cake is sure to delight both kids and adults alike. Whether you’re a seasoned baker or a beginner in the kitchen, this recipe is a must-try for anyone looking to whip up a delicious dessert with minimal fuss and effort. So go ahead, get creative, and enjoy the oohs and aahs from your guests!
Oreo Icebox Cake
A no-bake dessert made with Oreos, cream cheese, and whipped cream, perfect for any occasion.
🥘 Ingredients
👩🍳 Instructions
-
1Crush the Oreos in a food processor or place them in a plastic bag and crush them with a rolling pin.
-
2Beat the cream cheese until smooth, then add the powdered sugar, vanilla extract, and salt, and mix until well combined.
-
3Whip the heavy whipping cream until stiff peaks form, then fold it into the cream cheese mixture.
-
4Assemble the cake by creating a layer of crushed Oreos, followed by a layer of the cream cheese mixture, and repeating until all ingredients are used up.
-
5Refrigerate the cake for at least 4 hours or overnight to allow the flavors to meld together and the cake to set.