What makes the perfect chocolate cake truly unforgettable? Rich, velvety chocolate and a moist homemade texture, of course. This easy dessert recipe is a family favorite, featuring decadent dark chocolate and a simple yet impressive presentation. Save this idea for your next special occasion or weeknight dinner treat.
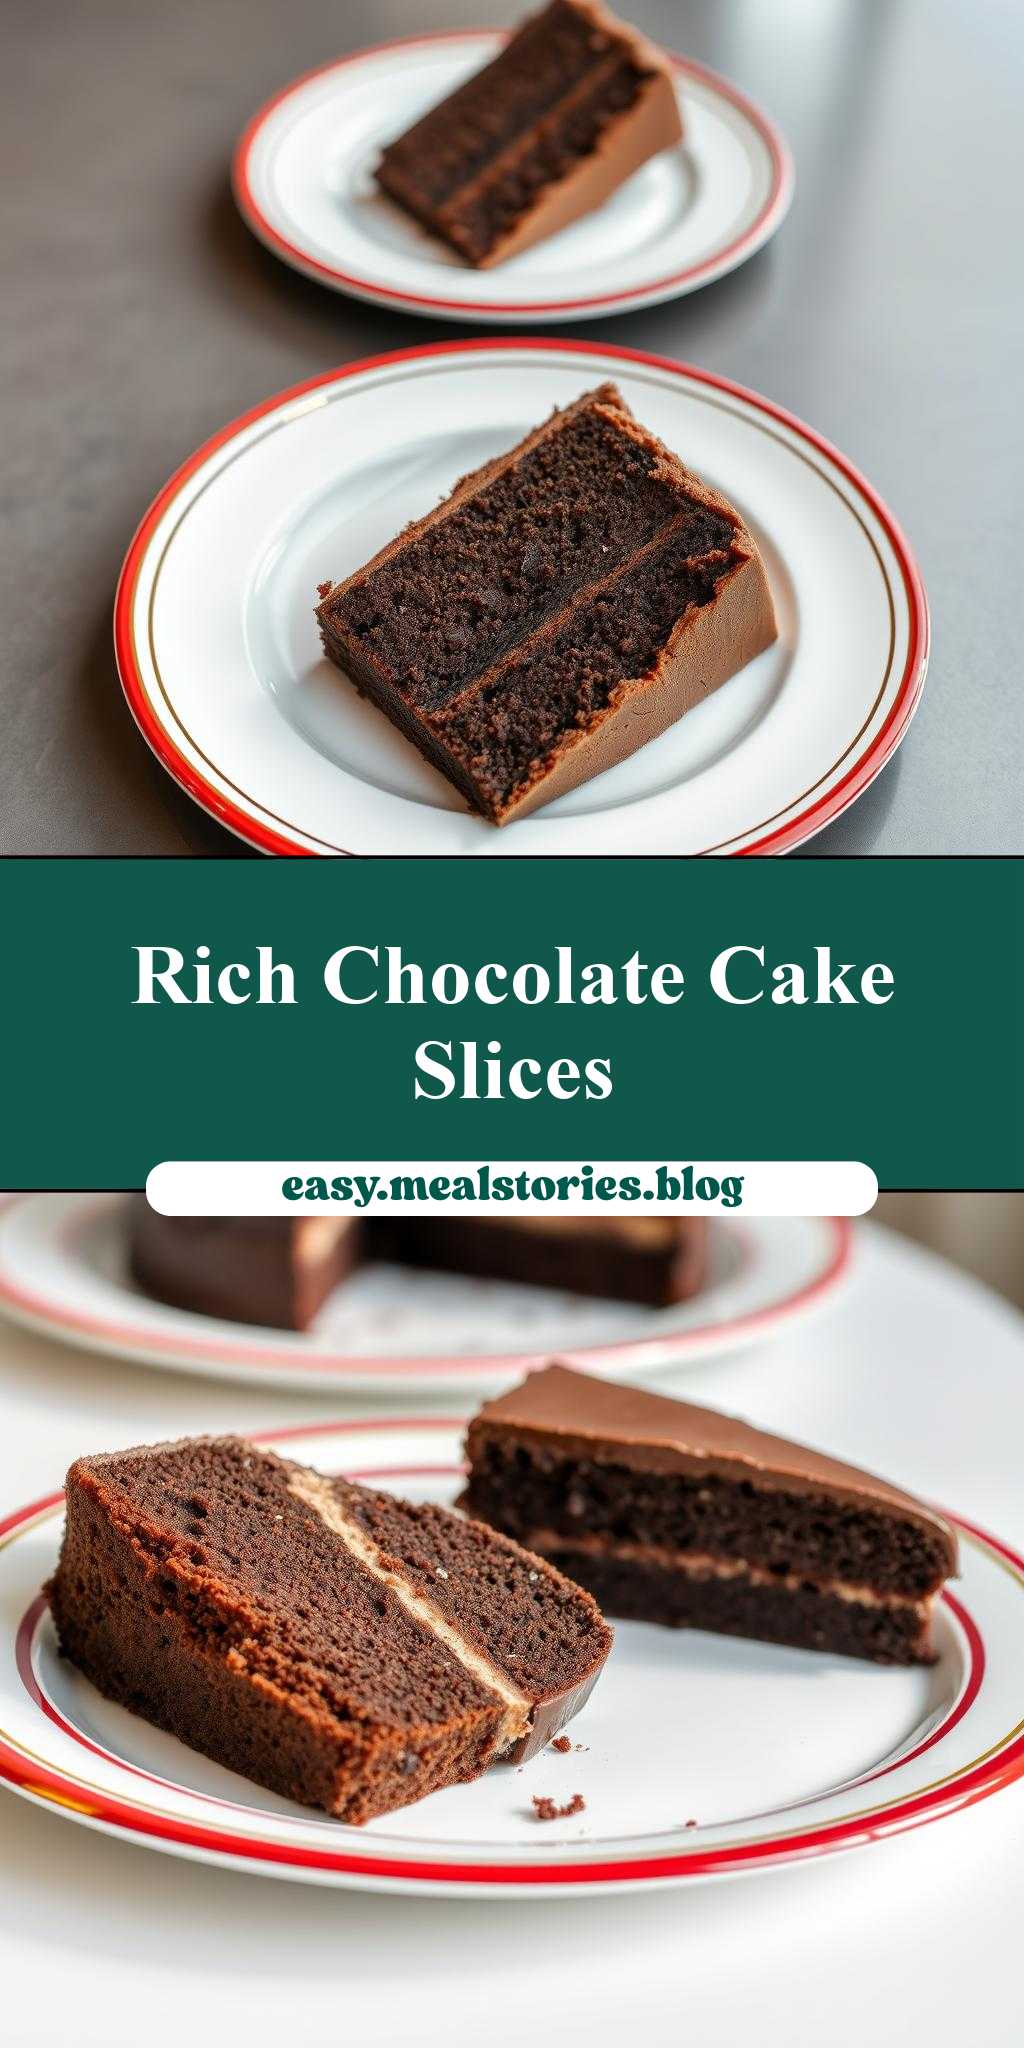
two slices of chocolate cake on white plates with red and gold border around the edges
Introduction
Imagine the delight of presenting two slices of moist, decadent chocolate cake on elegant white plates, beautifully adorned with a red and gold border around the edges. This stunning dessert is not only a treat for the taste buds but also a masterpiece for the eyes. The best part? It’s remarkably easy to make, using everyday ingredients that are readily available in most kitchens. With a perfect balance of flavors and textures, this chocolate cake is sure to impress your family and friends, making it an ideal choice for special occasions or casual gatherings. In this article, we’ll guide you through the simple yet creative process of making this breathtaking dessert, from preparation to presentation.
Why This Works
- Flavor balance and ingredient accessibility: The recipe strikes a perfect balance between the richness of chocolate and the subtlety of other ingredients, all of which are easily found in local grocery stores.
- Ease of preparation: Despite its impressive appearance, the cake is relatively simple to prepare, requiring basic baking skills and minimal effort.
- Impressive results with minimal effort: The combination of the moist chocolate cake, the elegant plates, and the decorative border creates a sophisticated dessert that looks like it was prepared by a professional pastry chef, all with surprisingly little effort.
Key Ingredients
The main ingredients for this recipe include high-quality dark chocolate for the cake, all-purpose flour, granulated sugar, large eggs, and unsalted butter. For the decorative border, you’ll need red and gold edible decorations or borders, which can be found in most baking supply stores or substituted with creative alternatives like red and gold icing or chocolate shavings. Practical substitutions can be made for ingredients like butter (using margarine) or sugar (using honey or maple syrup), though these may slightly alter the flavor and texture of the cake.
Instructions
- Step 1: Begin by preheating your oven to 350°F (180°C). Prepare two 9-inch round cake pans by greasing them and lining the bottoms with parchment paper. In a large mixing bowl, whisk together flour, sugar, and a pinch of salt. In another bowl, whisk together eggs, melted butter, and vanilla extract. Combine the wet and dry ingredients, then melt in the dark chocolate until the batter is smooth.
- Step 2: Divide the cake batter evenly between the prepared pans and smooth the tops. Bake for about 30-35 minutes or until a toothpick inserted into the center of each cake comes out clean. Let the cakes cool in the pans for 10 minutes before transferring them to a wire rack to cool completely.
- Step 3: Once the cakes are cool, you can frost them with your favorite chocolate frosting. Place one cake layer on a serving plate or cake stand and spread a layer of frosting on top. Place the second cake layer on top and frost the entire cake with the remaining frosting.
- Step 4: For the final touches, place each slice of cake on a white plate with a red and gold border around the edges. You can use edible images, borders, or create your own design using icing or chocolate. Serve immediately and enjoy the admiration of your guests.
Handy Tips
- Avoid overmixing the batter to ensure the cake remains moist and fluffy. Also, make sure to not overbake, as this can dry out the cake. For an extra moist cake, try adding a cup of coffee or a teaspoon of instant coffee powder to the batter.
Heat Control
Heat control is crucial when baking the cake. The ideal temperature is 350°F (180°C), and the cakes should be baked for about 30-35 minutes. Check for doneness by inserting a toothpick into the center of each cake; if it comes out clean, the cakes are ready. Also, keep an eye on the cakes during the last 10 minutes of baking, as oven temperatures can vary.
Crunch Factor
The cake itself should be moist and tender, not crunchy. However, if you choose to add toppings like nuts or chocolate shavings, these can provide a pleasant crunch. To achieve the perfect texture, ensure you don’t overbake the cake, and consider adding ingredients like sour cream or buttermilk to enhance moisture.
Pro Kitchen Tricks
- For a more intense chocolate flavor, use high-quality dark chocolate with a high cocoa content. Also, consider adding a teaspoon of espresso powder to the batter to deepen the chocolate flavor.
- To make the cake more visually appealing, drizzle melted chocolate over the top or sprinkle with edible gold dust for a luxurious look.
Storage Tips
- The cake can be stored at room temperature for up to 3 days when properly covered. For longer storage, consider refrigerating the cake for up to 5 days or freezing it for up to 2 months. When freezing, it’s best to freeze the cakes unfrosted and then frost them after thawing.
Gift Packaging Ideas
This elegantly presented chocolate cake makes a wonderful gift for friends, family, or coworkers. Consider packaging individual slices in decorative boxes or bags, tied with a ribbon and accompanied by a personalized note. For a more elaborate gift, package the entire cake in a beautifully designed cake box and decorate the outside with a matching red and gold theme.
Flavor Variations
- Different spices: Try adding a pinch of cinnamon, nutmeg, or cayenne pepper to the batter for a unique twist on the traditional chocolate cake.
- Creative toppings: Instead of the traditional frosting, top your cake with whipped cream, fresh fruits, or a sprinkle of powdered sugar for a lighter finish.
- Ingredient swaps: Substitute some of the flour with almond flour for a gluten-free option, or use different types of chocolate for varying flavor profiles.
Troubleshooting
- Texture problems: If your cake turns out too dense, it might be due to overmixing the batter. Try mixing the ingredients just until they come together for a lighter texture.
- Ingredient replacements: If you’re missing an ingredient, look for substitutions that won’t alter the flavor or texture too much. For example, you can replace buttermilk with a mixture of milk and vinegar or lemon juice.
- Over/undercooking signs: Keep an eye on your cake while it’s baking. If it’s undercooked, it will be wet and soggy in the center. If it’s overcooked, it will be dry and possibly cracked on top.
FAQs
- Can I freeze it? Yes, you can freeze the cake for up to 2 months. It’s best to freeze it unfrosted and then frost it after thawing.
- Is it gluten-free? The traditional recipe includes gluten, but you can make a gluten-free version by substituting the flour with gluten-free flours like almond flour or coconut flour.
- Can I double the recipe? Yes, you can easily double or triple the recipe if you’re serving a larger crowd. Just ensure you have enough pans and adjust the baking time as needed.
Conclusion
Creating two slices of chocolate cake on white plates with a red and gold border around the edges is a fun and rewarding baking project that combines flavor, creativity, and presentation. With these simple steps and helpful tips, you’re well on your way to impressing your loved ones with a dessert that looks and tastes like it was made by a professional. Don’t be afraid to experiment with different flavors and decorations to make the recipe your own, and enjoy the process of sharing your creations with others.
two slices of chocolate cake on white plates with red and gold border around the edges
A moist and decadent chocolate cake presented on elegant white plates with a red and gold border, perfect for special occasions or casual gatherings.
🥘 Ingredients
👩🍳 Instructions
-
1Preheat the oven to 350°F (180°C). Prepare two 9-inch round cake pans.
-
2Mix the dry ingredients in one bowl and the wet ingredients in another, then combine them.
-
3Melt in the dark chocolate and divide the batter between the prepared pans.
-
4Bake for 30-35 minutes, let cool, then frost and decorate as desired.