What’s the secret to an irresistible appetizer? It starts with roasted mini peppers overflowing with a blend of creamy cheese and savory spices, perfect for a quick and easy weeknight dinner. With just a few key ingredients, including tender bell peppers and melted mozzarella, you can create a homemade favorite that’s sure to please. Save this idea for your next family gathering.
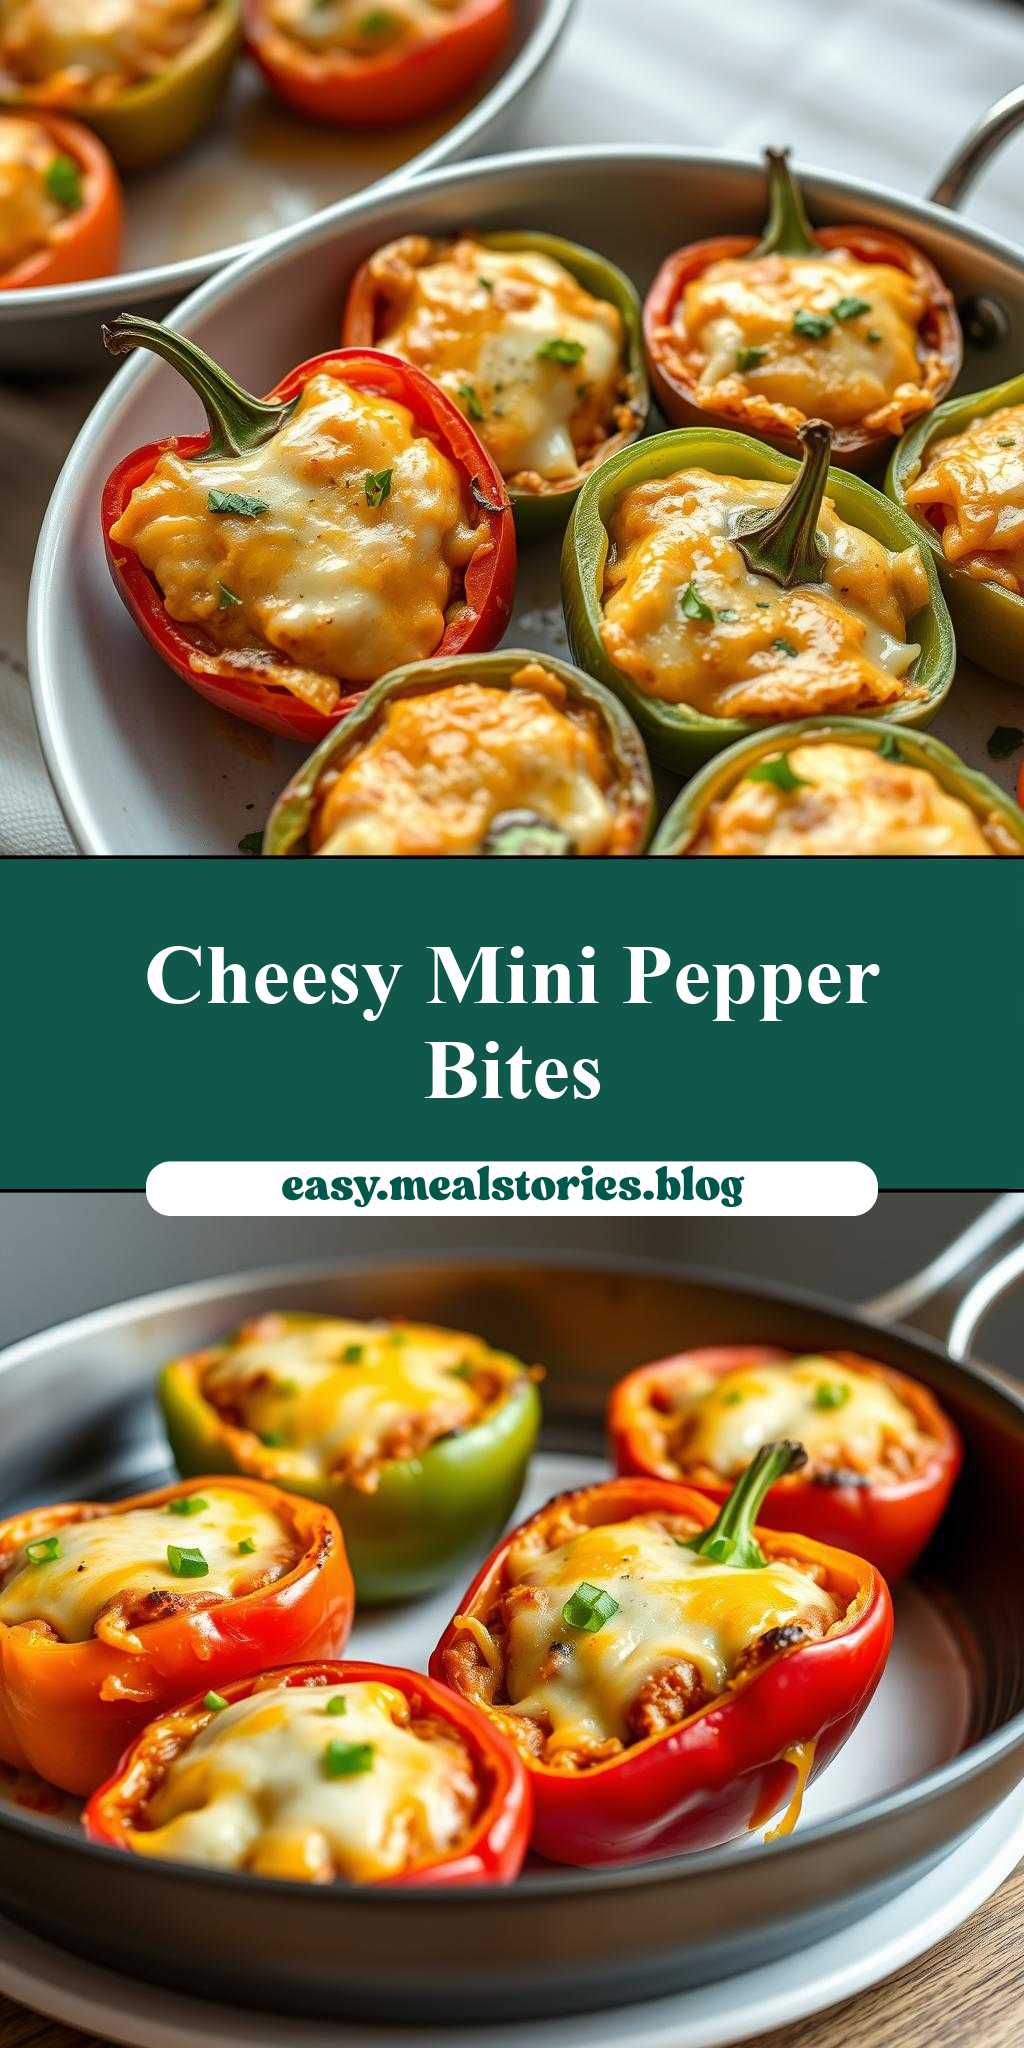
two pans filled with cheese stuffed mini peppers
Introduction
Cooking with love and creativity doesn’t have to be complicated. Sometimes, the simplest dishes can bring the most joy, and that’s exactly what you get with two pans filled with cheese stuffed mini peppers. This recipe is a masterclass in ease, flavor, and creativity, using everyday ingredients to create a dish that’s both impressive and delicious. Whether you’re a seasoned chef or a beginner in the kitchen, this recipe is perfect for anyone looking to add a little excitement to their mealtime routine. The combination of crunchy mini peppers, gooey cheese, and savory spices is a match made in heaven, and the best part is that it’s incredibly easy to make.
Why This Works
- Flavor balance and ingredient accessibility: This recipe strikes the perfect balance between flavors, with the sweetness of the peppers, the tanginess of the cheese, and the savory flavor of the spices. Plus, all the ingredients are easily accessible at your local grocery store.
- Ease of preparation: One of the best things about this recipe is how easy it is to prepare. Simply fill the mini peppers with a mixture of cheese and spices, and bake until tender. It’s a great option for busy weeknights or special occasions.
- Impressive results with minimal effort: Despite its simplicity, this recipe yields impressive results. The presentation is beautiful, with the vibrant colors of the peppers and the golden-brown cheese. It’s sure to impress your family and friends, and it’s perfect for potlucks or dinner parties.
Key Ingredients
The key ingredients in this recipe are mini peppers, cheese, and spices. You can use any color of mini pepper you like, but the smaller ones work best. For the cheese, you can use a combination of cheddar, mozzarella, and parmesan for a rich and creamy flavor. The spices add a savory flavor and can include things like garlic powder, onion powder, and paprika. You can also customize the recipe to your taste by adding other ingredients, such as diced ham or chopped fresh herbs.
Instructions
- Step 1: Preheat your oven to 375°F (190°C). While the oven is heating up, prepare the mini peppers by cutting off the tops and removing the seeds and membranes. Rinse the peppers under cold water and pat them dry with a paper towel.
- Step 2: In a bowl, mix together the cheese, spices, and any other desired ingredients. You can use a spoon or your hands to mix everything together until it’s well combined.
- Step 3: Stuff each mini pepper with the cheese mixture, filling them as full as possible. Place the stuffed peppers in two pans, leaving a little space between each pepper to allow for even cooking.
- Step 4: Bake the peppers in the preheated oven for 20-25 minutes, or until they’re tender and the cheese is melted and golden brown. Remove the pans from the oven and let the peppers cool for a few minutes before serving.
Handy Tips
- Use any color of mini pepper you like, but the smaller ones work best.
- Don’t overfill the peppers, as the cheese will melt and expand during cooking.
- If you’re using a convection oven, reduce the cooking time by 5-10 minutes.
- Let the peppers cool for a few minutes before serving, as they will be very hot.
Heat Control
For this recipe, it’s essential to control the heat to achieve the perfect texture. The oven should be preheated to 375°F (190°C), and the peppers should be baked for 20-25 minutes, or until they’re tender and the cheese is melted and golden brown. You can check for doneness by inserting a fork or knife into one of the peppers. If it slides in easily, the peppers are done.
Crunch Factor
The crunch factor in this recipe comes from the mini peppers, which should be tender but still slightly crunchy. To achieve this texture, make sure not to overcook the peppers. You can also add some crunchy toppings, such as chopped nuts or crispy bacon, to give the dish an extra crunch.
Pro Kitchen Tricks
- Use a variety of cheeses for a richer flavor.
- Add some spice to the cheese mixture for an extra kick.
- Use fresh herbs, such as parsley or basil, to add a bright and freshness to the dish.
- Let the peppers cool completely before refrigerating or freezing them.
Storage Tips
- Let the peppers cool completely before refrigerating or freezing them.
- Store the peppers in an airtight container in the refrigerator for up to 3 days.
- Freeze the peppers for up to 2 months. Simply place them in a single layer on a baking sheet and freeze until solid, then transfer them to a freezer-safe bag or container.
- Reheat the peppers in the oven or microwave until warmed through.
Gift Packaging Ideas
This recipe makes a great gift for friends and family, especially during the holidays. You can package the peppers in a decorative tin or jar, or wrap them individually in plastic wrap or aluminum foil. Add a ribbon or gift tag, and you have a beautiful and delicious gift. You can also include a card with the recipe and some suggestions for serving and reheating.
Flavor Variations
- Different spices: Try adding some smoked paprika or ground cumin to the cheese mixture for a smoky flavor.
- Creative toppings: Add some chopped nuts or crispy bacon to the peppers for a crunchy texture.
- Ingredient swaps: Use different types of cheese, such as feta or goat cheese, for a unique flavor.
Troubleshooting
- Texture problems: If the peppers are too crunchy, try baking them for a few more minutes. If they’re too soft, try reducing the cooking time.
- Ingredient replacements: If you don’t have a certain ingredient, try substituting it with something similar. For example, you can use cheddar cheese instead of mozzarella.
- Over/undercooking signs: Check the peppers regularly while they’re baking to avoid overcooking. If they’re undercooked, they will be crunchy and raw-tasting. If they’re overcooked, they will be soft and mushy.
FAQs
- Can I freeze it? Yes, you can freeze the peppers for up to 2 months. Simply place them in a single layer on a baking sheet and freeze until solid, then transfer them to a freezer-safe bag or container.
- Is it gluten-free? Yes, this recipe is gluten-free, making it a great option for those with dietary restrictions.
- Can I double the recipe? Yes, you can easily double or triple the recipe to feed a larger crowd. Simply multiply the ingredients and adjust the cooking time as needed.
Conclusion
In conclusion, two pans filled with cheese stuffed mini peppers is a delicious and easy-to-make recipe that’s perfect for any occasion. With its simple ingredients and straightforward instructions, it’s a great option for beginners and experienced cooks alike. Whether you’re looking for a quick weeknight dinner or a dish to impress your friends and family, this recipe is sure to please. So go ahead, give it a try, and enjoy the ooey-gooey cheesy goodness of these stuffed mini peppers!
two pans filled with cheese stuffed mini peppers
A delicious and easy-to-make recipe featuring mini peppers stuffed with a mixture of cheese and spices, baked to perfection in two pans.
🥘 Ingredients
👩🍳 Instructions
-
1Preheat the oven to 375°F (190°C).
-
2Prepare the mini peppers by cutting off the tops and removing the seeds and membranes.
-
3Mix together the cheese, parmesan cheese, garlic powder, onion powder, paprika, salt, and pepper in a bowl.
-
4Stuff each mini pepper with the cheese mixture and place them in two pans.
-
5Bake the peppers in the preheated oven for 20-25 minutes, or until they're tender and the cheese is melted and golden brown.