What makes red velvet cupcakes truly unforgettable? It’s the combination of moist homemade cake, creamy white frosting, and a burst of colorful sprinkles on top, all coming together in an easy and delicious dessert perfect for any occasion, made with simple ingredients like buttermilk and cocoa powder, save this idea for your next baking project.
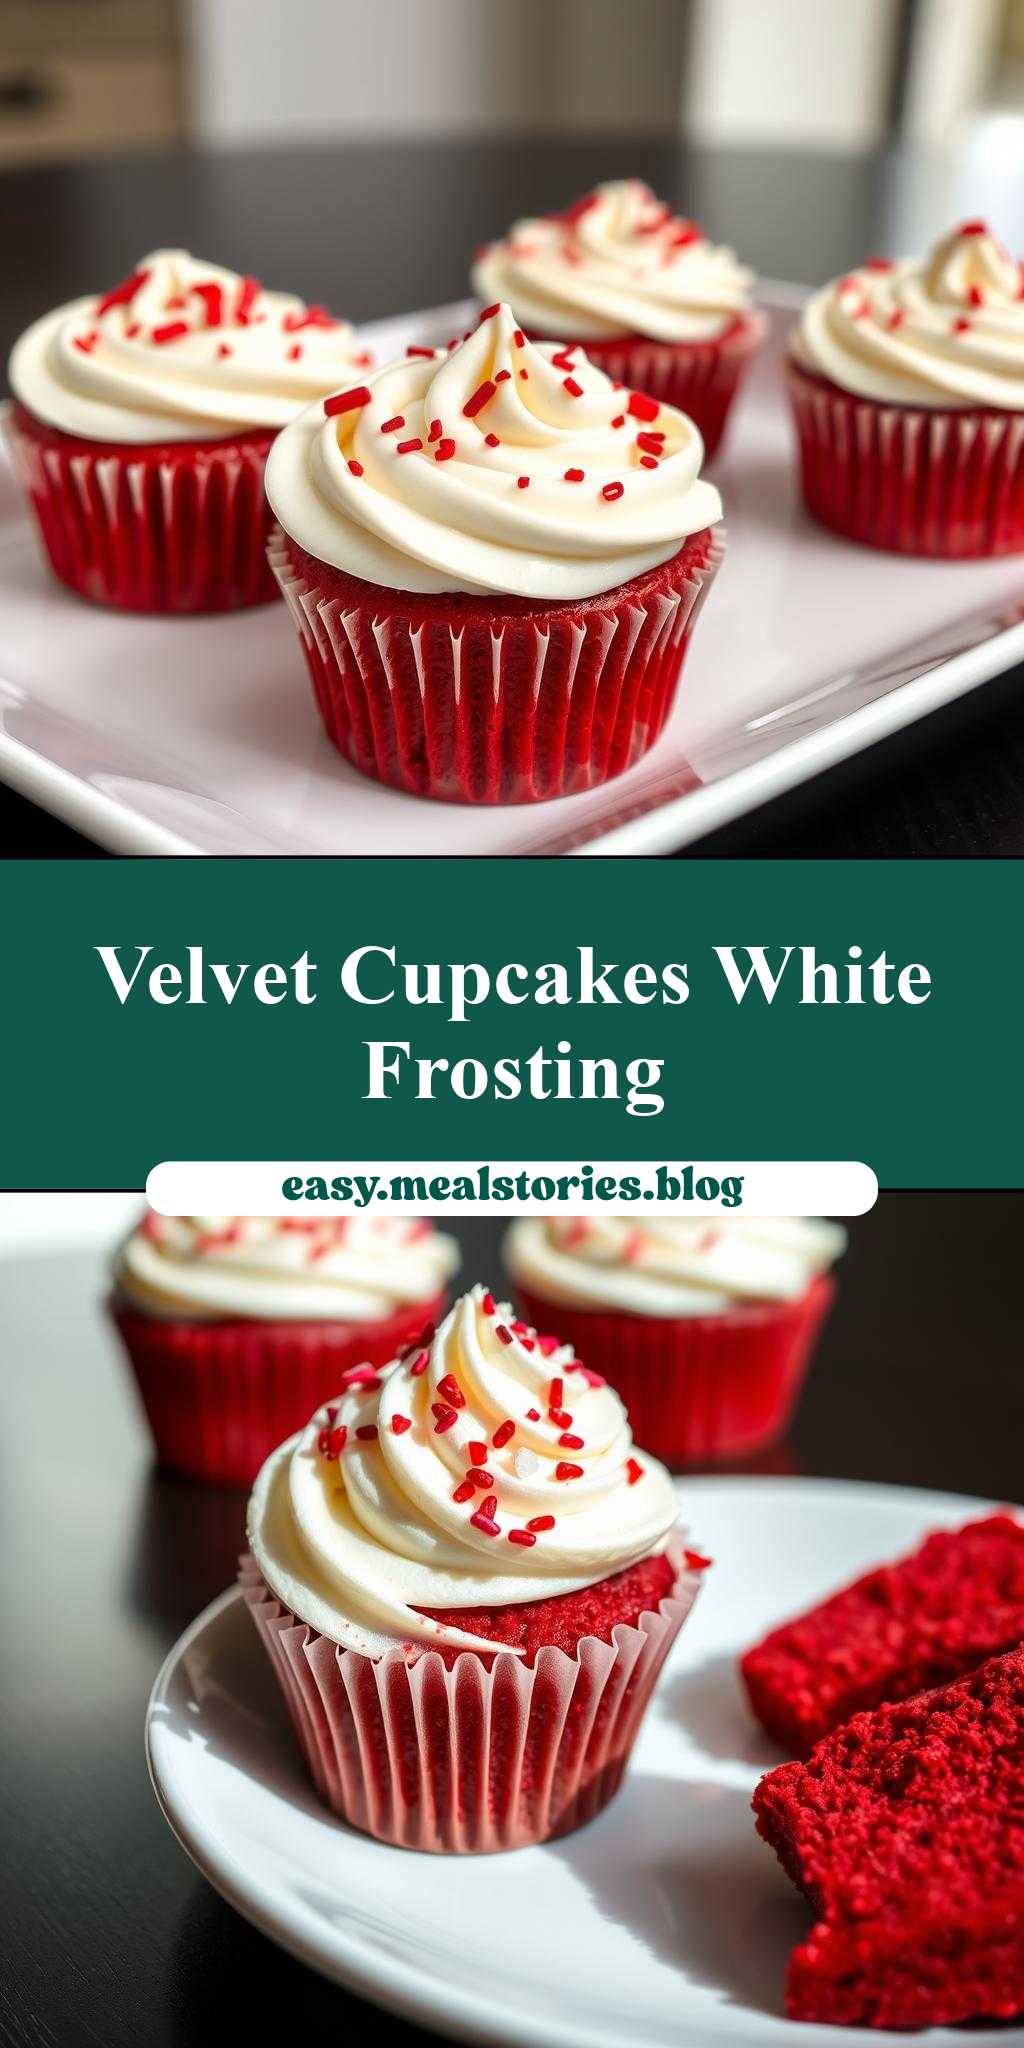
red velvet cupcakes with white frosting and sprinkles on top
Introduction
Indulge in the rich, velvety goodness of red velvet cupcakes, perfectly complemented by a creamy white frosting and topped with a burst of colorful sprinkles. This recipe is a masterclass in balance and simplicity, using everyday ingredients to create a dessert that’s both impressive and easy to make. Whether you’re a seasoned baker or a beginner, these cupcakes are sure to delight with their deep red color, subtle cocoa flavor, and the delightful contrast of textures and tastes. The best part? You can whip them up with minimal fuss, making them perfect for any occasion, from casual gatherings to special celebrations.
Why This Works
- Flavor balance and ingredient accessibility: The combination of buttermilk, cocoa powder, and food coloring gives these cupcakes their distinctive flavor and color, while the white frosting adds a sweet and creamy contrast.
- Ease of preparation: The recipe is straightforward and requires no special equipment beyond a mixer and a muffin tin, making it accessible to bakers of all skill levels.
- Impressive results with minimal effort: Despite their elegant appearance, these cupcakes are surprisingly easy to make, requiring just a few ingredients and simple steps to achieve their signature look and taste.
Key Ingredients
The main ingredients for these red velvet cupcakes include all-purpose flour, granulated sugar, unsweetened cocoa powder, buttermilk, large eggs, red food coloring, and vanilla extract for the cupcakes. For the white frosting, you’ll need unsalted butter, cream cheese, powdered sugar, and vanilla extract. Practical substitutions can be made, such as using whole milk with a tablespoon of white vinegar or lemon juice as a substitute for buttermilk, or using different types of sugar or flour if needed. However, keep in mind that substitutions may slightly alter the flavor and texture of the final product.
Instructions
- Step 1: Preheat your oven to 350°F (175°C). Line a 12-cup muffin tin with cupcake liners. In a medium bowl, whisk together flour, sugar, cocoa powder, and salt. In a large bowl, using an electric mixer, beat the buttermilk, eggs, food coloring, and vanilla extract until well combined.
- Step 2: Add the dry ingredients to the wet ingredients and mix until just combined, being careful not to overmix. Divide the batter evenly among the cupcake liners.
- Step 3: Bake for about 18-20 minutes or until a toothpick inserted in the center comes out clean. Allow the cupcakes to cool completely in the pan before frosting.
- Step 4: For the frosting, beat the butter and cream cheese until smooth. Gradually add the powdered sugar, beating until smooth and creamy. Add the vanilla extract and mix well. Once the cupcakes are cool, frost each one and top with sprinkles.
Handy Tips
- Ensure your ingredients are at room temperature for better mixing and a lighter texture. Don’t overmix the batter, as this can lead to dense cupcakes. If you find your frosting too thin, refrigerate it for about 10 minutes to firm it up before using.
Heat Control
For baking the cupcakes, maintain your oven at a consistent 350°F (175°C). The cupcakes are done when a toothpick inserted into the center of a cupcake comes out clean, and they should be lightly firm to the touch. Avoid overbaking, as this can dry out the cupcakes.
Crunch Factor
These cupcakes are designed to be moist and tender, with the crunch coming from the sprinkles on top. To maintain their texture, avoid overmixing the batter and don’t overbake them. The white frosting adds a smooth and creamy element, balancing out the textures perfectly.
Pro Kitchen Tricks
- For an extra moist cupcake, try adding an extra tablespoon or two of buttermilk. If you’re not using the cupcakes immediately, you can freeze them unfrosted for up to 2 months and then thaw and frost as needed.
Storage Tips
- Frosted cupcakes can be stored in an airtight container in the refrigerator for up to 3 days. Allow them to come to room temperature before serving for the best flavor and texture. For longer storage, consider freezing the cupcakes unfrosted and then frosting them when you’re ready to serve.
Gift Packaging Ideas
These cupcakes make wonderful gifts, especially for birthdays or holidays. Consider packaging them in decorative cupcake boxes or bags, topped with a ribbon or gift tag. For a more personalized touch, you can also wrap each cupcake individually in cellophane bags and tie with a ribbon.
Flavor Variations
- Different spices: Try adding a pinch of cinnamon or nutmeg to the batter for an extra depth of flavor.
- Creative toppings: Instead of sprinkles, top your cupcakes with chopped nuts, shredded coconut, or even candy pieces for a different look and flavor.
- Ingredient swaps: Experiment with different types of milk or flavor extracts, like almond extract or coffee, to create unique flavor profiles.
Troubleshooting
- Texture problems: If your cupcakes turn out too dense, it might be due to overmixing the batter. Try mixing the wet and dry ingredients separately and gently folding them together.
- Ingredient replacements: If you’re out of buttermilk, you can make a substitute by mixing 1 cup of milk with 1 tablespoon of white vinegar or lemon juice. Let it sit for 5-10 minutes before using.
- Over/undercooking signs: Keep an eye on your cupcakes while they’re baking. They’re done when they’re lightly firm to the touch and a toothpick comes out clean. Avoid opening the oven door too often, as this can cause the cupcakes to sink.
FAQs
- Can I freeze it? Yes, you can freeze the cupcakes unfrosted for up to 2 months. Simply thaw and frost when you’re ready to serve.
- Is it gluten-free? The recipe as given contains gluten due to the all-purpose flour. However, you can experiment with gluten-free flour blends as a substitute, though this may affect the texture and flavor slightly.
- Can I double the recipe? Yes, you can easily double or even triple the recipe if you need more cupcakes. Just ensure you have enough muffin tins and adjust the baking time slightly if necessary.
Conclusion
Making red velvet cupcakes with white frosting and sprinkles on top is a fun and rewarding baking project that yields delicious and visually appealing results. With a few simple ingredients and some basic kitchen equipment, you can create a dessert that’s sure to impress friends and family. Feel free to experiment with different flavor variations and toppings to make the recipe your own, and don’t hesitate to reach out if you have any questions or need further troubleshooting tips. Happy baking, and enjoy sharing your creations with those around you!
red velvet cupcakes with white frosting and sprinkles on top
Moist red velvet cupcakes topped with creamy white frosting and colorful sprinkles, perfect for any occasion.
🥘 Ingredients
👩🍳 Instructions
-
1Preheat oven to 350°F (175°C). Line a muffin tin with cupcake liners.
-
2Whisk together flour, sugar, cocoa powder, baking powder, and salt in a medium bowl.
-
3Beat the buttermilk, eggs, food coloring, and vanilla extract in a large bowl.
-
4Add the dry ingredients to the wet ingredients and mix until just combined. Divide the batter among the cupcake liners.
-
5Bake for 18-20 minutes or until a toothpick inserted in the center comes out clean. Allow the cupcakes to cool completely.
-
6For the frosting, beat the cream cheese and butter until smooth. Gradually add the powdered sugar and vanilla extract, beating until smooth and creamy.
-
7Frost the cooled cupcakes and top with sprinkles.