What makes a perfect loaf of bread so irresistible? Fresh from the oven, this homemade bread is a staple for any weeknight dinner, made easy with simple yeast and flour. Save this idea for a cozy family favorite to enjoy all week long, try baking one soon.
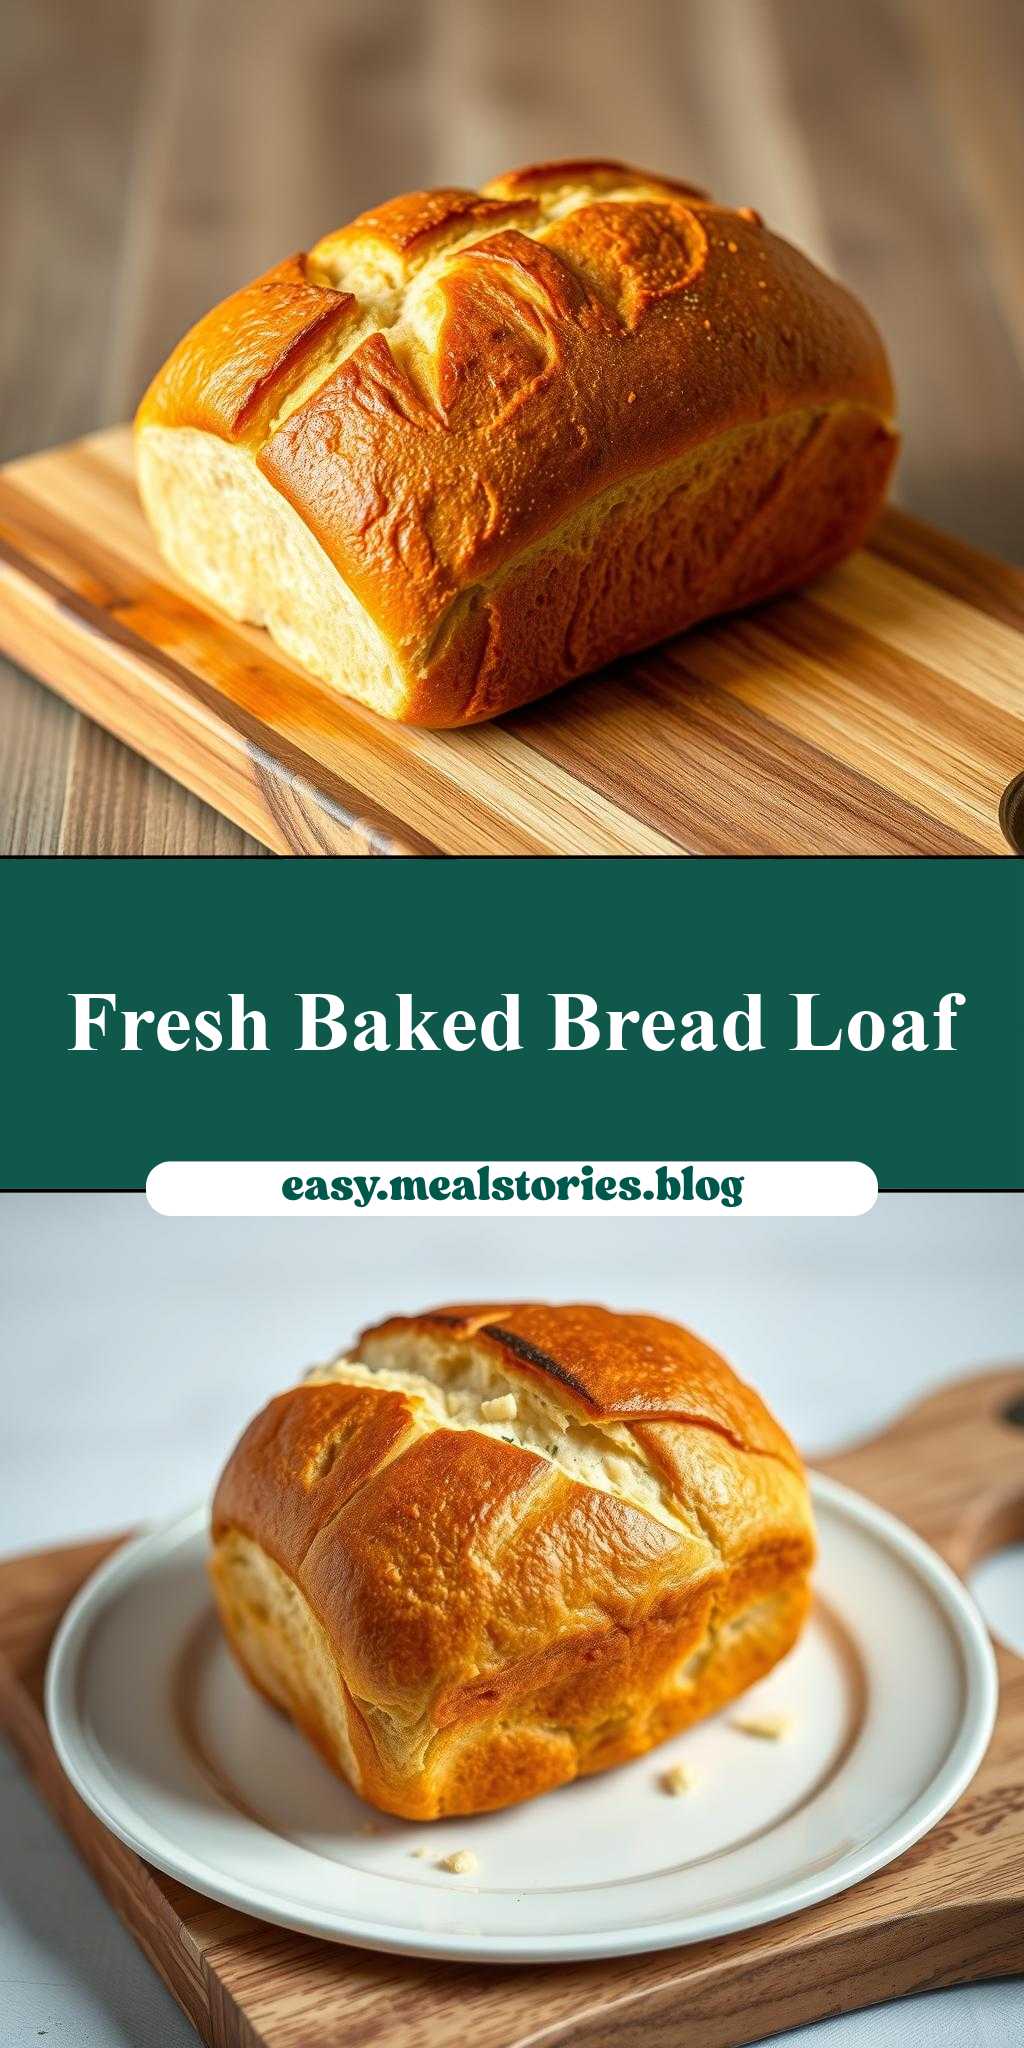
a loaf of bread sitting on top of a wooden cutting board
Introduction
Imagine the warmth and comfort of a freshly baked loaf of bread, perfectly placed on a rustic wooden cutting board, ready to be sliced and shared with loved ones. This simple yet satisfying scene is not just a staple of cozy kitchens but also a testament to the joy of baking. With just a few everyday ingredients and some easy-to-follow steps, you can create your own mouthwatering loaf of bread that’s not only delicious but also visually appealing. Whether you’re a seasoned baker or just starting out, this recipe is designed to bring out the best in you, with its perfect balance of flavors and textures that will make your homemade bread stand out.
Why This Works
- Flavor balance and ingredient accessibility: This recipe strikes a perfect balance between simplicity and flavor, using ingredients that are easily found in most kitchens.
- Ease of preparation: The steps are straightforward, making it easy for anyone to follow and achieve a professional-looking loaf.
- Impressive results with minimal effort: Despite its simplicity, the end result is a beautifully presented loaf of bread that’s perfect for any occasion, from casual dinners to special events.
Key Ingredients
The main ingredients for this recipe include 2 cups of warm water, 2 teaspoons of active dry yeast, 1 tablespoon of sugar, 4 cups of all-purpose flour, and 1 teaspoon of salt. You can also add some sesame seeds or poppy seeds on top for extra flavor and texture. For those looking for substitutions, whole wheat flour can be used instead of all-purpose flour for a nuttier flavor, and honey or maple syrup can replace sugar for a slightly different taste.
Instructions
- Step 1: Begin by activating the yeast in the warm water with the sugar. Let it sit for about 5-10 minutes until it becomes frothy.
- Step 2: In a large mixing bowl, combine the flour and salt. Gradually add the yeast mixture and mix until a dough forms. Knead the dough for about 10 minutes until it becomes smooth and elastic.
- Step 3: Place the dough in a greased bowl, cover it with a damp cloth, and let it rise in a warm place for about an hour, or until it has doubled in size.
- Step 4: Preheat your oven to 375°F (190°C). Punch down the dough and shape it into a loaf. Place the loaf on a baking sheet lined with parchment paper, brush the top with some water, and sprinkle with sesame seeds or poppy seeds if desired. Bake for about 30-40 minutes, or until the bread is golden brown and sounds hollow when tapped on the bottom.
Handy Tips
- Make sure the water is not too hot, as it can kill the yeast. The ideal temperature is between 100°F and 110°F (38°C to 43°C).
- Don’t overmix the dough, as it can lead to a dense bread.
- Let the bread cool completely on a wire rack before slicing to ensure it retains its texture and flavor.
Heat Control
For baking the bread, it’s crucial to maintain the right temperature. Preheat your oven to 375°F (190°C) and ensure it’s at a stable temperature before placing the loaf inside. The baking time may vary depending on your oven, so keep an eye on the bread after 25 minutes. It’s done when it’s golden brown and sounds hollow when tapped on the bottom.
Crunch Factor
To achieve a nice crunch on the outside while keeping the inside soft, make sure to bake the bread at the right temperature and for the right amount of time. Brushing the top with water and sprinkling with seeds also adds to the crunch and texture. For an extra crispy crust, you can try baking the bread for an additional 5-10 minutes, but keep a close eye on it to prevent burning.
Pro Kitchen Tricks
- Use a pizza stone in the oven to enhance the crust’s crispiness. Preheat the stone along with the oven.
- For a more golden crust, brush the top of the loaf with an egg wash (beaten egg mixed with a little water) before baking.
- To reduce mess and make cleanup easier, flour your work surface generously before kneading the dough.
Storage Tips
- Store the cooled bread in an airtight container at room temperature for up to 3 days.
- For longer storage, wrap the bread tightly in plastic wrap or aluminum foil and freeze for up to 2 months. To thaw, leave at room temperature overnight or thaw in the microwave.
- When reheating, wrap the bread in foil and heat in the oven at 350°F (180°C) for about 10-15 minutes, or until warmed through.
Gift Packaging Ideas
If you’re planning to gift your freshly baked loaf, consider wrapping it in a rustic paper bag or a linen cloth, tied with a ribbon. You can also pair it with a jar of homemade jam, a block of cheese, or a bottle of wine for a thoughtful gift basket.
Flavor Variations
- Different spices: Try adding some dried herbs like rosemary or thyme to the dough for a savory flavor, or some cinnamon and nutmeg for a sweet twist.
- Creative toppings: In addition to sesame seeds or poppy seeds, you can try using chopped nuts, dried cranberries, or even chocolate chips for a unique flavor combination.
- Ingredient swaps: Substitute some of the all-purpose flour with whole wheat flour for a nuttier taste, or use olive oil instead of butter for a lighter flavor.
Troubleshooting
- Texture problems: If your bread turns out too dense, it might be due to overmixing the dough. Try to mix the ingredients just until they come together, then let the dough rest.
- Ingredient replacements: If you’re out of yeast, you can try using baking powder as a substitute, but keep in mind the flavor and texture might be slightly different.
- Over/undercooking signs: Keep an eye on your bread while it’s baking. If it’s not golden brown after the recommended time, give it a few more minutes. If it starts to darken too quickly, cover the top with foil to prevent burning.
FAQs
- Can I freeze it? Yes, you can freeze the bread for up to 2 months. Wrap it tightly in plastic wrap or aluminum foil and thaw at room temperature or in the microwave when you’re ready to eat it.
- Is it gluten-free? No, this recipe uses all-purpose flour, which contains gluten. However, you can experiment with gluten-free flours for a gluten-free version, though the texture and flavor might vary.
- Can I double the recipe? Yes, you can easily double or triple the recipe if you need more bread. Just keep in mind you might need to adjust the baking time slightly for a larger loaf.
Conclusion
Baking a loaf of bread and presenting it beautifully on a wooden cutting board is not just about following a recipe; it’s about creating a moment of warmth and connection. Whether you’re baking for yourself or to share with others, this simple act can bring so much joy and satisfaction. Don’t be afraid to experiment with different flavors and ingredients to make the recipe your own, and remember, the most important ingredient in any bread recipe is love. So, go ahead, get baking, and enjoy the process of creating something delicious and beautiful!
a loaf of bread sitting on top of a wooden cutting board
A delicious homemade bread recipe, perfect for beginners and experienced bakers alike, presented beautifully on a wooden cutting board.
🥘 Ingredients
👩🍳 Instructions
-
1Activate the yeast in warm water with sugar.
-
2Combine flour and salt, then add yeast mixture and mix until a dough forms.
-
3Knead the dough for 10 minutes until smooth and elastic.
-
4Let the dough rise for about an hour, or until doubled in size.
-
5Preheat oven to 375°F (190°C), shape the dough into a loaf, and bake for 30-40 minutes, or until golden brown.
-
6Let the bread cool completely on a wire rack before slicing.