What makes a perfect dessert bar – is it the gooey chocolate or the crunchy pecans? These homemade turtle bars are a game changer, with a quick and easy recipe that combines rich chocolate, toasted nuts, and a layer of caramel for a family favorite treat. Save this idea
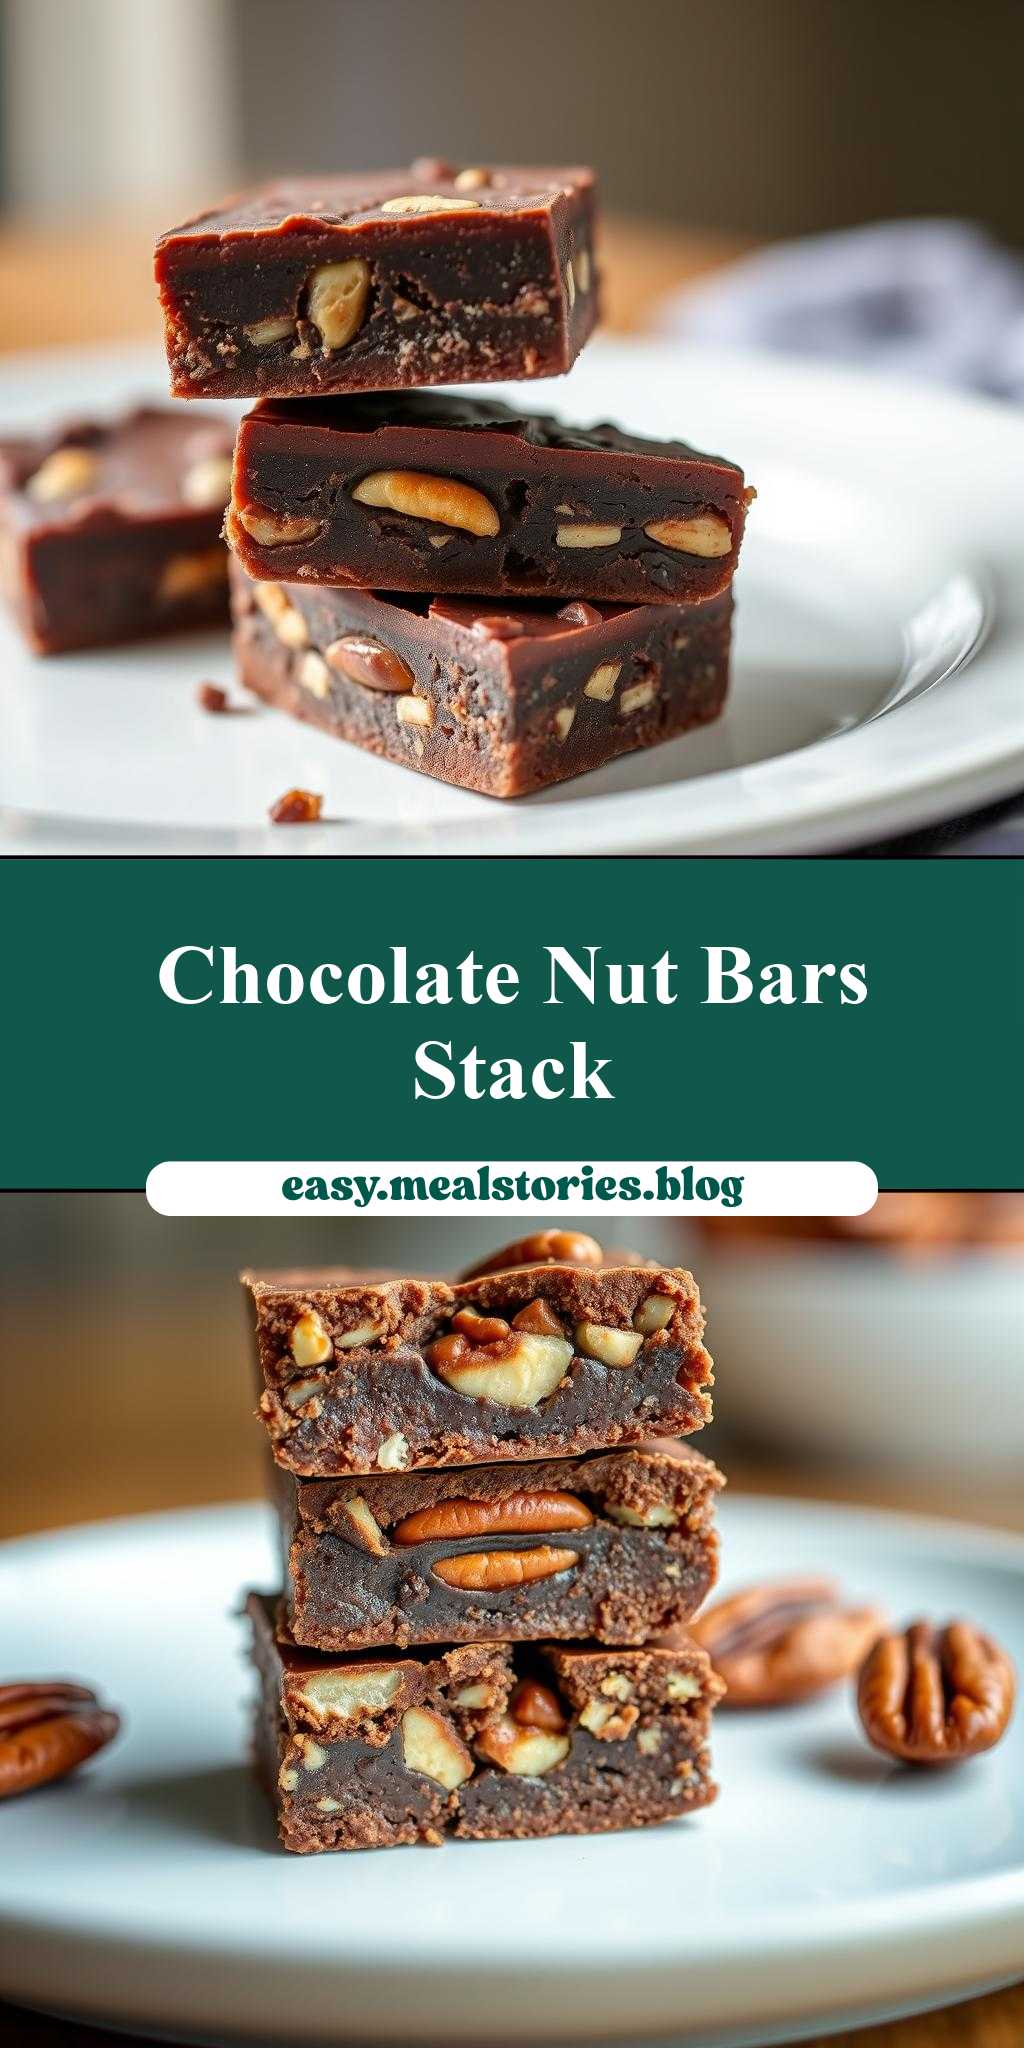
Chocolate Turtle Bars Are Stacked On Top Of Each Other With Nuts And Pecans In The Middle
Introduction
Imagine the perfect combination of gooey caramel, crunchy pecans, and rich chocolate, all layered to create a decadent dessert that’s as easy to make as it is impressive. These chocolate turtle bars are the epitome of indulgence, requiring minimal effort for a maximum flavor payoff. With everyday ingredients and a straightforward preparation process, you can create a show-stopping dessert that’s perfect for gatherings, gifts, or simply satisfying your sweet tooth. The beauty of this recipe lies in its simplicity, allowing you to unleash your creativity and make it your own, whether through substitutions, additions, or presentation styles.
Why This Works
- Flavor balance and ingredient accessibility: The combination of chocolate, caramel, and pecans provides a perfect balance of flavors and textures, and these ingredients are readily available in most supermarkets.
- Ease of preparation: Despite the impressive outcome, the preparation and assembly of these bars are surprisingly simple, making them accessible to bakers of all skill levels.
- Impressive results with minimal effort: The layered effect of the chocolate, caramel, and pecans creates a visually stunning dessert that looks like it requires much more effort than it actually does, making it perfect for surprising friends and family.
Key Ingredients
The main ingredients for these chocolate turtle bars include a shortbread crust made from butter, sugar, and flour, a caramel filling made from sweetened condensed milk, butter, and vanilla, a layer of pecans for added crunch, and a topping of melted chocolate. Practical substitutions can be made, such as using different types of nuts or adding a pinch of sea salt to the caramel for added depth. The key to these bars is the quality of the chocolate and the freshness of the pecans, so choosing the best ingredients you can find will elevate the final product.
Instructions
- Step 1: Begin by preheating your oven to 350°F (180°C). Prepare the shortbread crust by mixing together the butter, sugar, and flour until it forms a cohesive dough. Press this dough into a lined or greased 8×8 inch baking dish and bake for about 20 minutes, or until it’s lightly golden.
- Step 2: While the crust is baking, prepare the caramel filling. In a saucepan, combine the sweetened condensed milk, butter, and vanilla. Place the saucepan over medium heat and cook, stirring constantly, until the mixture turns a golden brown and has thickened slightly. Remove from heat and set aside.
- Step 3: Once the crust is ready, let it cool slightly before pouring the caramel mixture over it. Sprinkle a layer of pecans over the caramel. Melt the chocolate (either in a double boiler or in the microwave in 30-second increments, stirring between each interval until smooth) and pour it over the pecans.
- Step 4: Allow the bars to cool completely before cutting into them. This will help the layers set and make them easier to cut cleanly. For a clean cut, dip your knife in hot water and wipe it dry between each cut.
Handy Tips
- To avoid the caramel from becoming too hard, don’t overcook it. The ideal consistency should be thick but still pourable. If you find your caramel has become too thick, you can thin it out with a little bit of heavy cream or milk.
Heat Control
When cooking the caramel, it’s crucial to maintain a medium heat and stir constantly to prevent burning. The caramel is done when it reaches a golden brown color and has thickened enough to coat the back of a spoon. Be cautious not to overheat the chocolate when melting it, as this can cause it to seize up and become grainy.
Crunch Factor
The crunch in these bars comes from the pecans and the shortbread crust. To ensure the pecans remain crunchy, sprinkle them over the caramel before adding the chocolate layer. For an extra crunchy shortbread crust, bake it for a few minutes longer, keeping an eye on it to prevent overbrowning.
Pro Kitchen Tricks
- To make the bars more visually appealing, drizzle additional melted chocolate over the top in a zig-zag pattern or sprinkle with sea salt after the top layer of chocolate has set.
Storage Tips
- These bars can be stored in an airtight container at room temperature for up to 5 days. For longer storage, consider refrigerating them and bringing to room temperature before serving. They can also be frozen for up to 2 months, cut into bars and layered with parchment paper to prevent sticking.
Gift Packaging Ideas
These chocolate turtle bars are perfect for gifting, especially during holidays. Consider packaging them in decorative tins, jars, or boxes lined with parchment paper. You can also wrap individual bars in cellophane or plastic wrap and tie with a ribbon for a more personalized touch. Adding a handwritten note or a sprinkle of holiday-themed sprinkles on top can make the gift even more special.
Flavor Variations
- Different spices: Adding a pinch of cinnamon, nutmeg, or cayenne pepper to the caramel can give the bars a unique twist.
- Creative toppings: Besides pecans, other nuts like walnuts or hazelnuts can be used. You can also sprinkle shredded coconut, chocolate chips, or even candy pieces over the top layer of chocolate for added texture and flavor.
- Ingredient swaps: For a gluten-free version, use gluten-free flours for the shortbread crust. You can also experiment with different types of chocolate or add a layer of dulce de leche for an added caramel flavor.
Troubleshooting
- Texture problems: If the caramel becomes too hard, it might be overcooked. If the chocolate seizes up, it was likely overheated. In both cases, starting over with fresh ingredients might be the best solution.
- Ingredient replacements: Always try to use the closest substitute when replacing ingredients. For example, if you’re out of sweetened condensed milk, a mixture of heavy cream and sugar can be used as a substitute in a pinch.
- Over/undercooking signs: The shortbread crust should be lightly golden, the caramel should be a deep golden brown, and the chocolate should be smooth and glossy. Adjust cooking times as needed based on your oven’s performance.
FAQs
- Can I freeze it? Yes, these bars can be frozen for up to 2 months. It’s best to cut them into bars first and then freeze, separating layers with parchment paper to prevent sticking.
- Is it gluten-free? The original recipe includes gluten in the form of wheat flour in the shortbread crust. However, you can easily make a gluten-free version by substituting the flour with a gluten-free alternative.
- Can I double the recipe? Yes, you can double the recipe to make a larger batch. Just keep in mind that you’ll need a larger baking dish, and the cooking time might be slightly longer.
Conclusion
Making these chocolate turtle bars is a journey of discovery, allowing you to experiment with flavors, textures, and presentation. Whether you’re a seasoned baker or just starting out, this recipe is a must-try for its simplicity, versatility, and the joy it brings to both the maker and the eater. Don’t be afraid to share your creations, experiment with new ingredients, or make it a fun activity with family and friends. The world of baking is full of endless possibilities, and starting with something as delightful as these chocolate turtle bars will surely inspire you to explore more.
Chocolate Turtle Bars Are Stacked On Top Of Each Other With Nuts And Pecans In The Middle
A decadent dessert combining gooey caramel, crunchy pecans, and rich chocolate, layered for a show-stopping effect with minimal effort.
🥘 Ingredients
👩🍳 Instructions
-
1Preheat oven to 350°F. Prepare the shortbread crust and bake for 20 minutes.
-
2Cook the caramel mixture over medium heat until golden brown, then set aside.
-
3Layer the caramel, pecans, and melted chocolate over the cooled shortbread crust.
-
4Allow the bars to cool completely before cutting into them.