What’s the secret to a perfectly packed lunch from a homemade recipe that’s both quick and easy, using fresh veggies and whole grains, ideal for a family favorite weeknight dinner. Save this idea for a delicious homemade meal solution PIN for later
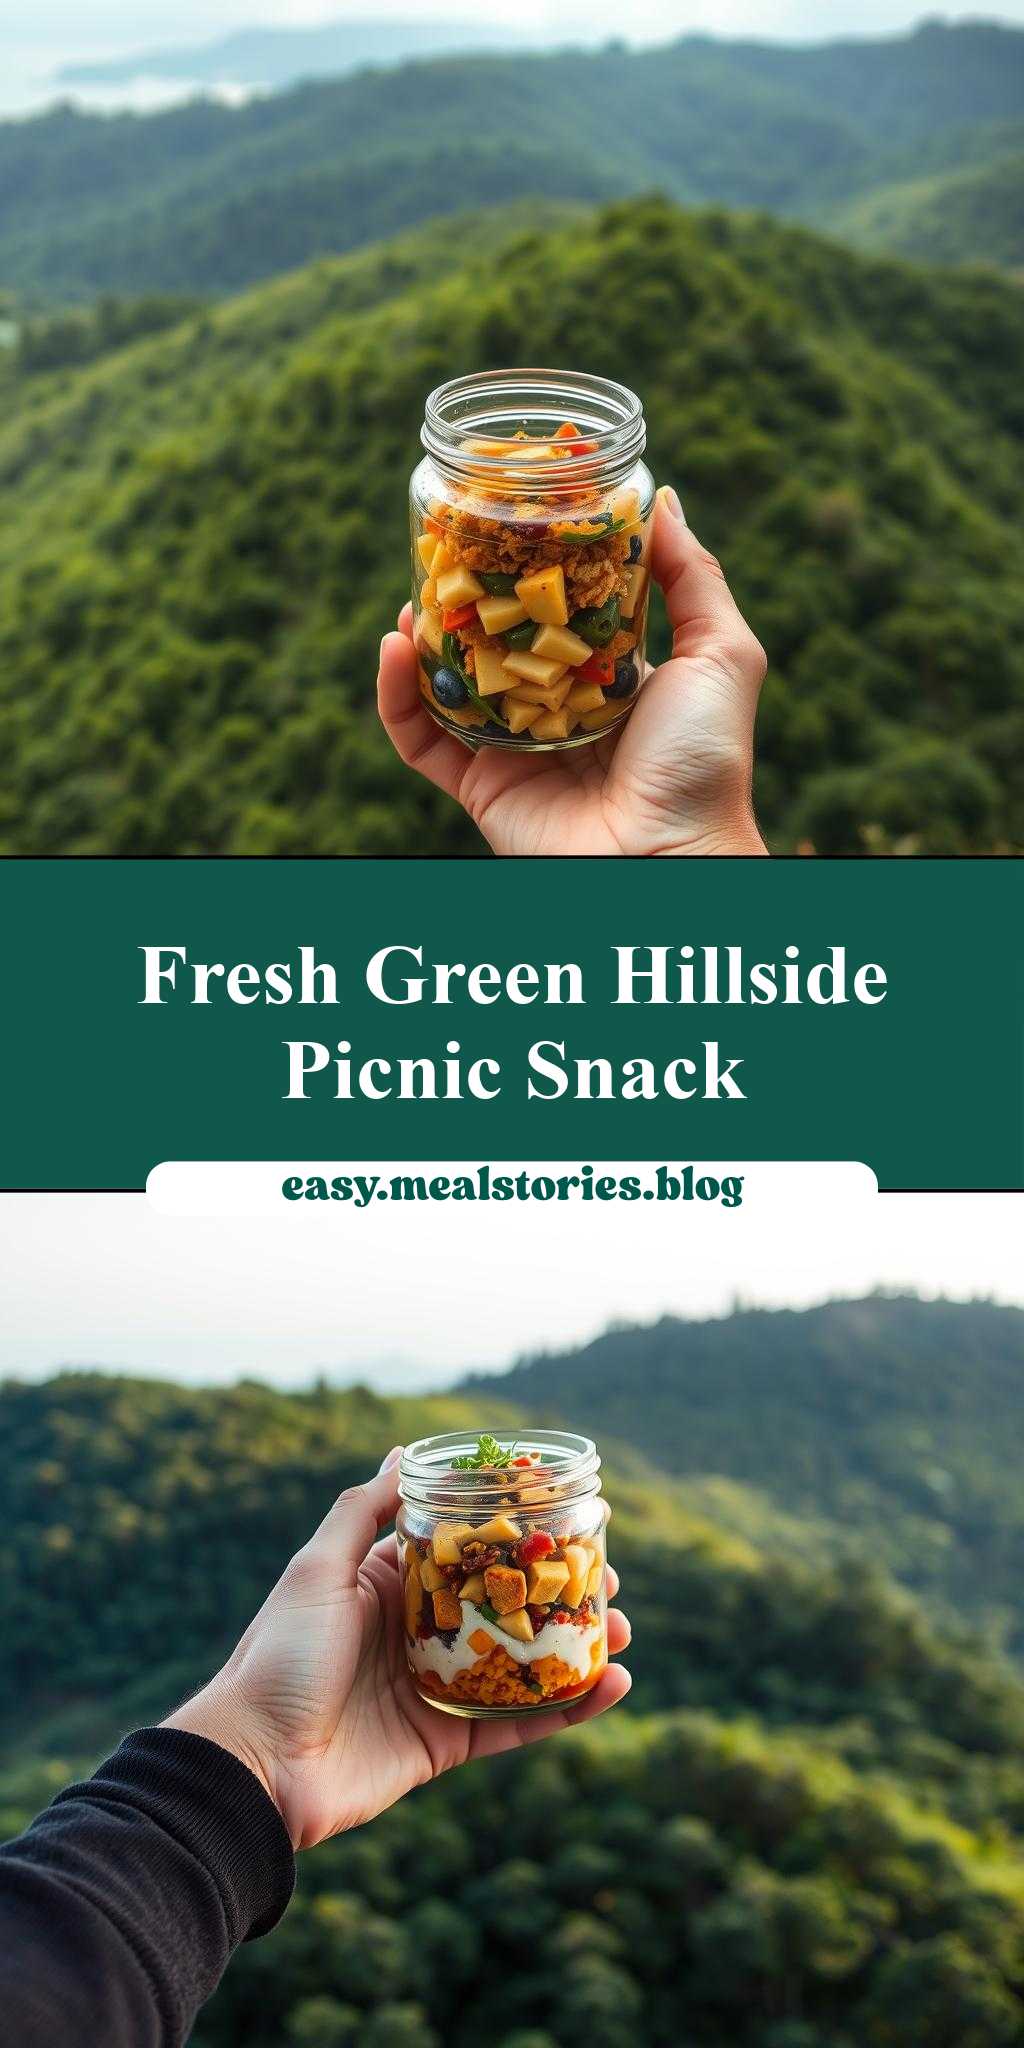
a hand holding a jar filled with food on top of a lush green hillside covered in trees
Introduction
Imagine yourself standing on a lush green hillside, surrounded by trees that stretch towards the sky, and holding a jar filled with a delicious, homemade treat. This picturesque scene is not just a fantasy; it can be your reality with our simple and mouth-watering recipe for a jar filled with food. Using everyday ingredients, this dish is easy to prepare, packed with flavor, and perfect for a quick snack or a gift for a loved one. The best part? It requires minimal effort but yields impressive results that are sure to delight both kids and adults.
Why This Works
- Flavor balance and ingredient accessibility: Our recipe combines ingredients that are readily available in most supermarkets, ensuring that you can easily replicate this dish without having to hunt for exotic components. The balance of flavors is key, with a mix of sweet, savory, and tangy notes that will tantalize your taste buds.
- Ease of preparation: The steps involved are straightforward and simple, making this a perfect project for a beginner in the kitchen or someone looking for a quick fix without compromising on taste or quality.
- Impressive results with minimal effort: Despite the simplicity of the recipe, the end result is visually appealing and satisfying, making it an excellent choice for potlucks, picnics, or as a healthy snack at home.
Key Ingredients
The main ingredients for our jar filled with food include mixed beans, diced vegetables (such as carrots, zucchini, and bell peppers), a can of diced tomatoes, olive oil, garlic, and a selection of herbs and spices for added flavor. For practical substitutions, you can use different types of beans or vegetables based on your preference or what’s available in your pantry. The beauty of this recipe lies in its flexibility and the ability to customize it to suit your dietary needs or tastes.
Instructions
- Step 1: Begin by preparing your ingredients. Chop the vegetables into bite-sized pieces, mince the garlic, and measure out the beans, diced tomatoes, olive oil, and spices.
- Step 2: In a large pan, heat the olive oil over medium heat. Add the minced garlic and sauté until fragrant, being careful not to burn it. Then, add the chopped vegetables and cook until they start to soften.
- Step 3: Add the mixed beans, diced tomatoes, and your choice of herbs and spices to the pan. Stir well to combine and let the mixture simmer for about 20 minutes, allowing the flavors to meld together and the vegetables to become tender.
- Step 4: Once the mixture is ready, let it cool slightly before filling your jars. You can customize the jars with a layer of fresh herbs on top or a sprinkle of cheese for added flavor and visual appeal.
Handy Tips
- When selecting your jars, ensure they are clean and dry to prevent any spoilage. You can also sterilize them in a dishwasher or by submerging them in boiling water for a few minutes.
- For variations, consider adding different spices or herbs to give your dish a unique twist. A sprinkle of paprika or a handful of fresh basil can make a significant difference in flavor.
- Avoid overfilling the jars, as this can lead to a mess when opening them. Leave about an inch of space at the top for the best results.
Heat Control
If you’re using heat in your recipe, such as sautéing the vegetables or simmering the bean mixture, it’s essential to control the temperature to achieve the best results. Ideally, you want to cook over medium heat, adjusting as necessary to prevent burning or undercooking. The key signs of doneness include tender vegetables and a rich, flavorful sauce that coats the ingredients evenly.
Crunch Factor
The texture of your final dish can greatly impact its appeal. For a jar filled with food, you might aim for a combination of tender beans and vegetables with a slight crunch from freshly added ingredients like herbs or a sprinkle of nuts. Achieving the right texture involves not overcooking the vegetables and adding crunchy elements just before serving or sealing the jars.
Pro Kitchen Tricks
- One expert tip is to layer your ingredients in the jar to create a visually appealing effect. Start with a base layer of beans, followed by a layer of vegetables, and finish with a sprinkle of herbs or cheese on top.
- For easier cleanup, prepare all your ingredients before starting to cook, and have your jars and utensils ready. This streamlined process will save you time and reduce mess in the kitchen.
- Consider investing in a variety of spices and herbs to experiment with different flavors. This will not only enhance your culinary skills but also keep your dishes interesting and fresh.
Storage Tips
- Once your jars are filled and sealed, they can be stored in the refrigerator for up to a week. For longer storage, consider freezing, which can extend the shelf life to several months.
- When reheating, make sure to heat the contents to a minimum of 165°F (74°C) to ensure food safety. You can reheat the jars in the microwave or on the stovetop, stirring occasionally to prevent scorching.
- The best containers for storage are glass or plastic jars with tight-fitting lids. Avoid using metal containers, as they can react with the acidic ingredients in your dish.
Gift Packaging Ideas
If you’re planning to give your jar filled with food as a gift, consider adding a personal touch to the packaging. You can wrap the jar in a cloth or paper bag, tie a ribbon around the lid, or attach a handwritten note with the recipe and serving suggestions. For a more rustic look, you can place the jar in a basket filled with fresh herbs or a few slices of crusty bread.
Flavor Variations
- Different spices: Experiment with cumin for a Mexican twist, curry powder for an Indian flavor, or smoked paprika for a smoky taste.
- Creative toppings: Add a dollop of sour cream, a sprinkle of grated cheese, or a handful of chopped nuts to give your dish an extra layer of flavor and texture.
- Ingredient swaps: Replace beans with lentils, use different colored bell peppers for a varied appearance, or substitute zucchini with eggplant for a change in texture.
Troubleshooting
- Texture problems: If your dish turns out too mushy, it may be due to overcooking. Try reducing the cooking time or adding more crunchy elements. If it’s too dry, you can add a bit more liquid or serve it with a side of bread or crackers.
- Ingredient replacements: If you’re missing an ingredient, don’t be afraid to substitute it with something similar. For example, you can use canned beans instead of cooked beans or swap one type of vegetable for another.
- Over/undercooking signs: Keep an eye on your dish while it’s cooking, and adjust the heat or cooking time as needed. Signs of overcooking include mushy textures and a loss of color, while undercooking can result in hard, raw ingredients.
FAQs
- Can I freeze it? Yes, you can freeze your jar filled with food for up to 3 months. Simply thaw it overnight in the fridge or reheat it from frozen when you’re ready to eat.
- Is it gluten-free? This recipe is naturally gluten-free, making it an excellent option for those with gluten intolerance or sensitivity. However, always check the labels of your ingredients to ensure they haven’t been processed in facilities that also handle gluten.
- Can I double the recipe? Absolutely! This recipe is easily scalable, so feel free to double or even triple the ingredients if you’re feeding a larger crowd or want to make extra jars for later.
Conclusion
With this simple yet flavorful recipe for a jar filled with food, you’re not only creating a delicious meal or snack, but you’re also embracing a sustainable and creative way to enjoy food. Whether you’re a seasoned chef or a beginner in the kitchen, this dish is sure to delight. So go ahead, experiment with different ingredients, share your creations with friends and family, and enjoy the process of cooking and sharing love through food. Remember, the joy of cooking lies not just in the eating, but in the journey of preparation, sharing, and the love that goes into every jar.
a hand holding a jar filled with food on top of a lush green hillside covered in trees
A delicious and easy-to-make jar filled with a mix of beans, vegetables, and spices, perfect for a snack or gift.
🥘 Ingredients
👩🍳 Instructions
-
1Prepare the ingredients by chopping the vegetables and measuring out the beans, diced tomatoes, olive oil, garlic, and herbs.
-
2Heat the olive oil in a large pan over medium heat. Add the minced garlic and sauté until fragrant.
-
3Add the chopped vegetables to the pan and cook until they start to soften.
-
4Add the mixed beans, diced tomatoes, and herbs to the pan. Stir well to combine and let the mixture simmer for about 20 minutes, allowing the flavors to meld together and the vegetables to become tender.
-
5Let the mixture cool slightly before filling the jars. Customize the jars with a layer of fresh herbs on top or a sprinkle of cheese for added flavor and visual appeal.