What happens when you combine the best of both worlds, cookies and candy bars, into one indulgent treat? Twix cookie cups are a quick and easy dessert solution, made with melted chocolate and a shortbread crust, perfect for a family favorite weeknight surprise. Save this idea for a sweet homemade indulgence.
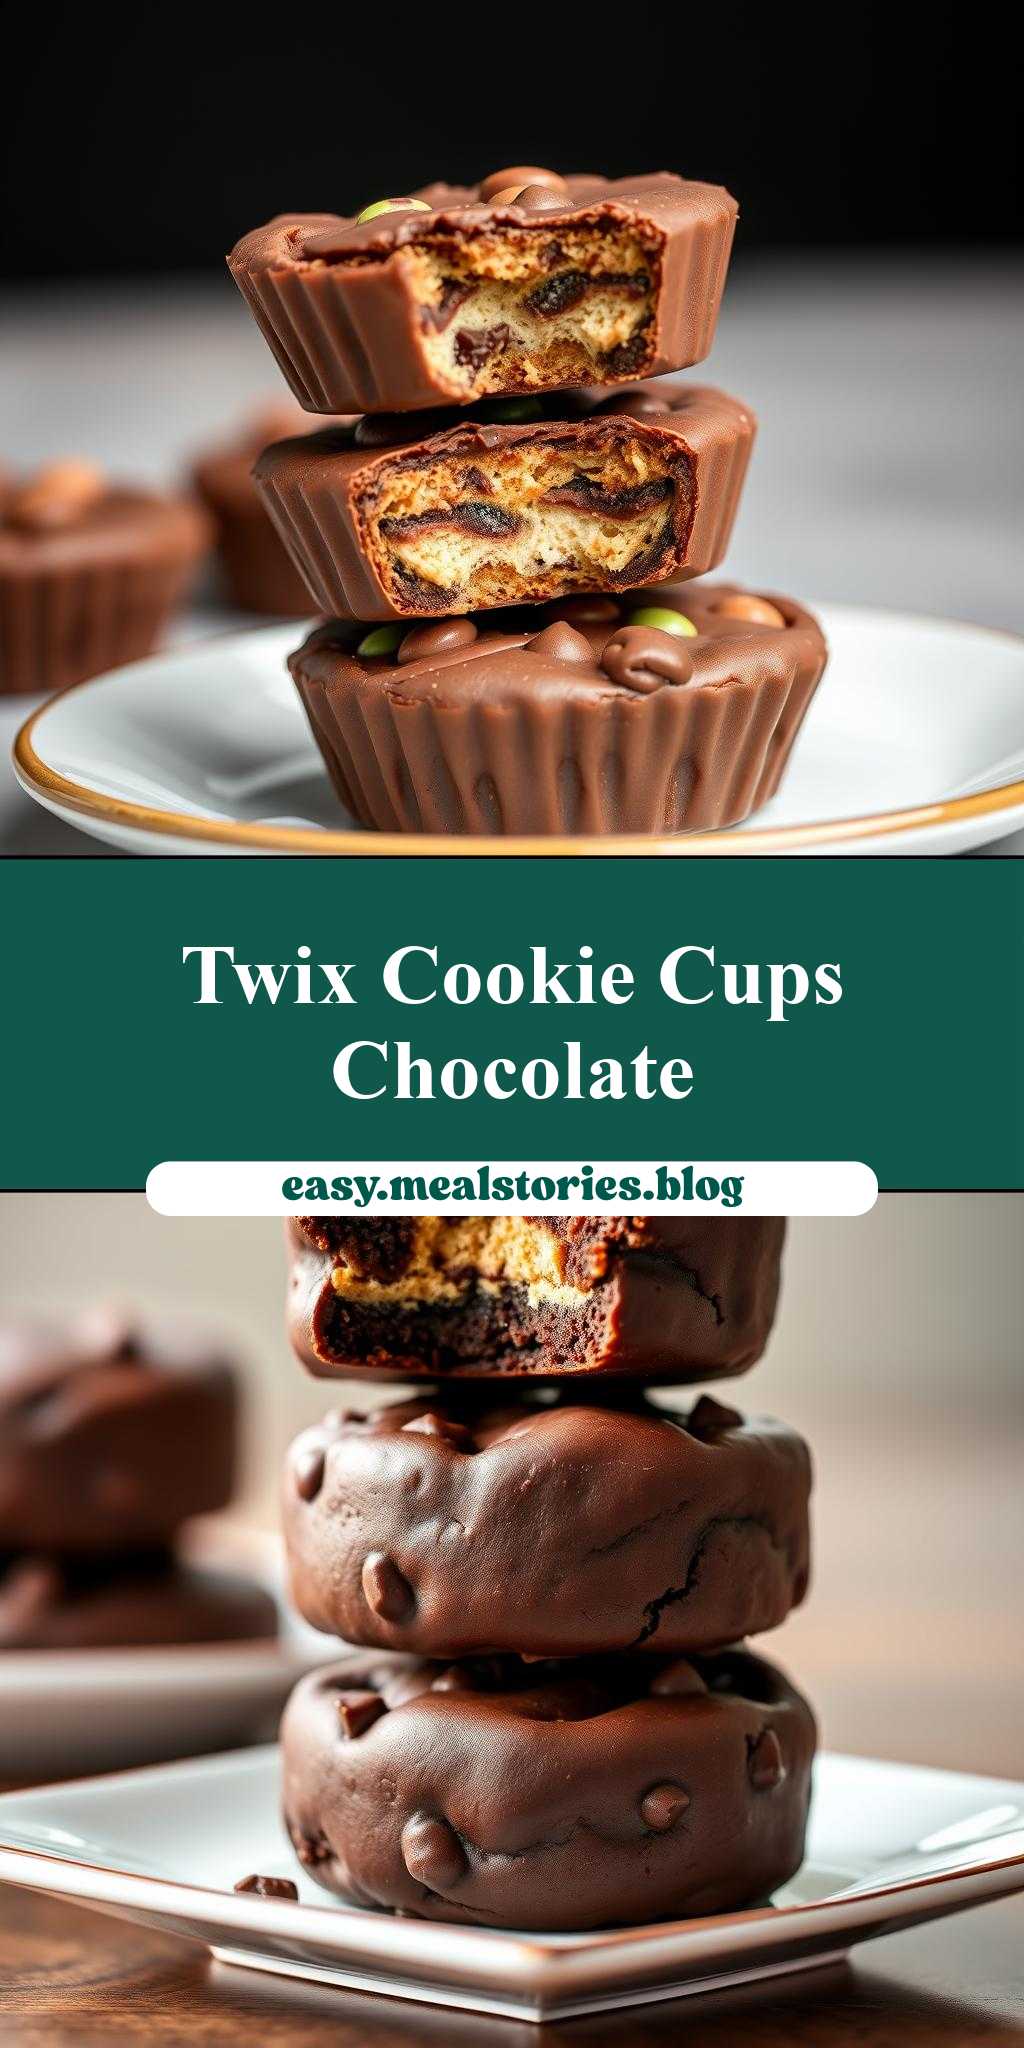
chocolate covered cookies are stacked on top of each other with the words twix cookie cups
Introduction
Imagine the delight of biting into a crunchy cookie base, followed by a velvety smooth caramel, and finally, a rich layer of chocolate – all in one delicious treat. This description fits the indulgent Twix cookie cups, a creative twist on the classic candy bar. What makes these cookie cups truly special is how they combine everyday ingredients with ease of preparation, resulting in an impressive dessert that’s perfect for any occasion. Whether you’re a fan of the original Twix bar or just looking for a new dessert idea, these chocolate-covered cookies stacked on top of each other with the words “Twix cookie cups” are sure to satisfy your sweet tooth and impress your friends and family.
Why This Works
- Flavor balance and ingredient accessibility: The combination of a buttery cookie, gooey caramel, and decadent chocolate creates a perfect harmony of flavors. Moreover, the ingredients are easily accessible, making it simple for anyone to recreate these treats at home.
- Ease of preparation: Despite their impressive appearance, Twix cookie cups are relatively easy to make. The process involves simple steps like baking cookies, melting caramel and chocolate, and assembling the cups.
- Impressive results with minimal effort: The layered effect of the cookies, caramel, and chocolate makes for a visually appealing dessert. This, combined with the variety of textures, ensures that the Twix cookie cups are not only delicious but also a feast for the eyes, all achieved with minimal effort.
Key Ingredients
To make these delightful Twix cookie cups, you will need a few key ingredients. Firstly, for the cookie base, you’ll need all-purpose flour, baking soda, salt, granulated sugar, brown sugar, butter, eggs, and vanilla extract. For the caramel layer, you can use store-bought caramel sauce or make your own by melting caramel candies with heavy cream. Lastly, for the chocolate topping, you’ll need chocolate chips or chopped chocolate bars. Practical substitutions can be made, such as using different types of sugar or chocolate, but these basics provide the foundation for the Twix flavor profile.
Instructions
- Step 1: Begin by preheating your oven to 375°F (190°C). Prepare your cookie dough by whisking together the flour, baking soda, and salt in a medium bowl. In a large bowl, use an electric mixer to cream together the sugars and butter until light and fluffy, then beat in the eggs one at a time, followed by the vanilla extract. Gradually mix in the dry ingredients until a dough forms.
- Step 2: Scoop the cookie dough into balls, about 1 tablespoon each, and place them onto a baking sheet lined with parchment paper. Bake for 12-14 minutes or until the edges are lightly golden. Allow the cookies to cool completely on the baking sheet.
- Step 3: To assemble the Twix cookie cups, place a cooled cookie into the bottom of a mini muffin tin. Drizzle a small amount of caramel sauce over the cookie. Melt the chocolate chips in a microwave-safe bowl in 30-second increments, stirring between each interval, until smooth. Spoon the melted chocolate over the caramel layer, creating the top of the cookie cup.
- Step 4: For the final touches, refrigerate the cookie cups for at least 30 minutes to allow the chocolate to set. Once set, remove them from the muffin tin and serve. You can garnish with additional caramel drizzle or chopped nuts for extra flair.
Handy Tips
- When baking the cookies, ensure they are not overbaked, as this can make them too hard and difficult to work with. A slightly underbaked cookie will yield a better texture for the Twix cookie cups.
- For the caramel layer, heating the caramel sauce gently can make it easier to drizzle and achieve a smooth, even layer.
- Avoid overheating the chocolate, as this can cause it to seize up and become grainy. Stirring between heating intervals and removing it from the heat as soon as it’s melted can prevent this issue.
Heat Control
Heat control is crucial in making the Twix cookie cups, especially when baking the cookies and melting the caramel and chocolate. For the cookies, the ideal temperature is 375°F (190°C), and they should be baked for 12-14 minutes. The caramel and chocolate should be heated gently to prevent burning or seizing. For caramel, a low heat setting or short bursts in the microwave can be effective, while chocolate should be melted in short intervals with stirring in between to achieve a smooth consistency.
Crunch Factor
The crunch factor in Twix cookie cups comes from the cookie base and the texture contrast it provides against the smooth caramel and chocolate. To achieve the right crunch, ensure the cookies are baked until they are lightly golden around the edges but still soft to the touch in the center. This balance ensures that the cookie retains some crunch without becoming too hard. Additionally, if you choose to garnish with nuts or crispy candy pieces, this can add an extra layer of crunch to the dessert.
Pro Kitchen Tricks
- Using high-quality chocolate can elevate the flavor of the Twix cookie cups. Look for chocolate with a high cocoa content for the best taste.
- To make the assembly process easier, chill the cookies and the caramel sauce in the refrigerator before starting. This will help the caramel set faster and make the chocolate easier to work with.
- For a shortcut, consider using store-bought cookie dough or pre-made caramel sauce. These can save time without compromising much on the flavor or quality of the final product.
Storage Tips
- Once assembled, Twix cookie cups can be stored in an airtight container in the refrigerator for up to 5 days. Allow them to come to room temperature before serving for the best flavor and texture.
- For longer storage, consider freezing the baked cookies and assembling the cookie cups just before serving. Frozen cookies can be stored for up to 2 months.
- When reheating, gently warm the cookie cups in the microwave for a few seconds to soften the chocolate and caramel. Be cautious not to overheat, as this can cause the chocolate to melt excessively.
Gift Packaging Ideas
Twix cookie cups make for a wonderful gift, especially when packaged thoughtfully. Consider placing the cookie cups in a decorative tin or a gift box lined with parchment paper. You can also wrap each cookie cup individually in plastic wrap or cellophane bags and tie them with a ribbon for a more personalized touch. Adding a handwritten note or a gift tag with baking instructions can make the gift even more special.
Flavor Variations
- Different spices: Introduce a pinch of sea salt or a teaspoon of cinnamon into the cookie dough for a unique flavor twist.
- Creative toppings: Experiment with different nuts (walnuts, pecans), candy pieces (M&M’s, chopped peanut butter cups), or even dried fruits to add variety to the top of the cookie cups.
- Ingredient swaps: Replace the traditional caramel with a dulce de leche or a peanut butter filling for a different flavor profile. You can also use white chocolate or dark chocolate for the topping instead of milk chocolate.
Troubleshooting
- Texture problems: If the cookies become too hard, they might have been overbaked. For the caramel, if it becomes too runny, it might have been overheated. Chocolate that seizes up can be due to overheating or introducing cold ingredients.
- Ingredient replacements: Always try to substitute ingredients with similar properties. For example, replacing butter with margarine or using gluten-free flours for the cookies.
- Over/undercooking signs: Cookies that are overbaked will be dark golden and hard to the touch. Underbaked cookies will be pale and soft. Caramel that is overheated will darken and smell burnt, while underheated caramel will not be smooth and runny.
FAQs
- Can I freeze it? Yes, you can freeze the baked cookies for up to 2 months. Assemble the cookie cups just before serving for the best results.
- Is it gluten-free? The traditional recipe includes wheat flour, making it not gluten-free. However, you can substitute the flour with a gluten-free alternative to make it suitable for those with gluten intolerance.
- Can I double the recipe? Yes, you can easily double or triple the recipe to make more Twix cookie cups. Just ensure you have enough mini muffin tin space and adjust the baking time slightly if necessary.
Conclusion
Making Twix cookie cups is a fun and rewarding baking project that combines the best of cookies, caramel, and chocolate. With their impressive layered look and delicious flavor combination, they’re perfect for special occasions or as a sweet treat any time of the year. Don’t be afraid to experiment with different flavors and toppings to make the recipe your own. Whether you’re a seasoned baker or just starting out, the Twix cookie cups are sure to become a favorite. So go ahead, get creative, and indulge in the joy of baking and sharing these delightful treats with others.
Twix Cookie Cups
A creative dessert combining a crunchy cookie base, gooey caramel, and rich chocolate, inspired by the classic Twix candy bar.
🥘 Ingredients
👩🍳 Instructions
-
1Preheat oven to 375°F (190°C).
-
2Prepare cookie dough and bake for 12-14 minutes.
-
3Assemble cookie cups by layering cookie, caramel, and chocolate in a mini muffin tin.
-
4Refrigerate for at least 30 minutes to set the chocolate.