What’s the secret to making any day better – a batch of homemade chocolate covered cookies, of course. Rich, velvety chocolate and crunchy cookies come together in this easy treat that’s perfect for a weeknight pick-me-up or family favorite dessert. Save this idea for a quick indulgence anytime.
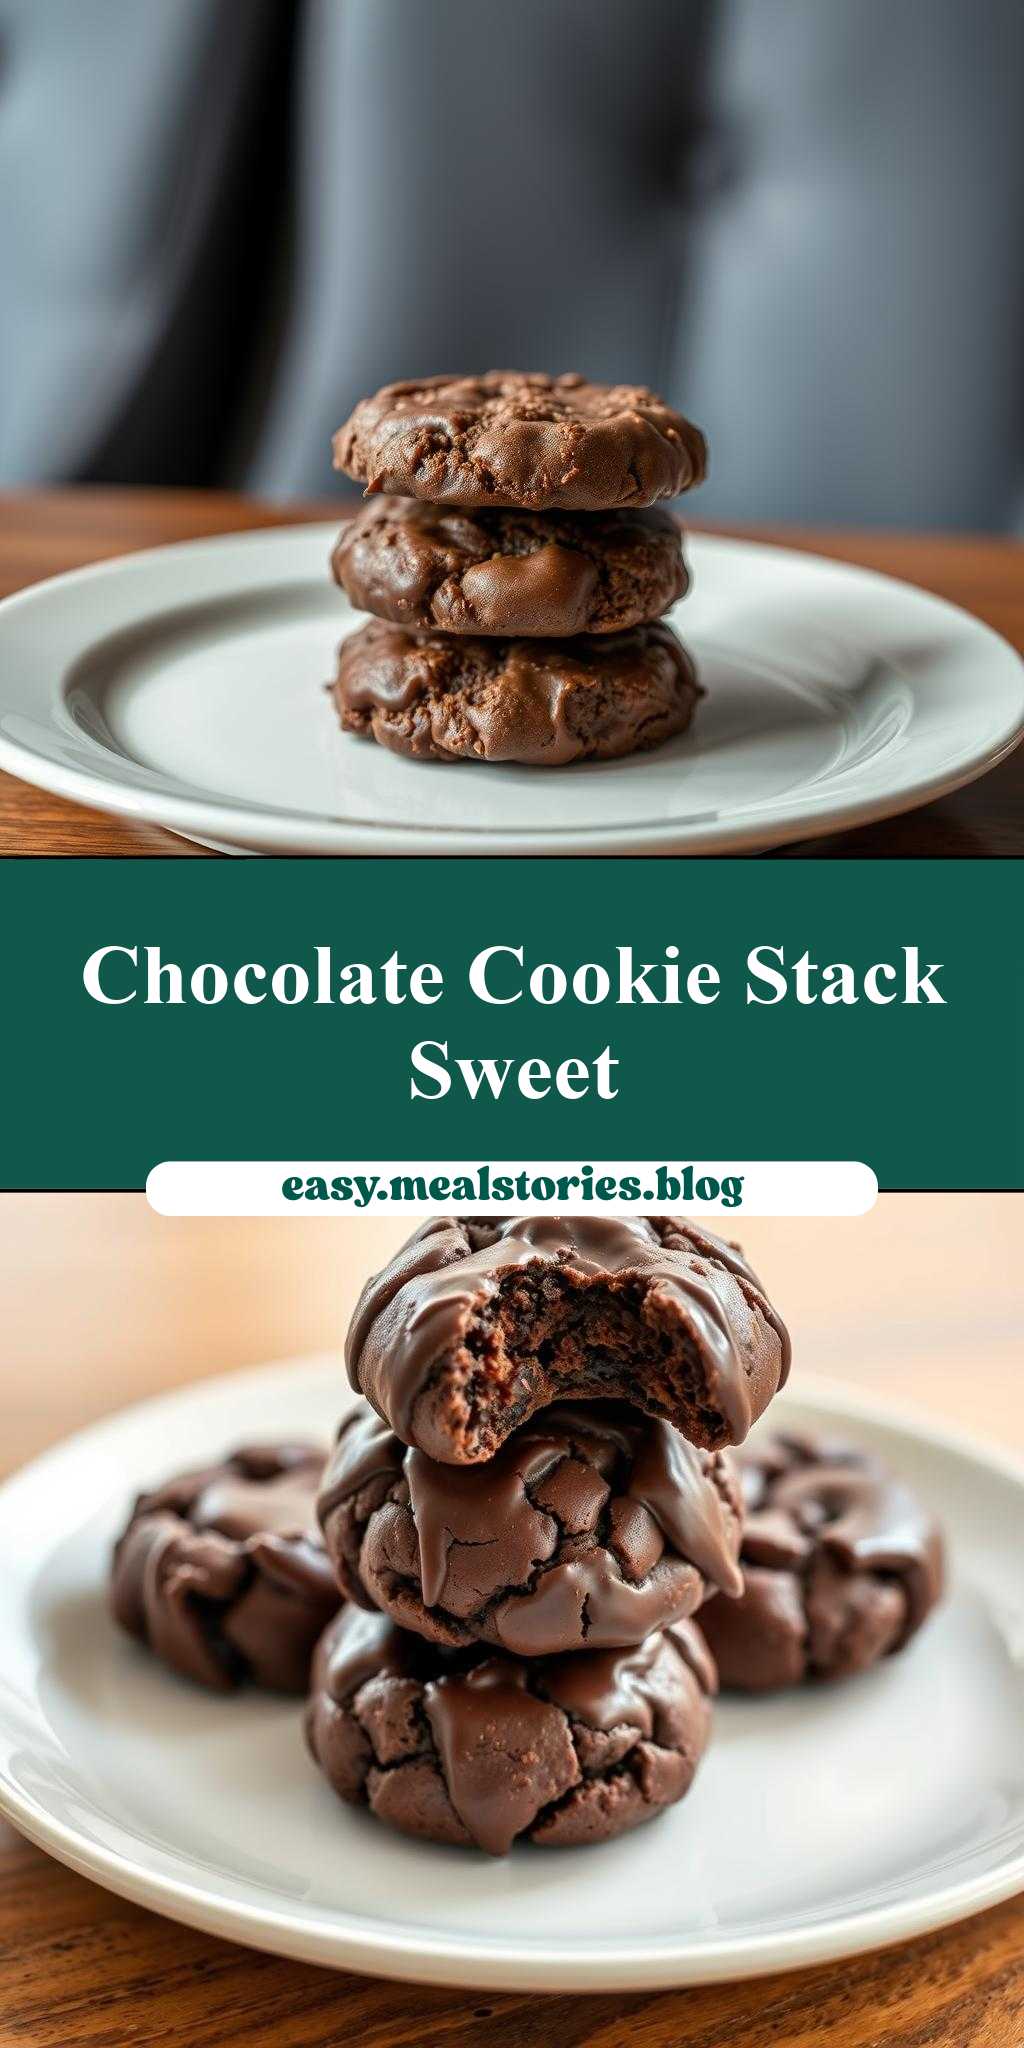
chocolate covered cookies are stacked on top of each other in the middle of a plate
Introduction
Imagine a delightful treat that combines the richness of chocolate with the crunch of cookies, all stacked beautifully on a plate. This dessert is not only a feast for the eyes but also a symphony of flavors and textures that will satisfy any sweet tooth. The best part? It’s incredibly easy to make and requires minimal effort, using everyday ingredients that you might already have in your pantry. Whether you’re a beginner in the kitchen or an experienced baker, this recipe is perfect for anyone looking to impress their family and friends with a creative and delicious dessert.
Why This Works
- Flavor balance and ingredient accessibility: The combination of chocolate and cookies provides a perfect balance of flavors, and the ingredients are easily accessible in most supermarkets.
- Ease of preparation: This dessert requires minimal preparation and cooking time, making it perfect for those short on time or looking for a quick treat.
- Impressive results with minimal effort: The stacked presentation of the chocolate-covered cookies creates a visually stunning dessert that looks like it took hours to prepare, when in reality, it’s quite simple.
Key Ingredients
The main ingredients for this dessert include your favorite type of cookies (such as chocolate chip, oatmeal raisin, or peanut butter cookies), high-quality chocolate (dark, milk, or white), and any additional toppings you might like (such as chopped nuts, sprinkles, or shredded coconut). For the chocolate, you can use chocolate chips, chocolate bars, or even candy melts, depending on the flavor and texture you prefer. Practical substitutions can be made based on dietary restrictions or preferences, such as using gluten-free cookies or vegan chocolate.
Instructions
- Step 1: Begin by preparing your cookies. If you’re using store-bought cookies, you can skip to the next step. If you’re baking your own cookies, follow the recipe to bake them to your desired level of crispiness. Let them cool completely before proceeding.
- Step 2: Melt your chocolate. You can do this in a double boiler or in the microwave in 30-second increments, stirring between each interval until the chocolate is smooth and melted. Be careful not to overheat the chocolate, as it can seize up and become unusable.
- Step 3: Dip each cookie into the melted chocolate, coating it completely. You can use a fork or dipping tool to fully coat the cookie, then tap off any excess chocolate by gently tapping the fork or tool against the side of the bowl. Place the chocolate-covered cookie on a piece of parchment paper or a silicone mat. If desired, sprinkle with toppings before the chocolate hardens.
- Step 4: Allow the chocolate to harden. This can take about 30 minutes to an hour, depending on the temperature and humidity of your environment. Once hardened, you can start stacking the cookies on a plate or serving dish. Begin with a base cookie, then add a dab of melted chocolate on top of it, and place another cookie on top. Continue this process, creating a stack that is stable and visually appealing.
Handy Tips
- To prevent the cookies from becoming too messy or difficult to stack, make sure the chocolate is fully hardened before handling them. If you’re finding that your chocolate is not hardening, check the temperature of your environment, as chocolate hardens best in cooler temperatures.
Heat Control
If you’re melting your chocolate in the microwave, be cautious of the heat. Chocolate can easily become too hot and seize up, making it unusable for dipping. If you notice your chocolate starting to smell burnt or seeing it become too thick and grainy, it’s best to start over with a new batch of chocolate.
Crunch Factor
The crunch factor in this dessert comes from the cookies themselves and any additional toppings you might add, such as nuts or sprinkles. To achieve the perfect crunch, ensure that your cookies are baked to your desired level of crispiness before coating them in chocolate. If you prefer a chewier cookie, bake them for a shorter amount of time. For a crisper cookie, bake them for a few minutes longer.
Pro Kitchen Tricks
- To make your chocolate-covered cookies look more professional, use a turntable or a cake stand to display them. This will add a touch of elegance to your presentation.
- Experiment with different types of chocolate and cookie combinations to find your favorite flavor pairing. This can add a fun and creative element to your dessert.
Storage Tips
- Store your chocolate-covered cookies in an airtight container at room temperature for up to 5 days. If you live in a particularly humid climate, it’s best to store them in the refrigerator to prevent the chocolate from becoming too soft or sticky.
- If you want to freeze your cookies, it’s best to do so before coating them in chocolate. Place the cooled cookies in a single layer in a freezer-safe bag or container and freeze for up to 2 months. When you’re ready to enjoy them, simply thaw at room temperature, then coat in chocolate.
Gift Packaging Ideas
If you’re looking to give your chocolate-covered cookies as a gift, consider packaging them in a decorative tin, jar, or box. You can wrap each cookie individually in plastic wrap or parchment paper and place them in the container, or stack them neatly and wrap the entire stack in cellophane or a gift bag. Add a ribbon or gift tag for a personal touch.
Flavor Variations
- Different spices: Add a pinch of salt, cinnamon, or cayenne pepper to your melted chocolate for a unique flavor twist.
- Creative toppings: Use chopped nuts, shredded coconut, sprinkles, or even candy pieces to add texture and visual appeal to your cookies.
- Ingredient swaps: Substitute your cookies with wafers, pretzels, or even cereal for a different texture and flavor combination.
Troubleshooting
- Texture problems: If your chocolate is too thick, try warming it slightly. If it’s too thin, let it cool and thicken before using.
- Ingredient replacements: If you don’t have a particular type of cookie or chocolate, feel free to substitute with what you have on hand. The beauty of this recipe is its flexibility.
- Over/undercooking signs: Make sure your cookies are baked to the right level of crispiness, and your chocolate is melted to the right consistency. Overheating the chocolate can cause it to seize up, while underheating can leave it too soft.
FAQs
- Can I freeze it? Yes, you can freeze your cookies before coating them in chocolate. Simply place them in a single layer in a freezer-safe bag or container and freeze for up to 2 months.
- Is it gluten-free? Depending on the type of cookies you use, this dessert can be gluten-free. Look for gluten-free cookie options or bake your own using gluten-free flours.
- Can I double the recipe? Absolutely! Simply double the amount of cookies and chocolate you use. Keep in mind that melting larger quantities of chocolate may require more time and attention to prevent overheating.
Conclusion
This recipe for chocolate-covered cookies stacked on a plate is a fun and creative dessert idea that’s perfect for any occasion. With its ease of preparation, impressive presentation, and delicious flavor combination, it’s sure to be a hit with family and friends. Don’t be afraid to experiment with different types of cookies and chocolate, and add your own personal touches with creative toppings and packaging ideas. Whether you’re a seasoned baker or a beginner in the kitchen, this dessert is sure to bring a smile to everyone’s face.
chocolate covered cookies are stacked on top of each other in the middle of a plate
A delicious and visually appealing dessert made with chocolate-covered cookies stacked on a plate, perfect for any occasion.
🥘 Ingredients
👩🍳 Instructions
-
1Prepare your cookies by baking them to your desired level of crispiness or using store-bought cookies.
-
2Melt your chocolate in a double boiler or in the microwave in 30-second increments, stirring between each interval until smooth.
-
3Dip each cookie into the melted chocolate, coating it completely, then place on parchment paper or a silicone mat.
-
4Allow the chocolate to harden, then stack the cookies on a plate or serving dish to create a visually appealing presentation.