What makes a cake truly irresistible? For me, it’s the surprise of Oreos on top. This easy homemade dessert is perfect for a weeknight treat, featuring moist cake and crunchy cookies as the star ingredients. Save this idea for a family favorite dessert to make later.
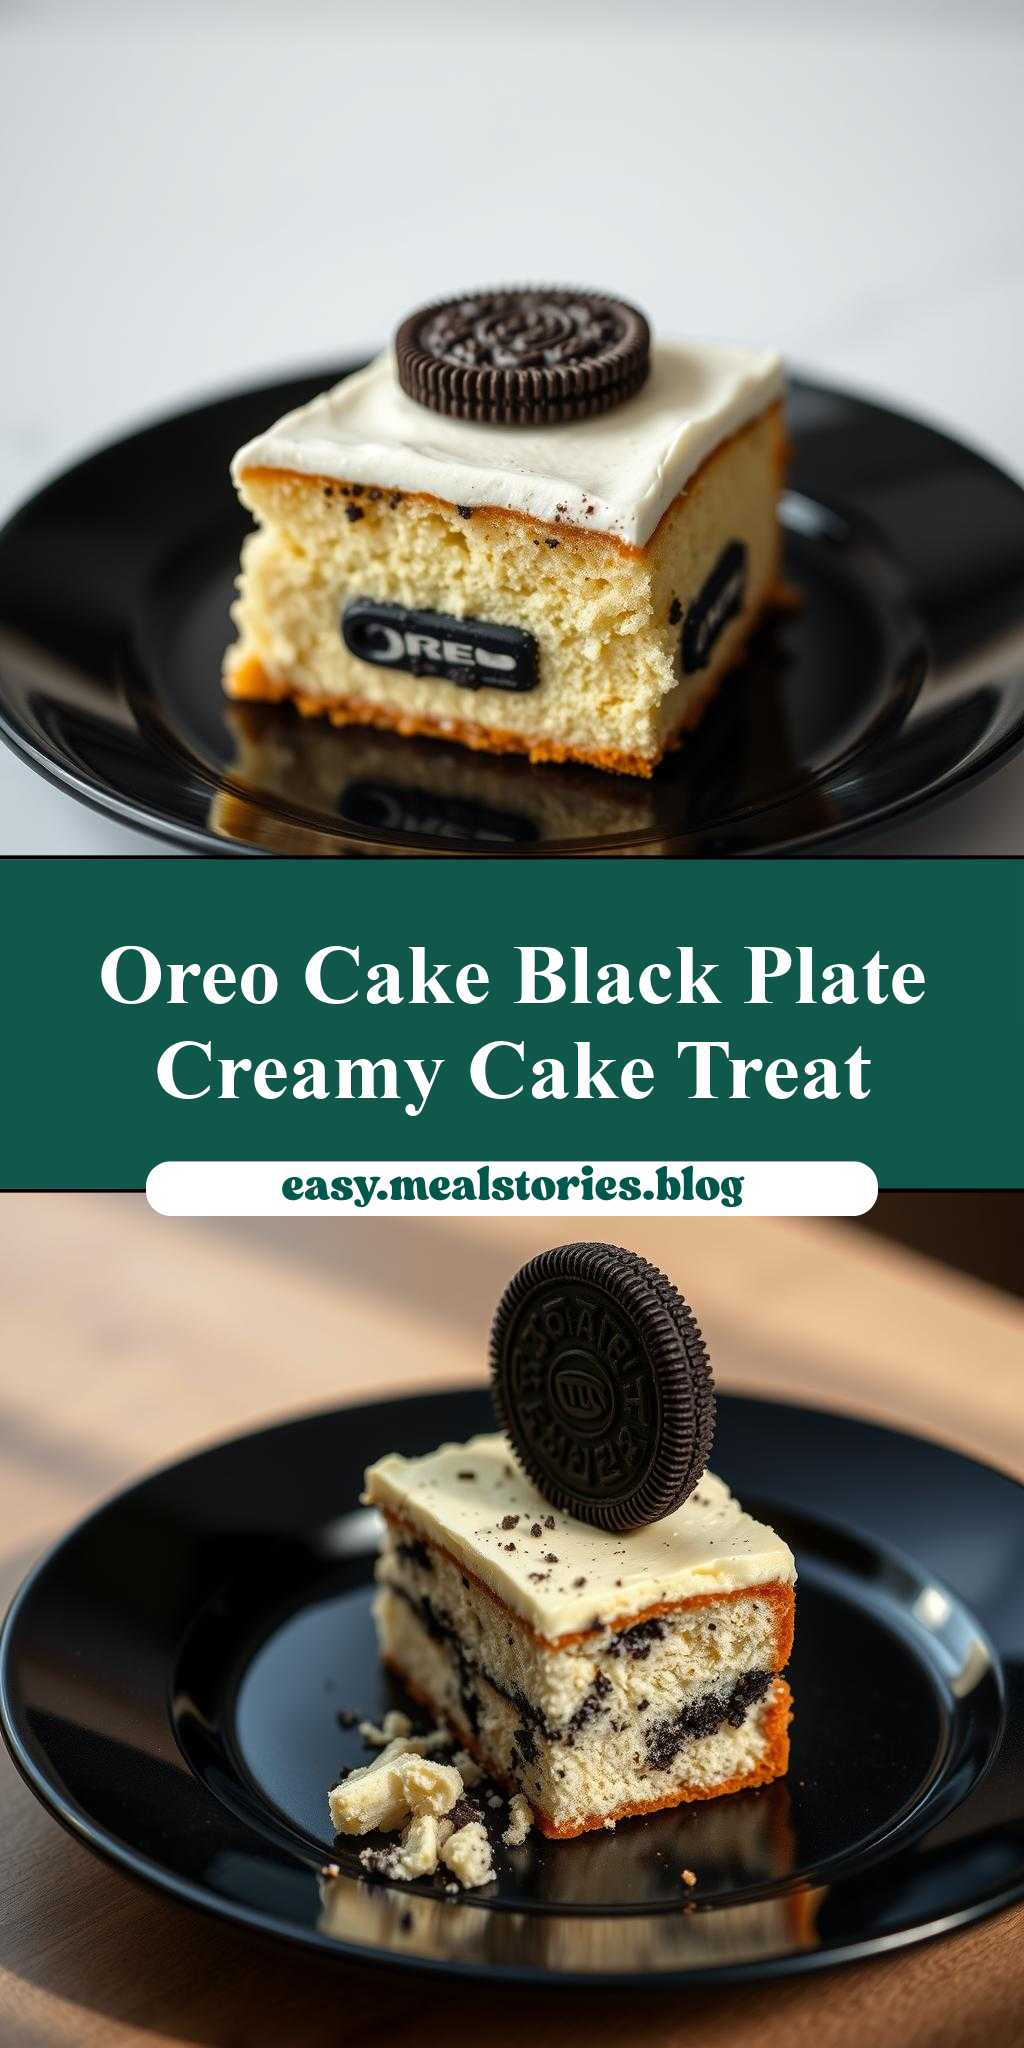
a piece of cake with oreo cookies on top is sitting on a black plate
Introduction
Imagine a moist and decadent cake, topped with a delightful arrangement of Oreo cookies, all perfectly placed on a sleek black plate. This stunning dessert is not just a treat for the taste buds, but also a feast for the eyes. The best part? It’s incredibly easy to make, requiring only a few everyday ingredients and some basic kitchen skills. Whether you’re a seasoned baker or a beginner, this recipe is sure to impress your family and friends with its perfect balance of flavors and textures. So, let’s dive into the world of cake and Oreo cookies, and explore how to create this masterpiece in the comfort of your own home.
Why This Works
- Flavor balance and ingredient accessibility: The combination of a rich, velvety cake and the crunch of Oreo cookies creates a match made in heaven. Plus, all the ingredients are easily found in most supermarkets, making it a convenient option for anyone.
- Ease of preparation: Despite its impressive appearance, this dessert is surprisingly simple to prepare. The cake mix can be quickly assembled, and the Oreos can be arranged on top with minimal fuss.
- Impressive results with minimal effort: The end result is a visually stunning dessert that’s sure to impress, all without requiring hours of intricate preparation or specialized baking skills.
Key Ingredients
To make this delicious cake with Oreo cookies on top, you’ll need the following key ingredients: a box of moist vanilla or chocolate cake mix, a package of Oreo cookies, a container of whipped cream or frosting, and some basic pantry staples like eggs, oil, and water. For the cake, you can choose either a vanilla or chocolate mix, depending on your personal preference. The Oreo cookies can be either the classic variety or one of the many fun flavors available, such as mint or peanut butter. If you want to get creative, you can also use different types of cookies or wafers on top of the cake.
Instructions
- Step 1: Begin by preheating your oven to the temperature specified on the cake mix box. While the oven is warming up, prepare the cake mix according to the instructions on the box, using the required amount of eggs, oil, and water. Mix everything together until you have a smooth, consistent batter.
- Step 2: Pour the cake batter into a greased and floured cake pan, and then place it in the oven. Bake the cake for the recommended amount of time, or until a toothpick inserted into the center comes out clean. Once the cake is done, remove it from the oven and let it cool completely on a wire rack.
- Step 3: While the cake is cooling, you can start preparing the toppings. If you’re using whipped cream, now is the time to whip it up according to your desired consistency. If you’re using frosting, you can simply remove it from the fridge and let it soften at room temperature. Once the cake is completely cool, you can spread a layer of whipped cream or frosting on top of it.
- Step 4: Finally, it’s time to add the Oreo cookies on top of the cake. You can arrange them in a pattern or simply place them randomly, depending on your personal preference. To finish, place the cake on a black plate and serve immediately.
Handy Tips
- To ensure that your cake turns out moist and delicious, make sure to not overmix the batter. Stop mixing as soon as all the ingredients are combined, and then pour the batter into the prepared cake pan.
- If you’re using whipped cream, be careful not to over-whip it, as this can make it too stiff and separate. Stop whipping once the cream has reached your desired consistency, and then use it immediately.
- To make the cake more stable and easier to serve, you can place a small dollop of whipped cream or frosting on the bottom of the cake before placing it on the black plate. This will help prevent the cake from sliding around or toppling over.
Heat Control
If you’re baking the cake in the oven, it’s essential to keep an eye on the temperature and timing to ensure that it turns out perfectly. The ideal temperature for baking a cake is usually between 350°F and 375°F, depending on the type of cake mix you’re using. As for the timing, follow the instructions on the cake mix box for the recommended baking time. You can also check the cake for doneness by inserting a toothpick into the center – if it comes out clean, the cake is ready.
Crunch Factor
The crunch factor in this dessert comes from the Oreo cookies on top of the cake. To achieve the perfect crunch, make sure to handle the cookies gently when arranging them on top of the cake, as you don’t want to crush or break them. You can also experiment with different types of cookies or wafers to find the perfect texture and flavor combination.
Pro Kitchen Tricks
- To make the cake more visually appealing, you can use a turntable or a cake stand to display it. This will allow you to show off the cake from all angles and add a touch of professionalism to your presentation.
- If you’re short on time, you can use a store-bought cake or whipped cream to speed up the preparation process. Simply follow the instructions on the package, and then arrange the Oreo cookies on top of the cake as desired.
- To make cleanup easier, make sure to grease and flour the cake pan properly before adding the batter. This will prevent the cake from sticking to the pan and make it easier to remove once it’s done baking.
Storage Tips
- If you’re not serving the cake immediately, you can store it in an airtight container in the fridge for up to 3 days. Make sure to keep it away from strong-smelling foods, as the cake can absorb odors easily.
- To freeze the cake, wrap it tightly in plastic wrap or aluminum foil and place it in a freezer-safe bag. The cake can be frozen for up to 2 months, and then thawed at room temperature or in the fridge when you’re ready to serve it.
- When reheating the cake, you can use the microwave or the oven. If using the microwave, heat the cake for 10-15 seconds at a time, checking on it until it’s warmed through. If using the oven, heat the cake at 350°F for 5-10 minutes, or until it’s warmed through.
Gift Packaging Ideas
If you want to give this delicious cake as a gift, there are several packaging ideas you can use. One option is to place the cake in a decorative cake box or tin, and then wrap it in ribbon or gift wrap. You can also use a cake stand or turntable to display the cake, and then wrap the entire thing in plastic wrap or cellophane. Another idea is to place the cake in a gift basket filled with other sweet treats, such as cookies or chocolates.
Flavor Variations
- Different spices: You can add different spices to the cake mix to give it a unique flavor. Some options include cinnamon, nutmeg, or cardamom.
- Creative toppings: In addition to Oreo cookies, you can use other creative toppings to decorate the cake. Some options include chopped nuts, sprinkles, or shredded coconut.
- Ingredient swaps: If you want to make the cake more decadent, you can swap out the cake mix for a homemade recipe using high-quality ingredients like dark chocolate or heavy cream.
Troubleshooting
- Texture problems: If the cake turns out too dense or dry, you can try adding more liquid to the batter or using a different type of cake mix. If the cake is too wet or soggy, you can try adding more flour or cooking it for a longer time.
- Ingredient replacements: If you’re missing an ingredient or want to make a substitution, you can try using a different type of milk or oil. For example, you can use almond milk instead of regular milk, or coconut oil instead of vegetable oil.
- Over/undercooking signs: If the cake is overcooked, it will be dry and crumbly. If it’s undercooked, it will be wet and soggy. To avoid these problems, make sure to follow the instructions on the cake mix box and check the cake frequently while it’s baking.
FAQs
- Can I freeze it? Yes, you can freeze the cake for up to 2 months. Simply wrap it tightly in plastic wrap or aluminum foil and place it in a freezer-safe bag.
- Is it gluten-free? No, this cake recipe is not gluten-free. However, you can try using a gluten-free cake mix or substituting the flour with a gluten-free alternative.
- Can I double the recipe? Yes, you can double the recipe to make a larger cake. Simply multiply all the ingredients by two and follow the same instructions as before.
Conclusion
In conclusion, this recipe for a piece of cake with Oreo cookies on top is a simple yet impressive dessert that’s perfect for any occasion. With its moist and delicious cake, crunchy Oreo cookies, and easy preparation, it’s a treat that’s sure to please both kids and adults. Whether you’re a seasoned baker or a beginner, this recipe is a great way to get creative in the kitchen and make something truly special. So why not give it a try today and see what you can create?
a piece of cake with oreo cookies on top is sitting on a black plate
A moist and decadent cake topped with Oreo cookies, perfect for any occasion
🥘 Ingredients
👩🍳 Instructions
-
1Preheat the oven to 350°F
-
2Prepare the cake mix according to the instructions on the box
-
3Pour the cake batter into a greased and floured cake pan
-
4Bake the cake for 30 minutes, or until a toothpick inserted into the center comes out clean