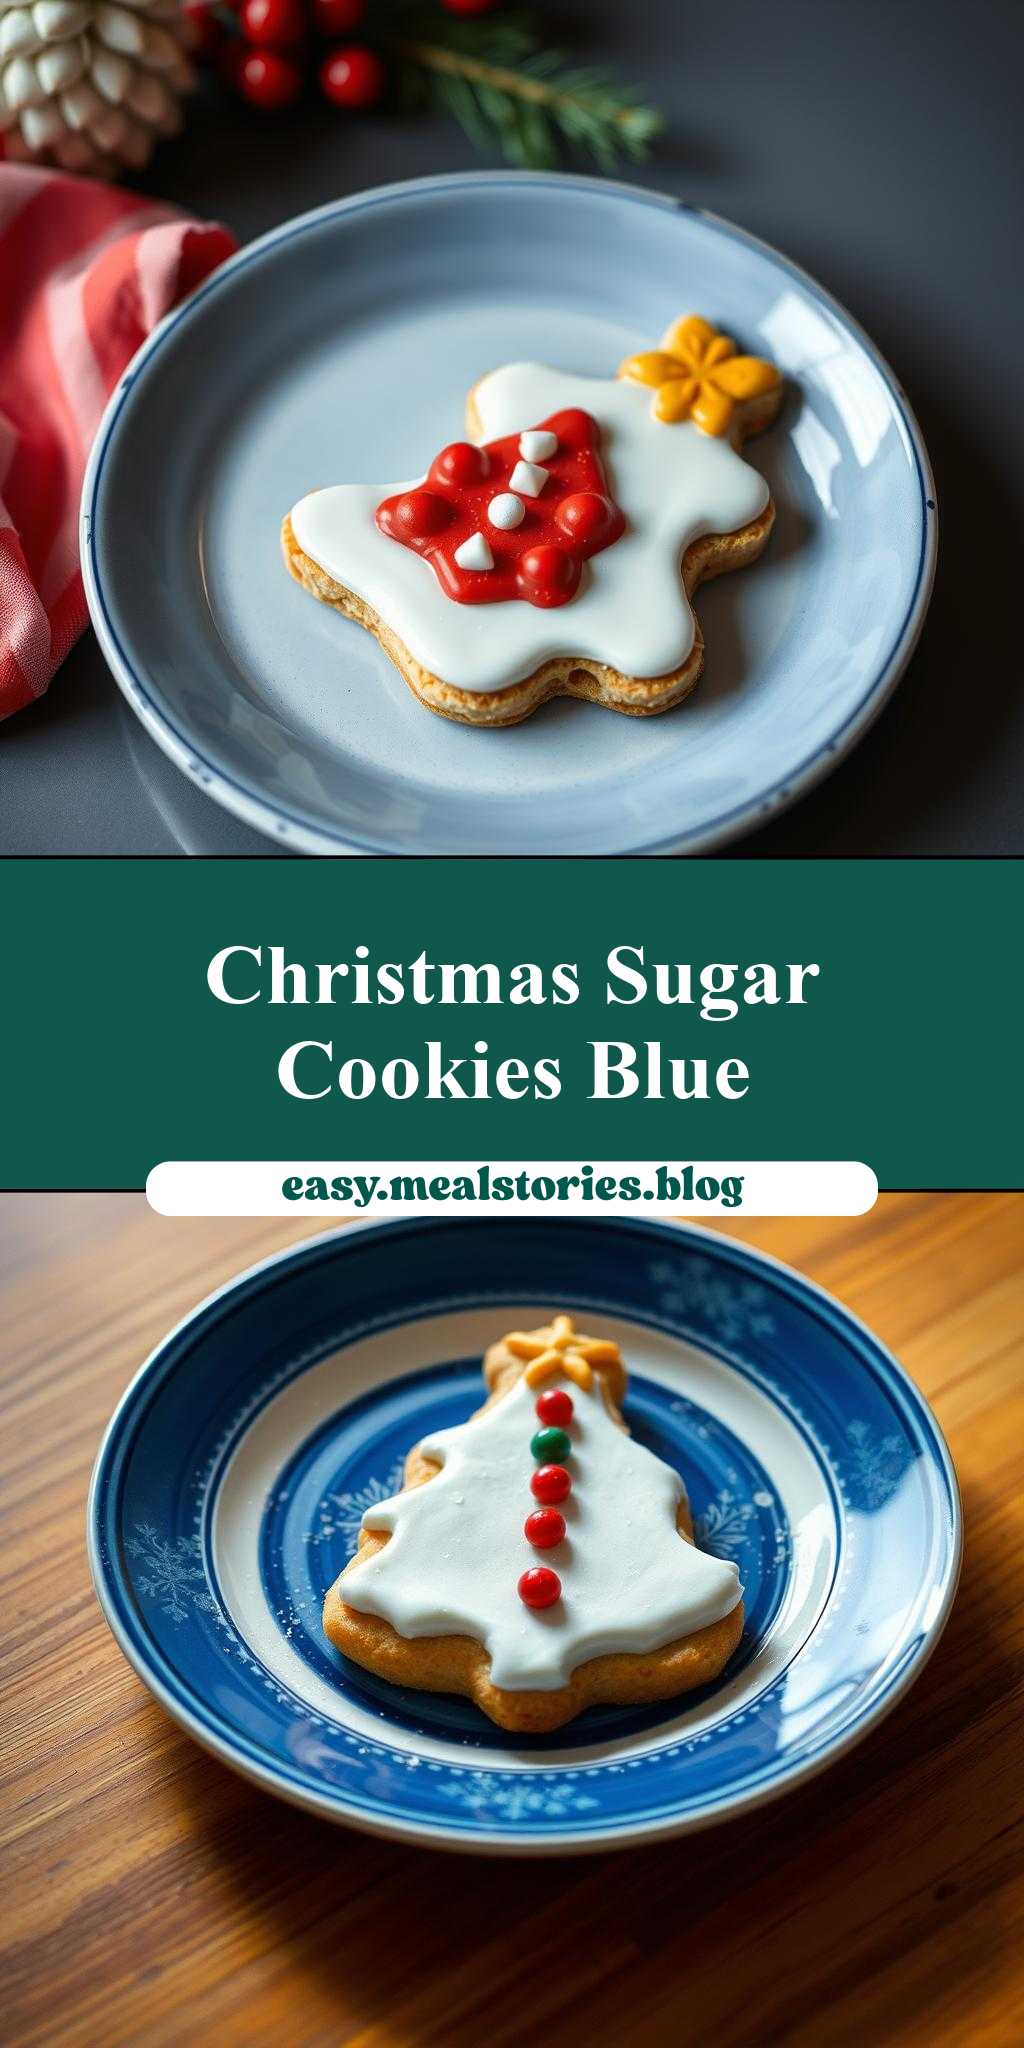
What makes Christmas cookies truly special is the love that goes into decorating them, especially when they’re made with butter and sugar and presented on a beautiful blue and white plate. This easy recipe for homemade cookies is a family favorite, perfect for a weeknight dinner treat. Save this idea for your holiday baking inspiration.
Decorated Christmas Cookies on a Blue and White Plate
Introduction
Baking and decorating Christmas cookies is a beloved holiday tradition that brings joy and warmth to our homes. With this recipe, you can create beautifully decorated Christmas cookies on a blue and white plate, perfect for gift-giving, holiday parties, or simply enjoying with your loved ones. The best part? You can make these delicious treats using everyday ingredients and with minimal effort. In this article, we’ll guide you through the process of making and decorating these stunning cookies, and provide you with helpful tips and tricks to make your holiday baking a success.
Why This Works
- Flavor balance and ingredient accessibility: Our recipe uses a combination of classic Christmas flavors like vanilla, sugar, and spices, which are easily found in most grocery stores.
- Ease of preparation: The dough is simple to make and requires minimal chilling time, making it perfect for a quick holiday baking session.
- Impressive results with minimal effort: With our step-by-step decorating guide, you’ll be able to create beautiful and intricate designs on your cookies, even if you’re a beginner.
Key Ingredients
To make these decorated Christmas cookies, you’ll need the following ingredients: all-purpose flour, baking powder, baking soda, salt, granulated sugar, brown sugar, unsalted butter, large eggs, pure vanilla extract, and festive sprinkles or decorations of your choice. You can also use practical substitutions like using salted butter and omitting the added salt, or replacing the vanilla extract with almond extract for a different flavor.
Instructions
- Step 1: Preheat your oven to 375°F (190°C) and line a baking sheet with parchment paper. In a medium-sized bowl, whisk together the flour, baking powder, baking soda, and salt. Set aside.
- Step 2: In a large bowl, use an electric mixer to cream together the granulated sugar, brown sugar, and unsalted butter until light and fluffy. Beat in the eggs one at a time, followed by the vanilla extract.
- Step 3: Gradually mix in the dry ingredients until a dough forms. Wrap the dough in plastic wrap and refrigerate for at least 30 minutes.
- Step 4: On a lightly floured surface, roll out the dough to about 1/4 inch thickness. Use your favorite Christmas cookie cutters to cut out shapes. Place the cookies on the prepared baking sheet and bake for 10-12 minutes, or until lightly golden.
Handy Tips
- Make sure to chill the dough long enough to allow the flavors to meld and the dough to firm up, making it easier to roll out and cut into shapes.
- Use a variety of cookie cutters to create a fun and eclectic mix of shapes and sizes.
- Don’t overbake the cookies – they should be lightly golden and still slightly soft to the touch.
Heat Control
When baking the cookies, it’s essential to keep an eye on the temperature and timing to ensure they turn out perfectly. The ideal temperature is 375°F (190°C), and the cookies should be baked for 10-12 minutes, or until lightly golden. Keep an eye on them after 8 minutes, as the baking time may vary depending on the size and thickness of the cookies.
Crunch Factor
The crunch factor of these cookies is achieved by baking them until they’re lightly golden and still slightly soft to the touch. If you prefer a crisper cookie, you can bake them for an additional 2-3 minutes. However, be careful not to overbake, as this can make the cookies dry and hard.
Pro Kitchen Tricks
- Use a silicone mat or parchment paper to line your baking sheet, making it easy to remove the cookies once they’re baked.
- Invest in a set of high-quality cookie cutters that will make cutting out shapes a breeze.
- Make a double batch of dough and freeze it for up to 2 months, making it easy to whip up a batch of fresh cookies whenever you need them.
Storage Tips
- Store the cookies in an airtight container at room temperature for up to 5 days.
- Freeze the cookies for up to 2 months, either on their own or decorated.
- When storing decorated cookies, make sure to place them in a single layer in the container to prevent the decorations from getting damaged.
Gift Packaging Ideas
These decorated Christmas cookies make perfect gifts for friends, family, and neighbors. Consider packaging them in decorative tins or jars, or wrapping them individually in cellophane bags and tying with a ribbon. You can also create a beautiful gift basket filled with a variety of cookies, along with a few other sweet treats like fudge or candy canes.
Flavor Variations
- Try adding a teaspoon of ground cinnamon or nutmeg to the dough for an extra boost of flavor.
- Use different types of sprinkles or decorations to create unique and colorful designs.
- Replace the vanilla extract with almond extract for a delicious and distinctive flavor.
Troubleshooting
- If your cookies are too hard or dry, it may be because you overbaked them. Try baking them for a shorter amount of time next time.
- If your cookies are too soft or chewy, it may be because you underbaked them. Try baking them for a longer amount of time next time.
- If your decorations are not sticking to the cookies, it may be because the cookies are too warm or too cold. Try decorating them when they’re at room temperature.
FAQs
- Can I freeze the dough? Yes, you can freeze the dough for up to 2 months. Simply wrap it tightly in plastic wrap or aluminum foil and place it in a freezer-safe bag.
- Is this recipe gluten-free? No, this recipe contains wheat flour and is not gluten-free. However, you can try substituting the flour with a gluten-free flour blend to make a gluten-free version.
- Can I double the recipe? Yes, you can easily double or triple the recipe to make a larger batch of cookies. Just keep in mind that you may need to adjust the baking time slightly.
Conclusion
With this recipe, you’ll be able to create beautifully decorated Christmas cookies on a blue and white plate that are perfect for the holiday season. Remember to have fun and be creative with your decorations, and don’t be afraid to experiment with different flavors and ingredients. Happy baking, and we hope you enjoy these delicious treats with your loved ones!
Decorated Christmas Cookies on a Blue and White Plate
A classic Christmas cookie recipe with a decorative twist, perfect for gift-giving or enjoying with loved ones.
🥘 Ingredients
👩🍳 Instructions
-
1Preheat oven to 375°F (190°C) and line a baking sheet with parchment paper.
-
2Whisk together flour, baking powder, baking soda, and salt in a medium bowl.
-
3Cream together sugar, brown sugar, and butter in a large bowl until light and fluffy.
-
4Beat in eggs one at a time, followed by vanilla extract.
-
5Gradually mix in dry ingredients until a dough forms.
-
6Roll out dough to 1/4 inch thickness and cut into shapes using cookie cutters.
-
7Place cookies on prepared baking sheet and bake for 10-12 minutes, or until lightly golden.
-
8Allow cookies to cool on baking sheet for 5 minutes, then transfer to a wire rack to cool completely.
-
9Decorate cookies with festive sprinkles or decorations of your choice.
-
10Serve and enjoy!