What’s the ultimate comfort food to brighten up any day? Rich chocolate ice cream made with heavy cream and dark cocoa is a game changer for a quick and easy family favorite dessert. Save this idea for a homemade treat to enjoy on a weeknight
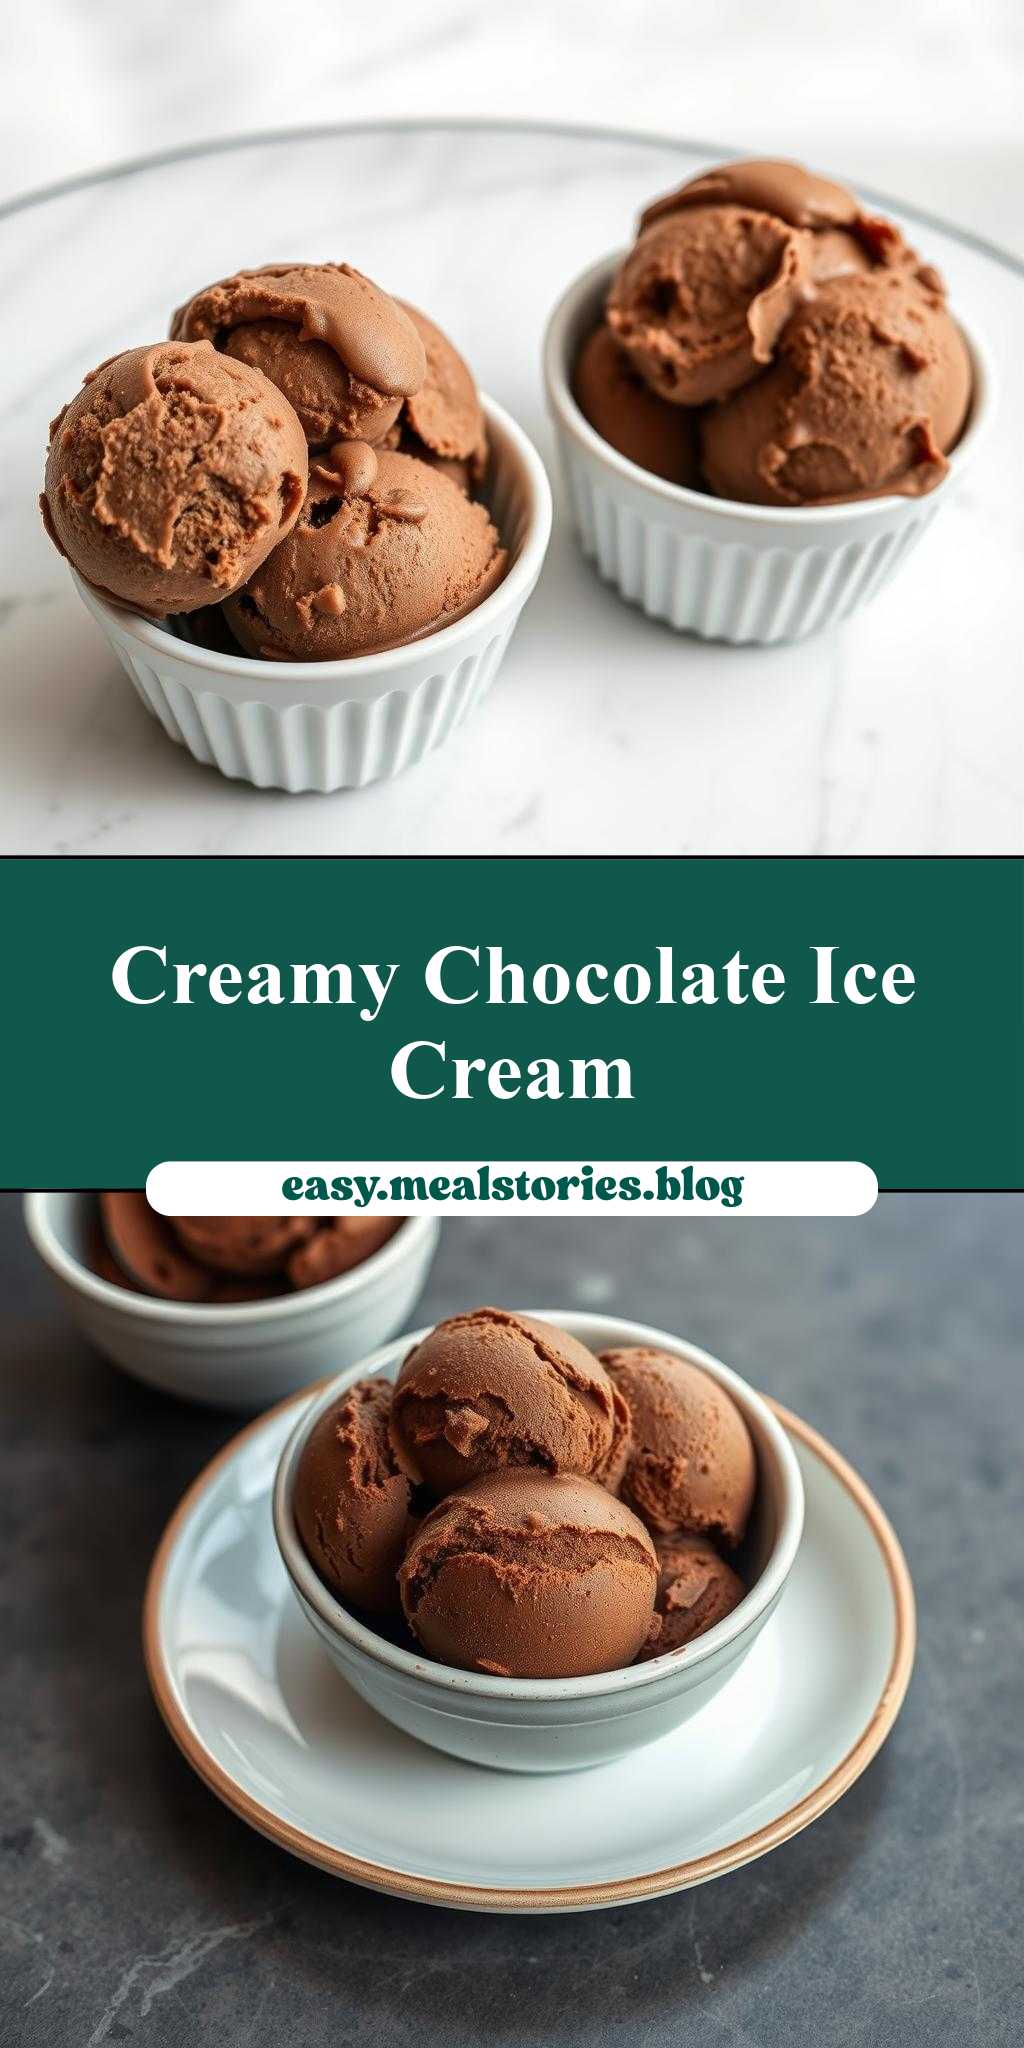
two bowls filled with chocolate ice cream on top of a table
Introduction
Imagine the delight of indulging in a decadent treat that combines the richness of chocolate with the creamy texture of ice cream, all presented in a visually appealing way. This recipe for two bowls filled with chocolate ice cream on top of a table is not just about the taste; it’s an experience that combines ease, flavor, and creativity using everyday ingredients. With this guide, you’ll discover how to create a stunning dessert that’s perfect for special occasions or simply as a way to brighten up an ordinary day. The best part? It requires minimal effort and ingredients that are easily accessible, making it a go-to choice for anyone with a sweet tooth.
Why This Works
- Flavor balance and ingredient accessibility: The combination of chocolate ice cream with potential toppings or mix-ins creates a balanced flavor profile that’s both rich and refreshing. The ingredients are readily available in most grocery stores, making it convenient to prepare.
- Ease of preparation: This dessert requires no cooking and minimal preparation time, making it ideal for those who want a quick and delicious treat without the hassle of complex recipes.
- Impressive results with minimal effort: Despite its simplicity, the presentation of two bowls filled with chocolate ice cream can be quite impressive, especially when garnished with fresh fruits, nuts, or chocolate shavings, making it perfect for entertaining guests.
Key Ingredients
The main ingredient for this recipe is, of course, chocolate ice cream. You can either purchase your favorite brand from the store or make your own using cream, sugar, cocoa powder, and a pinch of salt. For a more decadent treat, consider adding mix-ins like chocolate chips, nuts, or caramel sauce. Fresh fruits such as strawberries, blueberries, or raspberries can add a refreshing contrast to the richness of the chocolate. Practical substitutions can include using different types of ice cream flavors or experimenting with various nuts and fruits to find your perfect combination.
Instructions
- Step 1: Begin by preparing your ingredients. If you’re using store-bought ice cream, simply remove it from the freezer and let it sit at room temperature for a few minutes to soften slightly. If making your own, follow your recipe to churn the ice cream.
- Step 2: Scoop the chocolate ice cream into two bowls. The amount per bowl can vary based on serving size preferences, but a general rule of thumb is about 1 to 1.5 cups per serving.
- Step 3: Layer flavors or textures by adding your chosen mix-ins or toppings. This could be as simple as sprinkling a few chocolate chips on top or as elaborate as creating a sauce from melted chocolate and heavy cream to drizzle over the ice cream.
- Step 4: Final touches and plating involve garnishing your bowls. Consider using fresh fruits, a sprinkle of cinnamon or cocoa powder, or even a few nuts to add texture and visual appeal. The presentation is key to making this dish special, so don’t hesitate to get creative.
Handy Tips
- One of the most helpful kitchen advice for this recipe is to work quickly when scooping the ice cream to prevent it from melting. Keeping your bowls and utensils in the freezer for a few minutes before serving can also help in maintaining the temperature of the ice cream.
- Consider using a variety of mix-ins to cater to different tastes. This could include nuts for those looking for a crunchy texture, caramel sauce for an added layer of sweetness, or even a sprinkle of sea salt to balance the flavors.
- Avoid overmixing if you’re adding ingredients into your homemade ice cream, as this can lead to an icy texture. Similarly, be mindful of the melting point of your ice cream; if it starts to melt too quickly, place the bowls in the freezer for a few minutes to firm up before serving.
Heat Control
Since this recipe primarily involves frozen ingredients, heat control is more about maintaining the cold temperature of the ice cream rather than achieving a specific heat level. If you’re cooking any toppings, such as caramelizing nuts or making a hot fudge sauce, ensure you’re using the right heat setting to prevent burning. For caramelizing, a medium heat is usually sufficient, while hot fudge sauce can be made by melting chocolate and cream over low heat, stirring constantly.
Crunch Factor
The desired texture for this dessert can vary, but a common aim is to achieve a combination of creamy ice cream with crunchy elements from nuts or cookie pieces. To ensure your ice cream remains creamy, avoid temperature fluctuations and mix-ins that might introduce ice crystals. For the crunchy factor, toasted nuts or even crushed cookies can be added on top of the ice cream. The key is to balance textures without overpowering the main ingredient.
Pro Kitchen Tricks
- One expert tip for better results is to use high-quality chocolate for the best flavor. Whether you’re making your own ice cream or using store-bought, the type of chocolate used can significantly impact the taste.
- A shortcut for those making their own ice cream is to use a mixer with an ice cream attachment, which can churn the mixture to the perfect consistency in less than 30 minutes.
- A cleanup hack involves preparing your toppings and mix-ins ahead of time and storing them in airtight containers. This not only saves time but also reduces the mess in the kitchen, making cleanup easier.
Storage Tips
- For leftover ice cream, store it in an airtight container in the freezer to prevent ice crystals from forming. If you’ve added mix-ins, it’s best to consume the ice cream within a day or two for optimal texture and flavor.
- Reheating tips aren’t typically necessary for ice cream, but if you’re making a sauce to accompany it, such as hot fudge, consider reheating it gently over low heat, whisking constantly, to prevent scorching.
- The shelf life of ice cream can vary, but generally, homemade ice cream is best consumed within a week, while store-bought can last several months. Always check the packaging for expiration dates or “best by” recommendations.
- The best containers for storing ice cream are those that are airtight and can protect the ice cream from freezer odors and moisture. Consider using glass or plastic containers with tight-fitting lids.
Gift Packaging Ideas
If you’re considering gifting this dessert, presentation is everything. One idea is to fill decorative bowls or glasses with the ice cream and top with a gift-worthy arrangement of fruits, nuts, or chocolates. Wrap each bowl in a clear plastic bag and tie with a ribbon, or place them in a gift box lined with ice packs to keep the ice cream frozen during transport. Another option is to package the ingredients for a DIY ice cream sundae bar, including different toppings and a pint of your favorite ice cream, and let the recipient create their own masterpiece.
Flavor Variations
- Different spices can add unique twists to your chocolate ice cream. Consider adding a pinch of cinnamon, nutmeg, or cayenne pepper to give it an extra depth of flavor.
- Creative toppings can range from traditional choices like whipped cream, chocolate chips, and chopped nuts to more adventurous options like caramelized bananas, peanut butter cups, or even crispy bacon for a sweet and savory combination.
- Ingredient swaps can completely change the character of your dessert. For example, using coconut milk instead of cream can give your ice cream a lighter, dairy-free version, while substituting dark chocolate for milk chocolate can intensify the flavor.
Troubleshooting
- Texture problems, such as ice cream that’s too hard or too soft, can often be resolved by adjusting the freezing time or the temperature at which it’s stored. Adding too many mix-ins can also affect the texture, so it’s best to add them sparingly.
- Ingredient replacements should be done thoughtfully, considering how each substitution might affect the final product. For example, replacing sugar with honey will not only change the sweetness level but also add a distinct flavor.
- Over/undercooking signs aren’t typically a concern for ice cream, but if you’re preparing toppings, be aware of the cooking times and temperatures to prevent burning or undercooking. A good rule of thumb is to cook until the toppings are lightly toasted or fragrant, indicating they’re ready.
FAQs
- Can I freeze it? Yes, ice cream is meant to be frozen. If you’re making your own, the freezing process is crucial for achieving the right consistency. Store-bought ice cream should also be kept in the freezer until serving.
- Is it gluten-free? Most ice cream is naturally gluten-free, but it depends on the ingredients used. If you’re adding mix-ins like cookie dough or brownies, ensure they are gluten-free to accommodate dietary restrictions.
- Can I double the recipe? Absolutely, doubling the recipe is as simple as multiplying the ingredients. Keep in mind that larger batches of homemade ice cream may require longer churning times and more powerful mixers to achieve the right consistency.
Conclusion
In conclusion, creating two bowls filled with chocolate ice cream on top of a table is a straightforward yet impressive dessert idea that’s perfect for any occasion. With its rich flavor, creamy texture, and endless possibilities for customization, it’s a treat that everyone can enjoy. Whether you’re a seasoned chef or a beginner in the kitchen, this recipe encourages creativity and experimentation, making it a fun project to undertake. So, go ahead, indulge in the decadence of chocolate ice cream, and don’t hesitate to share your creations and adaptations with friends and family. Happy cooking, and remember, the most important ingredient in any recipe is love!
two bowls filled with chocolate ice cream on top of a table
A decadent dessert featuring chocolate ice cream served in two bowls, perfect for special occasions or everyday indulgence.
🥘 Ingredients
👩🍳 Instructions
-
1Scoop the chocolate ice cream into two bowls.
-
2Add desired mix-ins or toppings.
-
3Garnish with fresh fruits, nuts, or other toppings of your choice.
-
4Serve immediately and enjoy!