What a showstopper for any celebration – can you resist a moist homemade cheesecake loaded with Oreos and topped with a colorful drip? Rich cream cheese and Oreos make this easy dessert a family favorite, perfect for a weeknight treat. Save this idea
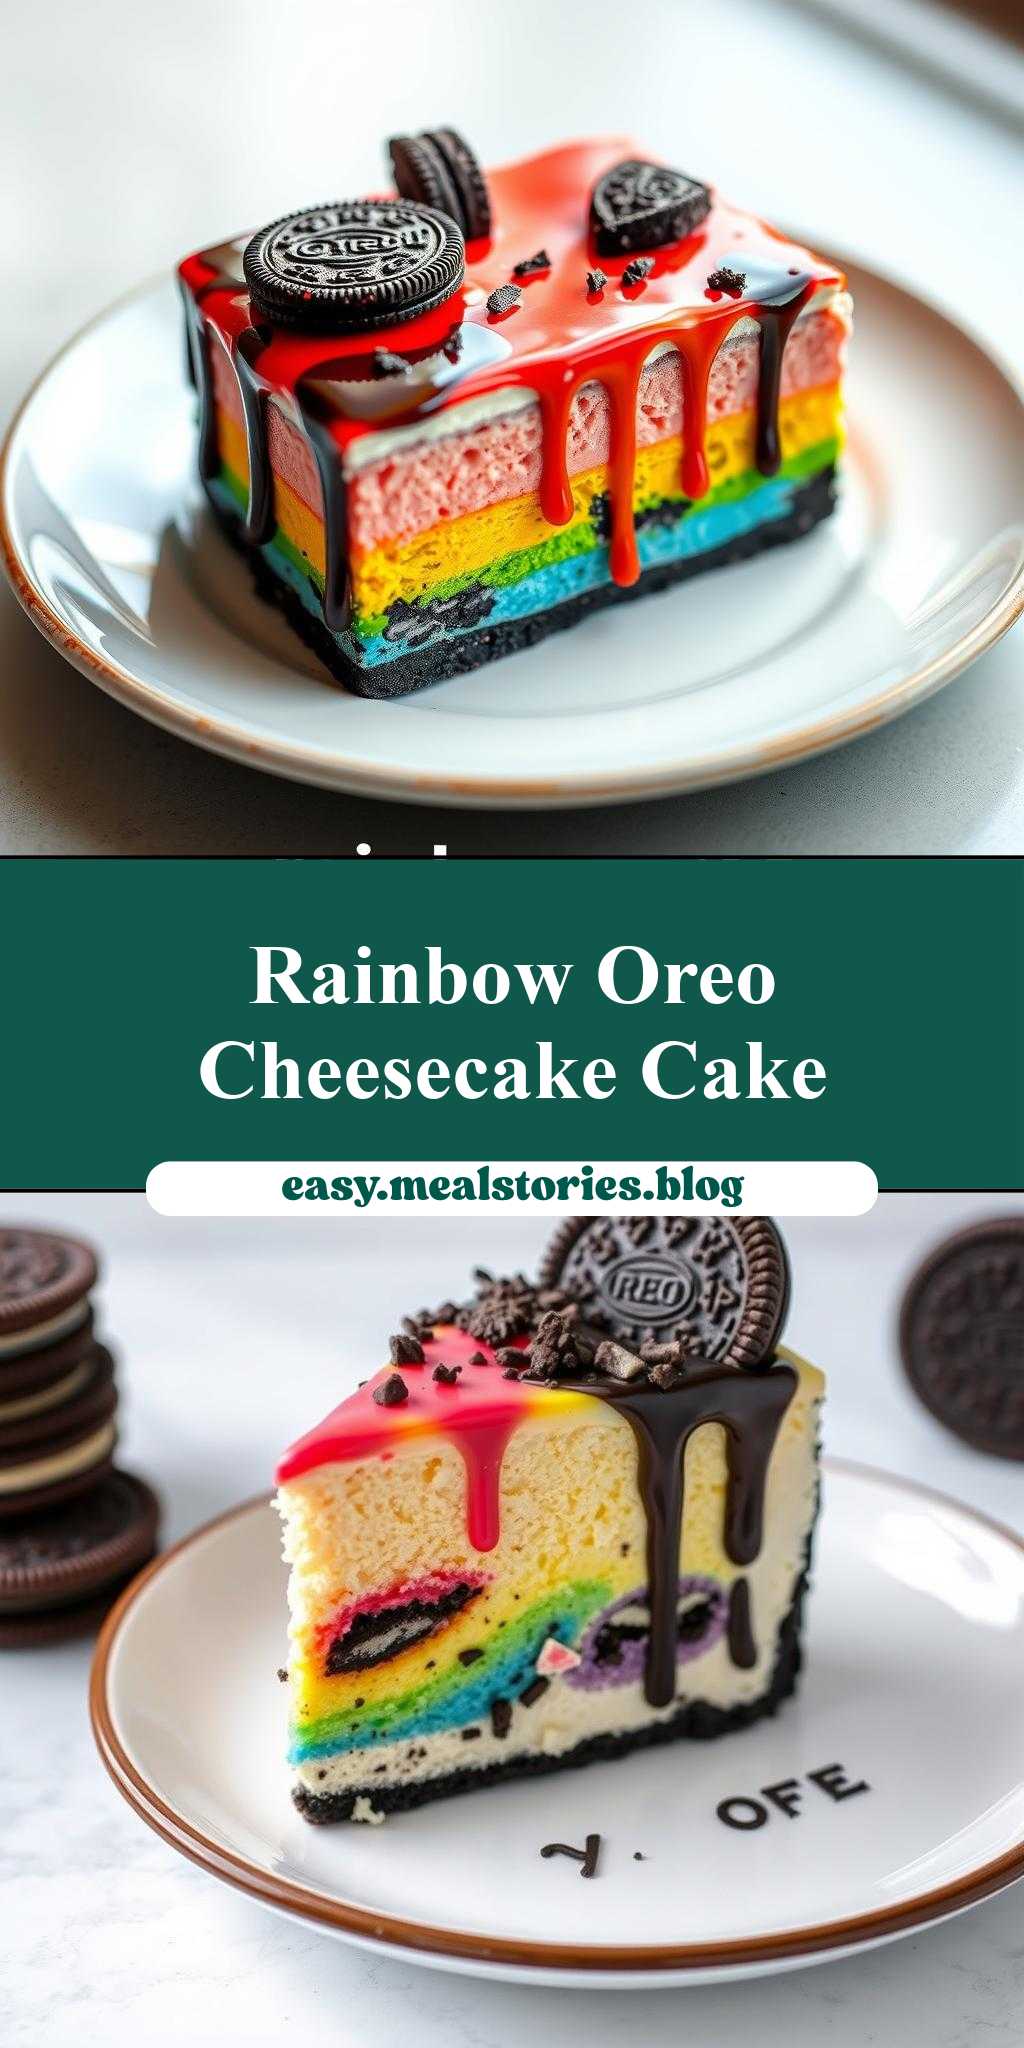
rainbow oreo cheesecake drip cake on a plate with the words, rainbow oreo cheesecake drip cake
Introduction
Imagine a dessert that combines the decadence of cheesecake, the crunch of Oreo cookies, and the vibrant colors of a rainbow, all presented in a visually stunning drip cake design. The rainbow Oreo cheesecake drip cake is a masterpiece of culinary creativity that is surprisingly easy to make, using everyday ingredients that can be found in most kitchens. This dessert is perfect for special occasions, birthdays, or simply as a treat to brighten up anyone’s day. With its perfect balance of flavors and textures, this cake is sure to impress both children and adults alike.
Why This Works
- Flavor balance and ingredient accessibility: The combination of a rich cheesecake, the distinct taste of Oreos, and the sweetness of the rainbow-colored drip creates a perfectly balanced flavor profile that appeals to a wide range of tastes. All the ingredients are easily accessible in most supermarkets, making it convenient to prepare.
- Ease of preparation: Despite its impressive appearance, the rainbow Oreo cheesecake drip cake is relatively easy to prepare. The steps involved in making the cheesecake, preparing the Oreo crust, and creating the rainbow drip are straightforward and can be managed by bakers of all skill levels.
- Impressive results with minimal effort: The end result of this recipe is a cake that looks like it was made by a professional pastry chef, yet it requires minimal effort compared to other elaborate desserts. This makes it an ideal choice for those who want to impress their guests without spending hours in the kitchen.
Key Ingredients
The main ingredients for this recipe include graham cracker crumbs or Oreo cookies for the crust, cream cheese, eggs, sugar, and vanilla extract for the cheesecake, and food coloring, powdered sugar, and milk or cream for the rainbow drip. For the Oreo cheesecake layer, using high-quality cream cheese and ensuring that all ingredients are at room temperature is crucial for a smooth and creamy texture. Practical substitutions can be made for some ingredients, such as using gluten-free graham crackers for those with dietary restrictions or substituting heavy cream with a non-dairy alternative for a vegan version.
Instructions
- Step 1: Begin by preparing the crust. If using Oreos, crush them in a food processor until they are finely ground. Mix the crushed Oreos with a small amount of melted butter until the mixture is evenly moistened. Press this mixture into the bottom of a springform pan. If using a graham cracker crust, follow a similar process with graham cracker crumbs.
- Step 2: Prepare the cheesecake batter. Beat the cream cheese until it’s smooth, then add eggs one at a time, followed by sugar and vanilla extract. Ensure that each egg is fully incorporated before adding the next. Pour the cheesecake batter over the prepared crust.
- Step 3: Bake the cheesecake. This involves placing the cheesecake in a preheated oven and baking for about 50-60 minutes, or until the edges are set and the center is just slightly jiggly. After baking, let the cheesecake cool completely in the pan.
- Step 4: Create the rainbow drip. Divide powdered sugar into several portions, each to be colored with a different food dye to create the colors of the rainbow. Gradually add milk or cream to each portion until a thick but pourable glaze is formed. Pour the colored glazes over the cooled cheesecake in a drip pattern, starting from the top and allowing each color to drip down the sides of the cake.
Handy Tips
- To ensure a smooth cheesecake, avoid overmixing the batter and make sure all ingredients are at room temperature. Also, to prevent cracking, let the cheesecake cool slowly and evenly.
- For a more intense rainbow effect, use high-quality food coloring. Gel or paste food colorings tend to produce more vibrant colors than liquid food colorings.
- Experiment with different flavors by adding extracts (like almond or coconut) to the cheesecake batter or using different types of cookies for the crust.
Heat Control
When baking the cheesecake, it’s crucial to maintain the right temperature and baking time to achieve the perfect doneness. The ideal temperature is usually around 325°F (165°C), and the cheesecake is done when the edges are set and the center is slightly jiggly. Overbaking can lead to a dry cheesecake, so it’s essential to check the cheesecake frequently towards the end of the baking time.
Crunch Factor
The crunch factor in this dessert comes from the Oreo crust. To achieve the perfect crunch, ensure that the Oreos are finely ground and well mixed with the melted butter. Pressing the mixture firmly into the pan also helps to create a solid, crunchy base for the cheesecake. If desired, additional crunch can be added on top of the cheesecake before applying the rainbow drip, such as chopped nuts or extra Oreo crumbs.
Pro Kitchen Tricks
- For a professional finish, chill the cheesecake in the refrigerator for at least 4 hours or overnight before applying the rainbow drip. This will help the cheesecake to set properly and make it easier to handle.
- Use a turntable to display the cake, allowing the rainbow drip to be the focal point. This is especially useful if serving the cake at a party or special event.
- To make cleanup easier, line the springform pan with parchment paper before adding the crust and cheesecake batter. This will prevent the cheesecake from sticking to the pan and make removal much simpler.
Storage Tips
- Store the cheesecake in the refrigerator, covered with plastic wrap or aluminum foil, for up to 5 days. Let it come to room temperature before serving for the best flavor and texture.
- For longer storage, the cheesecake can be frozen. Wrap it tightly in plastic wrap or aluminum foil and place it in a freezer-safe bag. Frozen cheesecakes can be stored for up to 2 months. Thaw frozen cheesecakes overnight in the refrigerator before serving.
- When reheating, avoid using the microwave as it can cause the cheesecake to become too soft or unevenly heated. Instead, let it thaw at room temperature or refrigerate it overnight.
Gift Packaging Ideas
If you’re considering gifting this cake, presentation is key! Place the cake on a decorative plate or cake stand and wrap it in cellophane or a large plastic bag tied with a ribbon. For a more personalized touch, write a message on the plate or include a gift card with a personal note. The cake can also be sliced and individually wrapped in plastic wrap or placed in airtight containers for a more practical gift.
Flavor Variations
- Different spices: Add a pinch of cinnamon, nutmeg, or cardamom to the cheesecake batter for a unique twist.
- Creative toppings: Instead of the rainbow drip, top the cheesecake with fresh fruits, caramel sauce, or chopped nuts for a different texture and flavor combination.
- Ingredient swaps: Use different types of cookies for the crust, such as peanut butter cookies or chocolate sandwich cookies, for a different flavor profile.
Troubleshooting
- Texture problems: If the cheesecake turns out too dense, it may be due to overmixing the batter. If it’s too soft, it might not have been baked long enough.
- Ingredient replacements: For those with dietary restrictions, consider replacing traditional cream cheese with a vegan alternative or using gluten-free cookies for the crust.
- Over/undercooking signs: An overcooked cheesecake will be dry and cracked, while an undercooked cheesecake will be too soft and jiggly in the center. Adjust the baking time as needed based on your oven’s performance.
FAQs
- Can I freeze it? Yes, the cheesecake can be frozen for up to 2 months. Wrap it tightly and thaw it overnight in the refrigerator when you’re ready to serve.
- Is it gluten-free? The cheesecake itself is gluten-free, but the Oreo crust contains gluten. Consider using gluten-free cookies for the crust to make the dessert gluten-free.
- Can I double the recipe? Yes, you can double the recipe to make a larger cheesecake. Just ensure that you have a large enough springform pan and adjust the baking time accordingly.
Conclusion
Making a rainbow Oreo cheesecake drip cake is a fun and rewarding baking project that can add a pop of color and excitement to any gathering. With its layers of creamy cheesecake, crunchy Oreo crust, and vibrant rainbow drip, this dessert is sure to delight both kids and adults. Don’t be afraid to experiment with different flavors and toppings to make the recipe your own, and enjoy the process of creating something truly special and delicious.
rainbow oreo cheesecake drip cake on a plate with the words, rainbow oreo cheesecake drip cake
A decadent cheesecake with an Oreo crust, topped with a vibrant rainbow drip, perfect for special occasions and birthdays.
🥘 Ingredients
👩🍳 Instructions
-
1Prepare the Oreo crust by mixing crushed Oreos with melted butter and pressing into a springform pan.
-
2Prepare the cheesecake batter by beating cream cheese, adding eggs, sugar, and vanilla extract, and pouring over the crust.
-
3Bake the cheesecake at 325°F for about 50-60 minutes or until the edges are set and the center is slightly jiggly.
-
4Create the rainbow drip by coloring powdered sugar with food dye, adding milk to achieve a thick but pourable glaze, and pouring over the cooled cheesecake in a drip pattern.