What makes a cake truly unforgettable? For me, it’s the combination of rich chocolate and creamy peanut butter in this homemade chocolate peanut butter velvet cake, made with simple yet decadent ingredients like velvety peanut butter and melted chocolate. Try making it for a quick and easy family favorite dessert. Save this idea
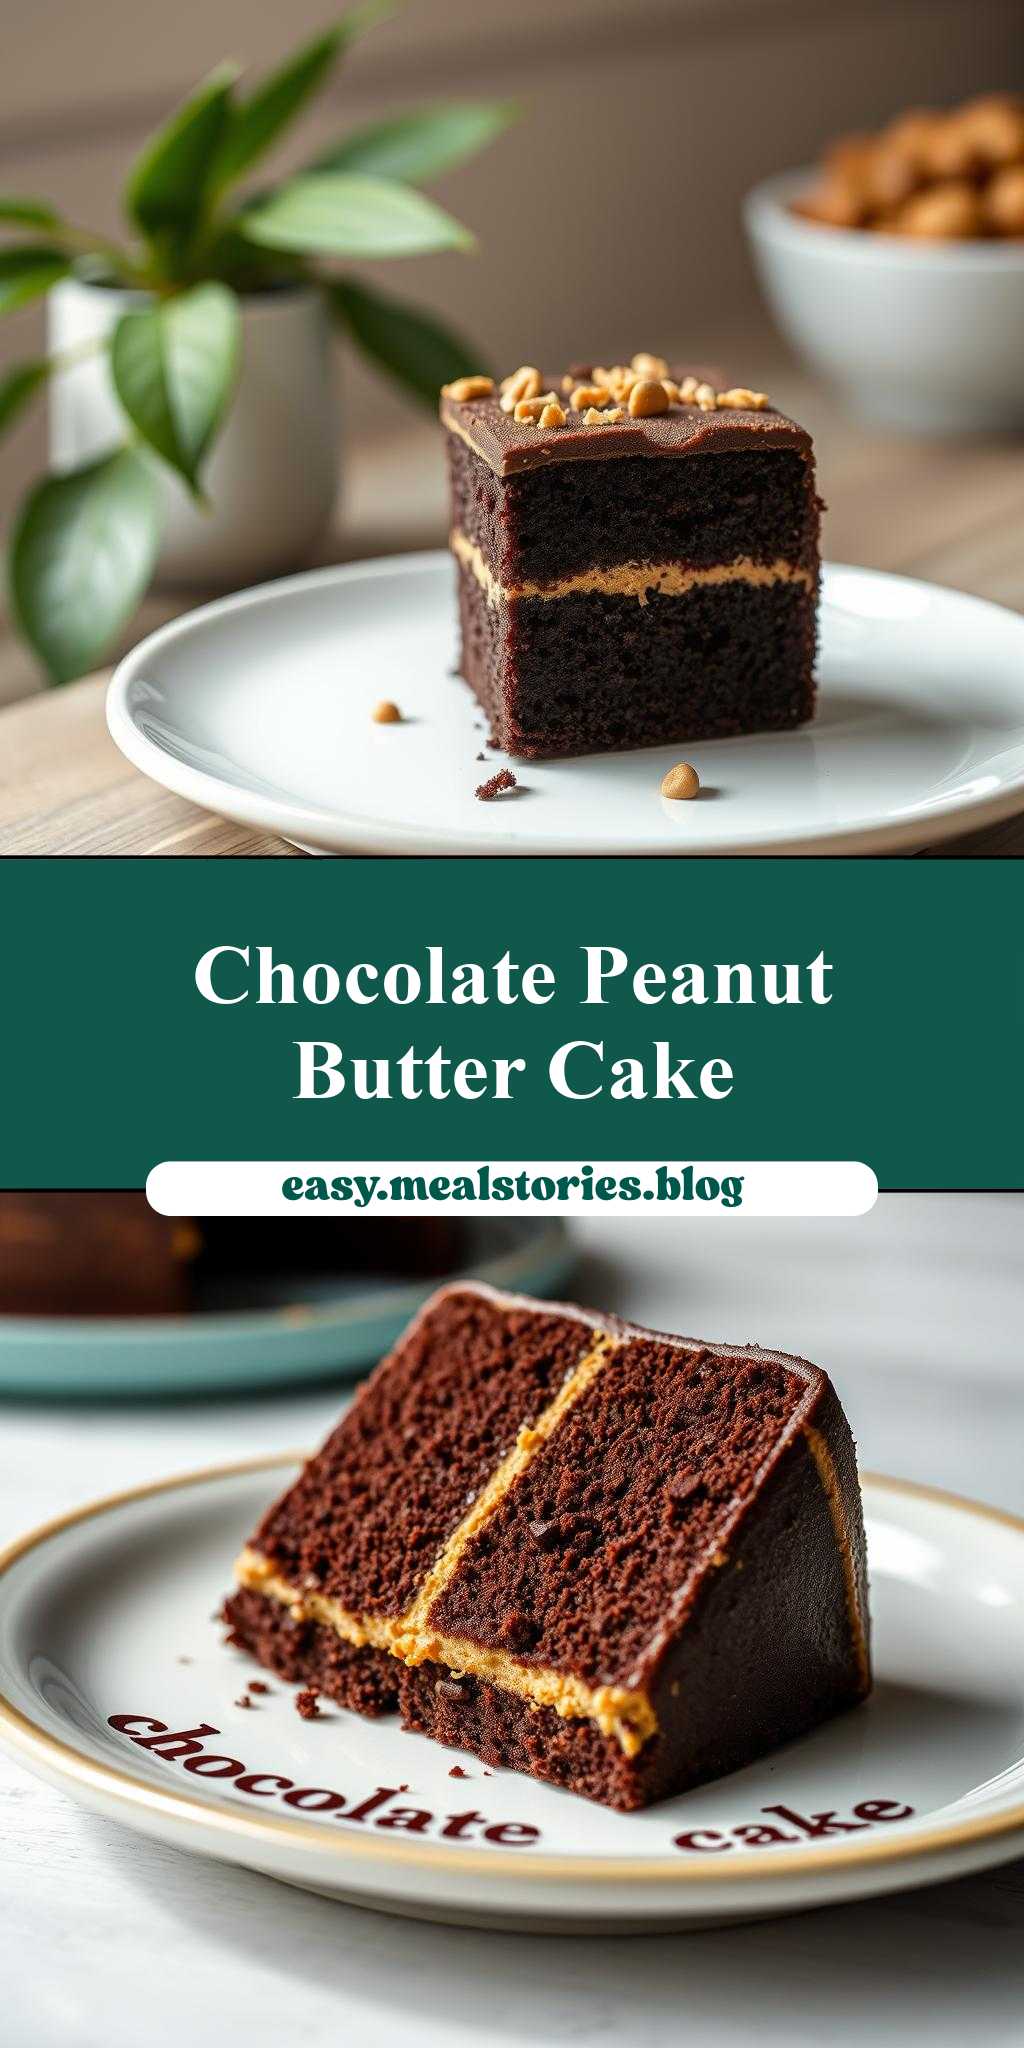
chocolate peanut butter velvet cake on a plate with the words, chocolate peanut butter velvet cake
Introduction
Imagine a rich, velvety cake that combines the deep flavors of chocolate and peanut butter, presented on a plate with the words “chocolate peanut butter velvet cake” written in chocolate sauce – a true masterpiece of culinary art. This chocolate peanut butter velvet cake is not only a treat for the taste buds but also a feast for the eyes. With its moist texture, decadent flavors, and elegant presentation, it’s the perfect dessert for any occasion. The best part? It’s surprisingly easy to make, using everyday ingredients that you might already have in your pantry. This recipe is all about creativity, flavor, and the joy of baking, making it accessible to both beginners and experienced bakers alike.
Why This Works
- Flavor balance and ingredient accessibility: The combination of chocolate and peanut butter creates a balanced and satisfying flavor profile that is both familiar and exciting. The ingredients are readily available in most supermarkets, making it easy to whip up this cake at any time.
- Ease of preparation: Despite its impressive appearance and taste, this cake is relatively simple to prepare. The instructions are straightforward, and the steps are easy to follow, even for those who are new to baking.
- Impressive results with minimal effort: The end result is a beautifully presented cake that looks like it came from a professional bakery, but requires minimal effort and time to prepare. This makes it perfect for special occasions or as a surprise gift for friends and family.
Key Ingredients
The main ingredients in this recipe include all-purpose flour, granulated sugar, unsweetened cocoa powder, peanut butter, eggs, and buttermilk. These ingredients work together to create a moist, flavorful cake with a rich, velvety texture. For those with dietary restrictions, there are several practical substitutions that can be made. For example, almond milk or soy milk can be used in place of buttermilk, and gluten-free flour can be used for those with gluten intolerance. Additionally, for a lighter version, you can reduce the amount of sugar or use natural sweeteners like honey or maple syrup.
Instructions
- Step 1: Begin by preheating your oven to 350°F (180°C). Prepare your cake pans by greasing them with butter and dusting them with flour. This will ensure that your cakes come out smoothly and evenly.
- Step 2: In a large mixing bowl, combine the flour, sugar, cocoa powder, and a pinch of salt. In a separate bowl, whisk together the peanut butter, eggs, and buttermilk. Gradually add the dry ingredients to the wet ingredients, mixing until just combined. Be careful not to overmix, as this can result in a dense cake.
- Step 3: Divide the batter evenly between the prepared pans and smooth the tops. Bake for 25-30 minutes, or until a toothpick inserted into the center comes out clean. Remove the cakes from the oven and let them cool in the pans for 5 minutes before transferring them to a wire rack to cool completely.
- Step 4: Once the cakes are completely cool, you can start assembling your chocolate peanut butter velvet cake. Place one of the cakes on a serving plate and spread a layer of peanut butter frosting on top. Place the second cake on top and frost the entire cake with the remaining frosting. Write the words “chocolate peanut butter velvet cake” on the plate using chocolate sauce to complete the presentation.
Handy Tips
- When making the peanut butter frosting, make sure to use room temperature ingredients for the best results. This will ensure that the frosting is smooth and creamy.
- Don’t overbake the cakes, as this can cause them to dry out. Keep an eye on them while they’re in the oven and remove them as soon as they’re done.
- Experiment with different types of chocolate for the sauce, such as dark, milk, or white chocolate, to change up the flavor and appearance of your cake.
Heat Control
Heat control is crucial when baking this cake. Make sure your oven is at the correct temperature before putting the cakes in. You can use an oven thermometer to ensure accuracy. The ideal temperature for baking this cake is 350°F (180°C), and the cakes should be baked for 25-30 minutes, or until a toothpick inserted into the center comes out clean. Keep an eye on the cakes while they’re baking and adjust the time as needed to prevent overcooking.
Crunch Factor
The crunch factor in this cake comes from the peanut butter and the potential addition of nuts or chocolate chips to the batter. To achieve the perfect crunch, make sure to not overmix the batter, as this can cause the cakes to become dense and lose their texture. Additionally, if you’re adding nuts or chocolate chips, fold them into the batter gently to distribute them evenly.
Pro Kitchen Tricks
- Use high-quality cocoa powder for the best flavor. Dutch-processed cocoa powder gives a deeper, richer flavor than natural cocoa powder.
- Don’t overmix the batter, as this can result in a dense cake. Stop mixing as soon as the ingredients are combined.
- Use a turntable to display your cake and make it easier to serve. This will also help you to achieve a smooth, even frosting.
Storage Tips
- Store your cake in an airtight container at room temperature for up to 3 days. You can also store it in the refrigerator for up to 5 days or freeze it for up to 2 months.
- When freezing, make sure to wrap the cake tightly in plastic wrap or aluminum foil to prevent freezer burn.
- When reheating, let the cake come to room temperature or warm it in the microwave for a few seconds. Be careful not to overheat, as this can cause the cake to become dry.
Gift Packaging Ideas
This cake makes a wonderful gift for friends and family. To package it, place the cake on a decorative plate or cake stand and wrap it in plastic wrap or aluminum foil. You can also add a ribbon or gift tag with a personal message to make it extra special. Consider using a cake box or a gift basket filled with other sweet treats to make it a complete gift.
Flavor Variations
- Different spices: Try adding a pinch of salt, a teaspoon of vanilla extract, or a handful of chopped nuts to the batter to change up the flavor.
- Creative toppings: Top your cake with whipped cream, chocolate shavings, or chopped peanuts to add texture and flavor.
- Ingredient swaps: Swap out the peanut butter for another nut butter, such as almond or cashew butter, or use a different type of milk, such as almond or soy milk, to change up the flavor and texture.
Troubleshooting
- Texture problems: If your cake is too dense, it may be due to overmixing the batter. Try mixing the ingredients just until they’re combined and then stopping.
- Ingredient replacements: If you’re missing an ingredient, try substituting it with something similar. For example, you can use almond milk instead of buttermilk or peanut butter instead of another nut butter.
- Over/undercooking signs: Keep an eye on your cakes while they’re baking and check them frequently to avoid overcooking. If the cakes are undercooked, they may be soggy or raw in the center. If they’re overcooked, they may be dry or cracked.
FAQs
- Can I freeze it? Yes, you can freeze the cake for up to 2 months. Wrap it tightly in plastic wrap or aluminum foil and store it in the freezer.
- Is it gluten-free? No, this cake contains gluten due to the all-purpose flour. However, you can make a gluten-free version by substituting the flour with a gluten-free flour blend.
- Can I double the recipe? Yes, you can double the recipe to make a larger cake. Just keep in mind that you may need to adjust the baking time accordingly.
Conclusion
This chocolate peanut butter velvet cake is a true showstopper that is sure to impress your friends and family. With its rich, velvety texture and decadent flavors, it’s the perfect dessert for any occasion. Don’t be afraid to experiment with different ingredients and flavor combinations to make the recipe your own. And remember, the most important thing is to have fun and enjoy the process of creating something delicious and beautiful. So go ahead, get baking, and show off your culinary skills with this stunning chocolate peanut butter velvet cake!
chocolate peanut butter velvet cake on a plate with the words, chocolate peanut butter velvet cake
A rich, velvety cake that combines the deep flavors of chocolate and peanut butter, presented on a plate with the words 'chocolate peanut butter velvet cake' written in chocolate sauce.
🥘 Ingredients
👩🍳 Instructions
-
1Preheat the oven to 350°F (180°C).
-
2Prepare the cake pans by greasing them with butter and dusting them with flour.
-
3Combine the flour, sugar, cocoa powder, and a pinch of salt in a large mixing bowl.
-
4Whisk together the peanut butter, eggs, and buttermilk in a separate bowl.
-
5Gradually add the dry ingredients to the wet ingredients, mixing until just combined.
-
6Divide the batter evenly between the prepared pans and smooth the tops.
-
7Bake for 25-30 minutes, or until a toothpick inserted into the center comes out clean.
-
8Let the cakes cool in the pans for 5 minutes before transferring them to a wire rack to cool completely.
-
9Assemble the cake by placing one of the cakes on a serving plate and spreading a layer of peanut butter frosting on top.
-
10Place the second cake on top and frost the entire cake with the remaining frosting.
-
11Write the words 'chocolate peanut butter velvet cake' on the plate using chocolate sauce to complete the presentation.