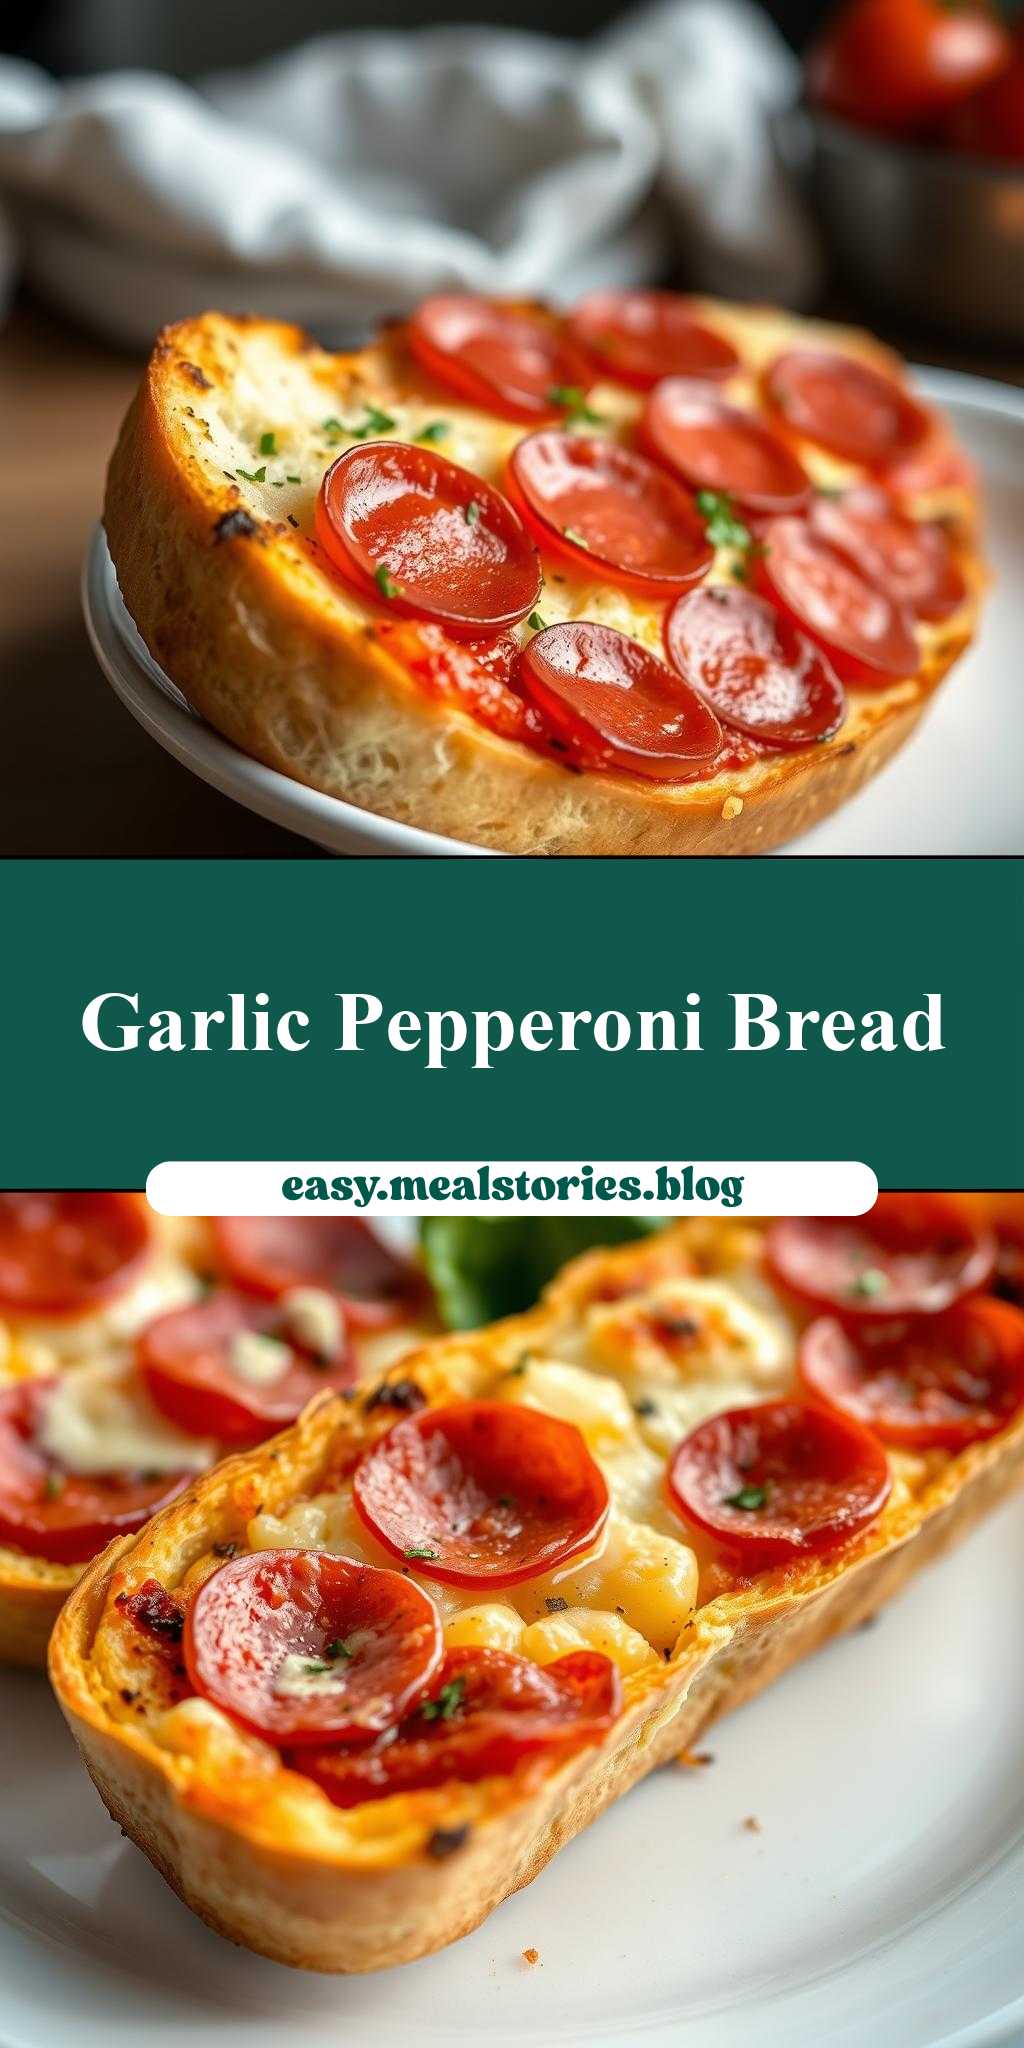
What makes the perfect weeknight dinner even better? A side of homemade pepperoni garlic bread, fresh from the oven with melted mozzarella cheese and savory pepperoni slices. This easy recipe is a family favorite, perfect for a quick dinner solution. Save this idea for your next cozy night in.
Homemade Pepperoni Garlic Bread
Introduction
Imagine sinking your teeth into a warm, aromatic loaf of homemade pepperoni garlic bread, fresh from the oven. The combination of crispy crust, soft interior, and the savory blend of pepperoni and garlic is a match made in heaven. This recipe is not only a crowd-pleaser, but it’s also surprisingly easy to make, requiring just a few everyday ingredients. Whether you’re a beginner in the kitchen or a seasoned pro, this dish is sure to become a staple in your household. It’s perfect for family dinners, parties, or even as a gift for friends and neighbors. The best part? It’s incredibly versatile, allowing you to get creative with various toppings and ingredients to suit any taste.
Why This Works
- Flavor balance and ingredient accessibility: The recipe strikes a perfect balance between the pungency of garlic, the spiciness of pepperoni, and the richness of melted cheese, all of which are readily available in most supermarkets.
- Ease of preparation: Despite its impressive outcome, the dish requires minimal effort and time, making it an ideal choice for busy weekdays or casual gatherings.
- Impressive results with minimal effort: The combination of simple ingredients and straightforward instructions yields a dish that looks and tastes like it was made in a professional bakery, sure to impress your guests.
Key Ingredients
The foundation of a great homemade pepperoni garlic bread lies in its ingredients. You’ll need a good quality Italian bread, preferably a day-old loaf to ensure it holds up well to the toppings. Fresh garlic is essential for that unmistakable flavor, and you can adjust the amount to your taste. Pepperoni slices add a nice spice and texture, but feel free to substitute with other cured meats like salami if you prefer. Mozzarella cheese is the melting star of the show, binding all the flavors together beautifully. Finally, a drizzle of olive oil and a sprinkle of dried oregano enhance the dish with a touch of Mediterranean flair. Practical substitutions can include using different types of cheese or adding some chopped onions and bell peppers for extra flavor and nutrients.
Instructions
- Step 1: Begin by preheating your oven to 375°F (190°C). Slice your Italian bread into 1-inch thick slices and place them on a baking sheet lined with parchment paper. Mince 3-4 cloves of garlic, depending on your desired level of garlickiness, and mix it with 1/2 cup of softened butter.
- Step 2: Spread the garlic butter mixture evenly onto each bread slice, making sure to get all the way to the edges. This step is crucial as it lays the flavor foundation of your dish.
- Step 3: Layer your toppings starting with sliced pepperoni, making sure to cover the entire surface. Then, sprinkle shredded mozzarella cheese generously over the pepperoni. You can never have too much cheese, right? Finally, add a sprinkle of dried oregano for that Italian touch.
- Step 4: Place your baking sheet in the oven and bake for about 12-15 minutes, or until the cheese is melted and bubbly, and the edges of the bread are golden brown. Remove from the oven, let cool for a few minutes, and serve warm.
Handy Tips
- For an extra crispy crust, try baking the bread slices for 2-3 minutes before adding the toppings. This will give you a nice base to build upon.
- Experiment with different types of cheese and meats to find your perfect combination. Some ideas include adding diced ham, using parmesan instead of mozzarella, or even sprinkling some chopped fresh parsley for a pop of color.
- Avoid overloading the bread with toppings, as this can make it soggy. You want to achieve a beautiful balance where each component complements the others without overpowering them.
Heat Control
Heat control is crucial when making homemade pepperoni garlic bread. The ideal temperature is between 375°F to 400°F (190°C to 200°C), depending on your oven’s performance and the size of your bread slices. Timing is also key; bake for 12-15 minutes for smaller slices and up to 20 minutes for larger ones. Keep an eye on the bread after the 10-minute mark, as the transition from perfectly cooked to burnt can happen quickly. Your bread is done when the cheese is melted, bubbly, and slightly golden, and the crust is crispy and golden brown.
Crunch Factor
Achieving the perfect crunch factor in your homemade pepperoni garlic bread is all about balance. You want the outside to be crispy, giving way to a soft, cheesy interior. To enhance the crunch, ensure your oven is preheated correctly, and don’t overload the bread with toppings. A light drizzle of olive oil before baking can also help crisp up the crust. For an extra crunchy version, try broiling the bread for an additional 1-2 minutes after baking, watching carefully to avoid burning.
Pro Kitchen Tricks
- Use high-quality ingredients: The difference between good and great homemade pepperoni garlic bread often comes down to the quality of your ingredients. Choose a good Italian bread, fresh garlic, and high-quality cheese for the best results.
- Don’t overmix: When spreading the garlic butter, do so gently to avoid tearing the bread. This ensures your final product remains intact and visually appealing.
- Clean as you go: To make cleanup easier, wipe down your utensils and workspace as you finish with each ingredient. This habit will save you a lot of time and effort in the long run.
Storage Tips
- Leftover storage: If you have any leftover garlic bread, it can be stored in an airtight container in the refrigerator for up to 3 days. Reheat in the oven or microwave until warmed through.
- Reheating tips: For the best results, reheat your garlic bread in the oven. Wrap it in foil and bake at 350°F (175°C) for about 5-7 minutes, or until warmed through. Microwaving is also an option but be cautious not to overheat, as this can make the bread dry.
- Shelf life and containers: Homemade pepperoni garlic bread is best consumed fresh, but if you plan to store it for later, consider using aluminum foil or airtight containers to keep it fresh. For longer storage, freezing is an option; simply wrap the cooled bread tightly in plastic wrap or aluminum foil and place it in a freezer bag.
Gift Packaging Ideas
If you’re considering gifting your homemade pepperoni garlic bread, presentation is key. Wrap the cooled bread tightly in plastic wrap or aluminum foil and place it in a decorative basket or tin. Add some flair with a ribbon or a handwritten note with reheating instructions. For a more rustic look, consider wrapping the bread in parchment paper and tying it with twine. You could also pair the bread with a bottle of wine, a jar of marinara sauce, or a block of cheese for a complete gift basket.
Flavor Variations
- Different spices: Experiment with various herbs and spices to give your garlic bread a unique twist. Basil, oregano, and thyme are great additions, while red pepper flakes can add a spicy kick.
- Creative toppings: Don’t limit yourself to just pepperoni. Other cured meats like salami or ham, diced onions, bell peppers, olives, and even pineapple can add interesting flavors and textures.
- Ingredient swaps: For a vegetarian version, skip the pepperoni and add more vegetables. You can also use different types of cheese or bread to change up the flavor profile.
Troubleshooting
- Texture problems: If your bread turns out too soggy, it might be due to overloading with toppings or not baking it long enough. Conversely, if it’s too dry, it could be overbaked or made with stale bread.
- Ingredient replacements: If you’re missing an ingredient, don’t be afraid to substitute. For example, you can use margarine instead of butter or different types of cheese.
- Over/undercooking signs: Keep an eye on your bread while it’s baking. If the crust is getting too dark, cover it with foil. If the cheese isn’t melted, give it a few more minutes.
FAQs
- Can I freeze it? Yes, homemade pepperoni garlic bread can be frozen. Cool the bread completely, then wrap it tightly in plastic wrap or aluminum foil and place it in a freezer bag. It will keep for up to 2 months.
- Is it gluten-free? Traditional Italian bread contains gluten, making this recipe unsuitable for those with gluten intolerance. However, you can experiment with gluten-free bread alternatives to adapt the recipe.
- Can I double the recipe? Absolutely. Simply double all the ingredients and adjust the baking time as needed. Keep an eye on the bread to ensure it doesn’t overcook.
Conclusion
Making homemade pepperoni garlic bread is a journey of discovery, allowing you to experiment with flavors, textures, and presentation. It’s a dish that warms the heart and fills the home with inviting aromas, perfect for sharing with loved ones or enjoying on your own. Don’t be afraid to get creative and make this recipe your own, whether that means adding your favorite toppings or trying out new ingredients. With its ease of preparation, impressive results, and the joy of sharing a delicious meal, homemade pepperoni garlic bread is sure to become a staple in your culinary repertoire. So go ahead, give it a try, and watch as it becomes a favorite among family and friends alike.
Homemade Pepperoni Garlic Bread
A simple yet impressive recipe for homemade pepperoni garlic bread, perfect for family dinners or as a gift.
🥘 Ingredients
👩🍳 Instructions
-
1Preheat oven to 375°F (190°C). Slice the Italian bread into 1-inch thick slices and place on a baking sheet.
-
2Mix minced garlic with softened butter and spread onto each bread slice.
-
3Layer pepperoni slices and mozzarella cheese over the garlic butter, finishing with a sprinkle of dried oregano.
-
4Drizzle with olive oil and bake in the preheated oven for 12-15 minutes, or until the cheese is melted and bubbly.