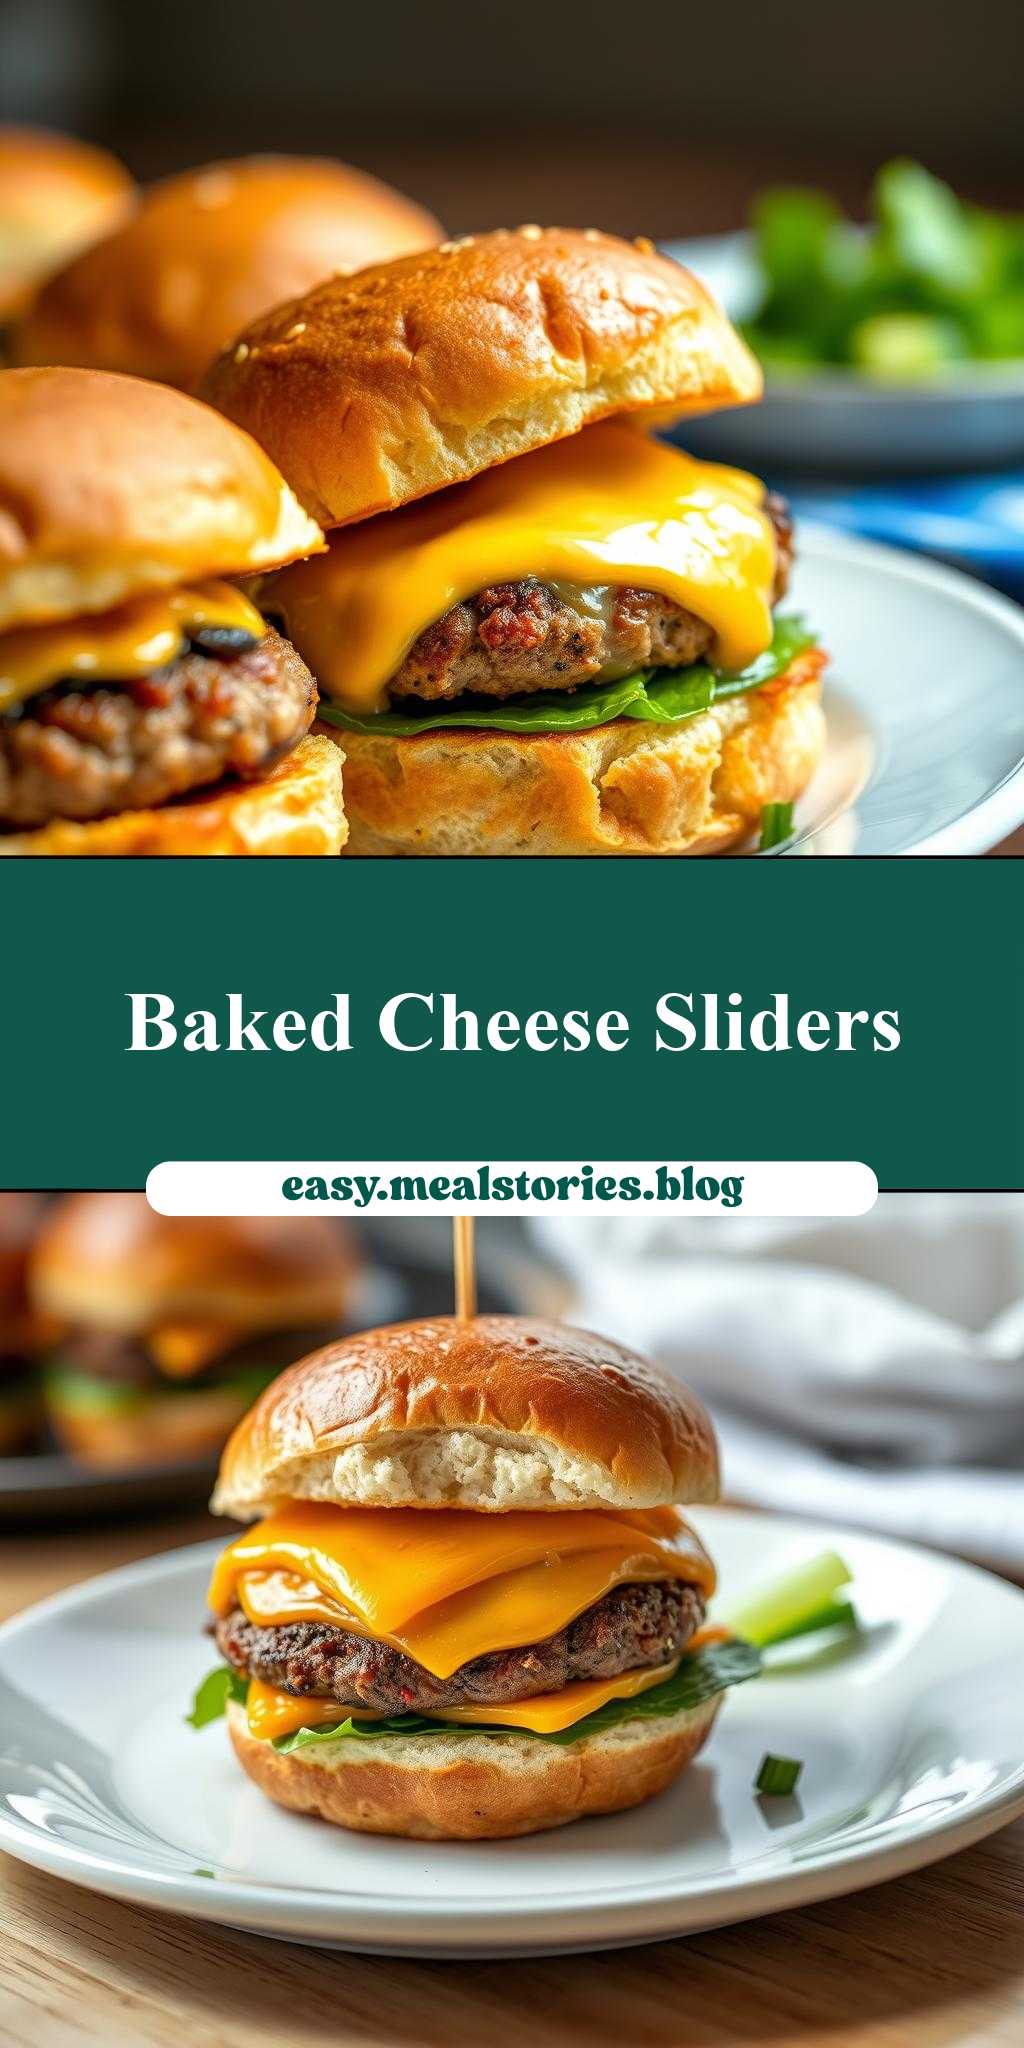
What’s the ultimate comfort food to serve a crowd? Baked cheeseburger sliders are my top pick for a quick and easy weeknight dinner, made with fresh ground beef and melted cheddar cheese. Save this idea for a family favorite meal that’s sure to please, try it soon and enjoy the delicious flavors of a homemade classic. Pin for later.
Baked Cheeseburger Sliders
Introduction
Imagine sinking your teeth into a juicy, cheesy, perfectly flavored cheeseburger, but instead of the usual grilled or pan-fried patty, you’re enjoying a tender, evenly cooked delight, all thanks to the magic of baking. Baked Cheeseburger Sliders are a creative twist on the classic favorite, offering an easier, less messy way to enjoy the quintessential burger experience. By using everyday ingredients and a straightforward baking method, you can achieve impressive results with minimal effort, making this recipe perfect for family dinners, parties, or any gathering where delicious, crowd-pleasing food is a must.
Why This Works
- Flavor balance and ingredient accessibility: The combination of ground beef, cheese, and the subtle sweetness of buns, all baked to perfection, creates a harmonious balance of flavors that everyone will love. Plus, the ingredients are easily found in most supermarkets, making it accessible to anyone.
- Ease of preparation: Unlike traditional burgers that require constant monitoring on the grill or in a pan, these sliders are simple to prepare. Just mix, shape, and bake, allowing you to focus on other aspects of your meal or event.
- Impressive results with minimal effort: Despite the simplicity of the preparation, the outcome is incredibly impressive. The baking process ensures that each slider is cooked evenly, and the presentation, especially when served hot and garnished, is sure to impress your guests.
Key Ingredients
To make these delicious Baked Cheeseburger Sliders, you’ll need a few key ingredients. Ground beef is the base, which you can season with salt, pepper, and any other burger spices you enjoy. For the cheese, cheddar or American work well, but feel free to experiment with other types like mozzarella or provolone for different flavors. Small, soft buns are essential for sliders, and you can toast them lightly before baking for extra crispiness. Let’s not forget the toppings – diced onions, lettuce, tomatoes, pickles, and a dollop of your favorite sauce can elevate the flavor and texture. For practical substitutions, consider using ground turkey or chicken for a lighter alternative, and don’t hesitate to get creative with the cheeses and toppings to suit your taste preferences.
Instructions
- Step 1: Begin by preheating your oven to 375°F (190°C). While the oven is warming up, prepare your ingredients. Chop any toppings you plan to use, slice the cheese, and toast the buns if desired.
- Step 2: In a large bowl, mix the ground beef with your chosen seasonings until just combined. Be careful not to overmix. Then, shape the mixture into small patties, about 1/4 inch thick and slightly larger than your buns.
- Step 3: Place the patties on a baking sheet lined with parchment paper, leaving a little space between each for even cooking. Bake the patties in the preheated oven for about 15 minutes, or until they reach your desired level of doneness. While the patties are baking, prepare your buns by placing them on a separate baking sheet. You can lightly toast them in the oven for a couple of minutes if you prefer a crispy base.
- Step 4: Once the patties are done, assemble the sliders by placing a cooked patty on each bun, followed by a slice of cheese, and any desired toppings. Return the sliders to the oven for an additional 2-3 minutes, or until the cheese is melted and bubbly. Serve hot and enjoy!
Handy Tips
- For an extra crispy bun, lightly brush the tops with olive oil or melted butter before toasting. This will give your sliders a golden, appetizing finish.
- Consider using a meat thermometer to ensure your patties are cooked to a safe internal temperature. For ground beef, the recommended internal temperature is at least 160°F (71°C).
- Don’t overload the sliders with toppings. While it’s tempting to add all your favorite things, too many toppings can make the slider difficult to eat and may overwhelm the other flavors.
Heat Control
Heat control is crucial when baking these sliders to ensure they are cooked evenly and to your liking. The oven should be preheated to 375°F (190°C), and the baking time may vary slightly depending on the thickness of your patties and your personal preference for doneness. A general rule of thumb is to bake for 15 minutes for medium-done patties, but adjust the time as needed. Always check for doneness by cutting into one of the patties; it should be cooked through with no pink remaining.
Crunch Factor
Achieving the right texture, or crunch factor, in your Baked Cheeseburger Sliders can elevate the dining experience. For a crispy exterior and a tender interior, ensure your oven is at the right temperature, and don’t overcrowd the baking sheet, allowing air to circulate around each patty. Lightly toasting the buns before assembling the sliders also adds a pleasant crunch. If you’re looking for extra crunch, consider adding some crispy bacon, chopped nuts, or crispy fried onions on top of your sliders.
Pro Kitchen Tricks
- To make cleanup easier, line your baking sheets with parchment paper or aluminum foil. This will prevent the patties and buns from sticking and make disposal or cleaning a breeze.
- For a shortcut, prepare the patties and buns ahead of time. You can shape the patties and store them in the refrigerator for up to a day before baking. Buns can be toasted and stored in an airtight container at room temperature for a few hours.
- Experiment with different seasonings and spices to give your sliders a unique flavor. Whether it’s a bit of smoked paprika for a smoky taste or some dried oregano for an Italian twist, the right seasoning can make your sliders stand out.
Storage Tips
- If you have leftover sliders, they can be stored in an airtight container in the refrigerator for up to 2 days. Reheat them in the oven at 350°F (180°C) for about 5-7 minutes, or until warmed through.
- For longer storage, consider freezing the cooked patties without the buns and toppings. Place them in a freezer-safe bag or container and store for up to 3 months. When you’re ready to serve, thaw the patties overnight in the refrigerator, then reheat and assemble the sliders as desired.
- When storing or reheating, ensure that the sliders are kept at a safe temperature to prevent foodborne illness. Always check the sliders for any signs of spoilage before consuming.
Gift Packaging Ideas
If you’re considering gifting these delicious sliders, presentation is key. You can package them individually in small boxes or bags, perfect for a picnic or lunch on-the-go. Add a personal touch with a handwritten note or a small packet of your favorite sauce. For a more elaborate gift, assemble a slider kit with all the fixings, including buns, patties, cheese, and toppings, and let the recipient assemble their own sliders at home.
Flavor Variations
- Different spices: Add a pinch of cumin for a southwestern flavor, or some dried thyme for a more traditional, herby taste.
- Creative toppings: Experiment with unique toppings like grilled pineapple, caramelized onions, or a fried egg to add texture and flavor contrast.
- Ingredient swaps: Try using different types of meat, like ground turkey or lamb, for a change of pace. You can also substitute the cheese with vegan alternatives for a dairy-free option.
Troubleshooting
- Texture problems: If your patties turn out too dense, it might be due to overmixing the meat. Try mixing the ingredients just until they come together, then stop mixing to avoid developing the proteins in the meat.
- Ingredient replacements: If you’re missing a specific ingredient, don’t be afraid to substitute. For example, if you don’t have cheddar, mozzarella or provolone can work well as alternatives.
- Over/undercooking signs: Keep an eye on your sliders while they’re baking. If the patties are overcooked, they might become dry and dense. Undercooked patties will be pink in the center and might not be safe to eat. Adjust the baking time as needed to achieve the perfect doneness.
FAQs
- Can I freeze it? Yes, you can freeze the cooked patties for up to 3 months. Simply thaw and reheat when you’re ready to assemble and serve the sliders.
- Is it gluten-free? The gluten content depends on the ingredients used. If you use gluten-free buns and ensure that the seasonings and toppings are gluten-free, then yes, this recipe can be gluten-free.
- Can I double the recipe? Absolutely. Simply multiply all the ingredients by two and adjust the baking time slightly if necessary, depending on the size and thickness of your patties.
Conclusion
Baked Cheeseburger Sliders are a versatile, crowd-pleasing dish that can be customized to suit any taste. With their ease of preparation, impressive presentation, and delicious flavor, they’re perfect for any occasion. Don’t be afraid to experiment with different toppings and seasonings to make the recipe your own, and enjoy the process of creating something truly special. Whether you’re a seasoned chef or a beginner in the kitchen, this recipe is sure to become a favorite, and with the tips and variations provided, you’ll be well on your way to slider perfection.
Baked Cheeseburger Sliders
A delicious and easy-to-make twist on the classic cheeseburger, perfect for family dinners or parties.
🥘 Ingredients
👩🍳 Instructions
-
1Preheat oven to 375°F (190°C).
-
2Prepare ingredients: chop onion, slice tomatoes, cheese, and pickles.
-
3Shape ground beef into small patties and season with salt and pepper.
-
4Bake patties in the oven for 15 minutes or until cooked through.
-
5Assemble sliders by placing a cooked patty on each bun, followed by cheese, onion, tomato, lettuce, and pickles. Return to oven for an additional 2-3 minutes to melt cheese.
-
6Serve hot and enjoy!