What makes a classic blue cake truly unforgettable? Moist vanilla layers, rich white frosting, and a simple homemade touch make this easy dessert a family favorite – save this idea for your next special occasion or weeknight treat.
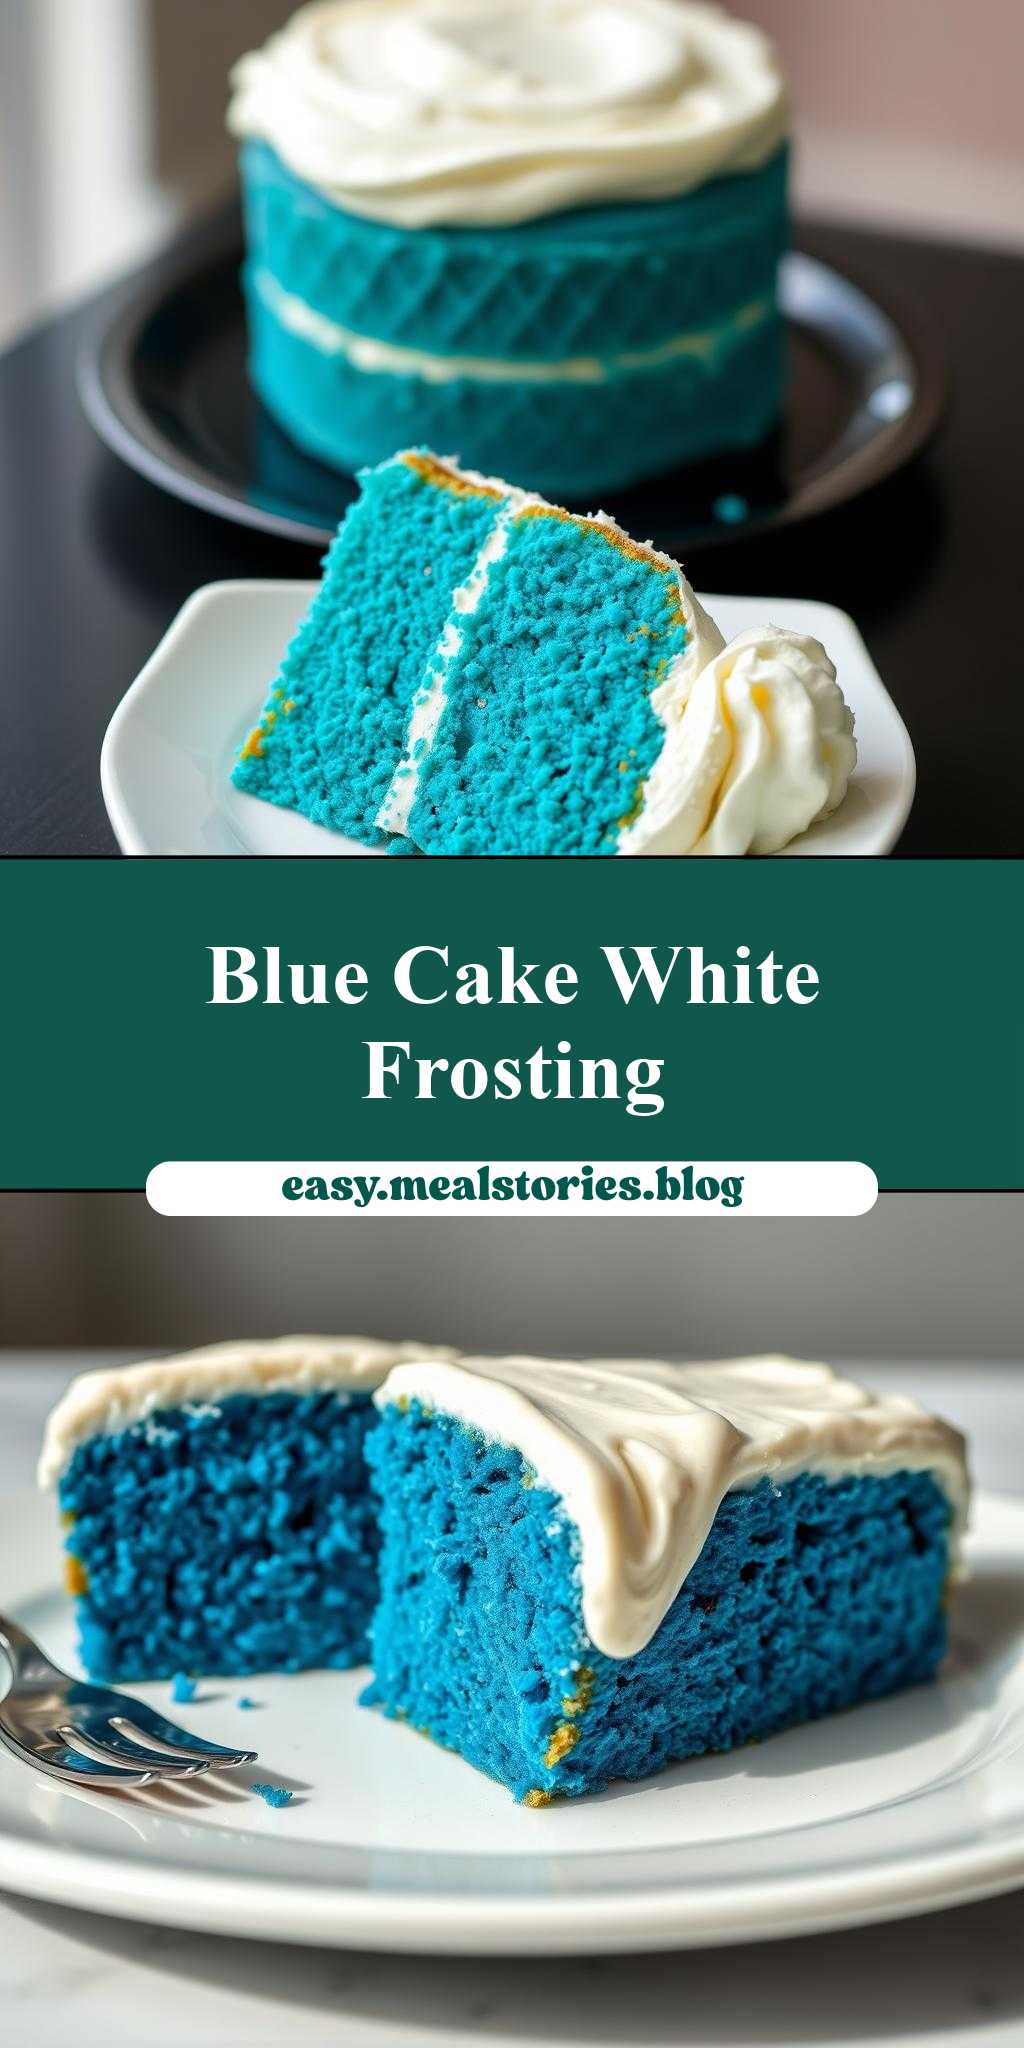
Two Pictures of a Blue Cake with White Frosting
Introduction
Welcome to the world of vibrant desserts with our stunning two pictures of a blue cake with white frosting. This recipe is a masterpiece of simplicity, flavor, and creativity, using everyday ingredients to create a show-stopping centerpiece for any occasion. The combination of a moist blue cake and a rich, creamy white frosting is a match made in heaven, and with our easy-to-follow guide, you’ll be able to replicate this beauty in the comfort of your own kitchen. Whether you’re a seasoned baker or just starting out, this recipe promises to impress with its ease of preparation, impressive results, and the joy of sharing something truly special with your loved ones.
Why This Works
- Flavor balance and ingredient accessibility: The key to this cake’s success lies in its well-balanced flavors and the use of readily available ingredients, making it accessible to bakers of all levels.
- Ease of preparation: With straightforward steps and minimal complicated techniques, this recipe is perfect for those looking to create something beautiful without the hassle.
- Impressive results with minimal effort: The contrast between the blue cake and white frosting creates a visually stunning effect that belies the simplicity of the preparation process, making it an ideal choice for special occasions or as a centerpiece for any gathering.
Key Ingredients
To bring this blue cake with white frosting to life, you’ll need the following main ingredients: all-purpose flour, granulated sugar, unsalted butter, eggs, vanilla extract, blue food coloring, and for the frosting, cream cheese, unsalted butter, powdered sugar, and vanilla extract. Practical substitutions include using whole wheat flour for a nuttier flavor, replacing granulated sugar with honey for a different sweetness profile, and using vegan butter for a dairy-free alternative. The blue food coloring can be adjusted to achieve the desired shade of blue, from pastel to deep navy.
Instructions
- Step 1: Begin by preheating your oven to 350°F (175°C). Prepare two 8-inch round cake pans by greasing them and lining the bottoms with parchment paper. In a medium bowl, whisk together flour, sugar, and a pinch of salt. In a large bowl, using an electric mixer, beat the butter until creamy, then add eggs one at a time, followed by vanilla extract.
- Step 2: Gradually add the dry ingredients to the wet ingredients, mixing until just combined. Divide the batter evenly between the prepared pans and smooth the tops. Bake for 20-25 minutes or until a toothpick inserted into the center comes out clean. Allow the cakes to cool in the pans for 5 minutes before transferring them to a wire rack to cool completely.
- Step 3: For the frosting, beat the cream cheese and butter until smooth. Gradually add the powdered sugar, beating until smooth and creamy. Add vanilla extract and mix well. Once the cakes are completely cool, place one layer on a serving plate and spread a thick layer of frosting on top. Place the second layer on top and frost the entire cake with the remaining frosting.
- Step 4: To achieve the desired blue color, add a few drops of blue food coloring to the batter before baking, adjusting the amount based on the intensity of color desired. For the white frosting, ensure the cream cheese and butter are at room temperature for the smoothest results. Final touches can include decorating the top with additional frosting patterns or edible decorations.
Handy Tips
- Always use room temperature ingredients for the best results in baking. This ensures that the ingredients mix smoothly and evenly, leading to a better texture in the final product.
- Avoid overmixing the batter, as this can lead to a dense cake. Stop mixing as soon as the ingredients are combined.
- For a more intense blue color, use a high-quality food coloring. Gel or paste food colorings provide deeper, richer colors compared to liquid colorings.
Heat Control
When baking the cake, it’s crucial to maintain the correct oven temperature. An oven that’s too hot can burn the outside of the cake before it’s fully cooked inside, while an oven that’s too cool can result in a cake that doesn’t cook properly. Use an oven thermometer to ensure your oven is at the correct temperature. The cakes are done when they’re lightly golden on top and a toothpick inserted into the center of each cake comes out clean.
Crunch Factor
This blue cake with white frosting is designed to be moist and tender, with a smooth frosting. To achieve this, ensure you don’t overbake the cakes, and use high-quality ingredients for the frosting. The crunch factor can be added with decorations such as chopped nuts or sprinkles on top of the frosting, but the cake itself should be soft and fluffy.
Pro Kitchen Tricks
- Use buttermilk instead of regular milk for a moist and tender crumb. If you don’t have buttermilk, you can make a substitute by mixing 1 cup of milk with 1 tablespoon of white vinegar or lemon juice and letting it sit for 5-10 minutes.
- For a perfectly smooth frosting, make sure all the ingredients are at room temperature before mixing. This ensures they combine evenly and smoothly.
- To prevent the cake from drying out, avoid overmixing the batter and don’t overbake. A moist cake is the foundation of a delicious dessert.
Storage Tips
- Store the cake in an airtight container at room temperature for up to 3 days. For longer storage, the cake can be refrigerated for up to 5 days or frozen for up to 2 months. When freezing, it’s best to freeze the cake layers separately before frosting and assembling.
- When reheating, let the cake come to room temperature or gently warm it in the microwave. Be cautious not to overheat, as this can cause the frosting to melt.
- The best containers for storing cake are those that are airtight and can keep moisture out, such as plastic or metal containers with tight-fitting lids.
Gift Packaging Ideas
If you’re planning to gift this beautiful blue cake with white frosting, consider packaging it in a decorative cake box or a large, sturdy cardboard box lined with parchment paper. You can also add a personal touch with ribbons, gift tags, or a handwritten note. For a more rustic look, wrap the cake in plastic wrap or aluminum foil and then in a decorative tea towel or cloth, securing it with twine or a ribbon.
Flavor Variations
- Different spices: Add a pinch of salt or a teaspoon of cinnamon to the batter for a unique flavor twist.
- Creative toppings: Instead of traditional frosting, top the cake with whipped cream, fresh fruits, or nuts for a lighter and fresher dessert.
- Ingredient swaps: Replace the all-purpose flour with almond flour for a gluten-free version, or use coconut sugar instead of granulated sugar for a slightly different flavor profile.
Troubleshooting
- Texture problems: If the cake turns out too dense, it might be due to overmixing the batter. If it’s too dry, it could be overbaked. Adjust the mixing and baking times accordingly in future attempts.
- Ingredient replacements: Always substitute ingredients with caution, as different ingredients can affect the final texture and flavor of the cake. Some substitutions work better than others, so it might take some trial and error to find the right replacement.
- Over/undercooking signs: An undercooked cake will be wet and soggy in the center, while an overcooked cake will be dry and possibly cracked on top. Adjust the baking time based on your oven’s performance and the cake’s appearance.
FAQs
- Can I freeze it? Yes, you can freeze the cake layers before frosting and assembling for up to 2 months. It’s best to freeze them separately and then thaw at room temperature or refrigerate overnight before frosting and serving.
- Is it gluten-free? The original recipe includes all-purpose flour, which contains gluten. However, you can make a gluten-free version by substituting the flour with a gluten-free flour blend. Note that gluten-free baked goods can have a different texture and might require additional ingredients like xanthan gum for structure.
- Can I double the recipe? Yes, you can double the recipe to make a larger cake. Just ensure you have enough pans and adjust the baking time accordingly. Larger cakes take longer to bake, so keep an eye on them and adjust the baking time as needed.
Conclusion
Creating a stunning blue cake with white frosting is within your reach, no matter your level of baking experience. With its straightforward recipe, accessible ingredients, and the potential for customization, this dessert is perfect for any occasion. Whether you’re celebrating a birthday, anniversary, or just want to brighten up a Tuesday, this cake is sure to impress. Don’t be afraid to experiment with different flavors, decorations, and ingredients to make it your own. Happy baking, and enjoy the joy of sharing something as beautiful as it is delicious with your friends and family.
Two Pictures of a Blue Cake with White Frosting
A moist blue cake paired with a rich, creamy white frosting, perfect for special occasions or as a unique dessert.
🥘 Ingredients
👩🍳 Instructions
-
1Preheat the oven to 350°F (175°C). Prepare two 8-inch round cake pans.
-
2Mix the dry ingredients in a medium bowl and the wet ingredients in a large bowl, then combine them.
-
3Divide the batter evenly between the prepared pans and bake for 20-25 minutes or until a toothpick comes out clean.
-
4Prepare the frosting by beating the cream cheese and butter until smooth, then gradually adding the powdered sugar and vanilla extract.
-
5Assemble the cake by placing one layer on a serving plate, spreading frosting on top, and then placing the second layer on top. Frost the entire cake with the remaining frosting.