What happens when candy meets cake in a match made in heaven? This decadent homemade dessert features layers of moist vanilla cake smothered in a variety of colorful candy toppings, all held together with a single slice missing, begging to be devoured. Rich chocolate and sweet caramel are just a few of the key ingredients that make this easy treat a family favorite. Save this idea for your next special occasion.
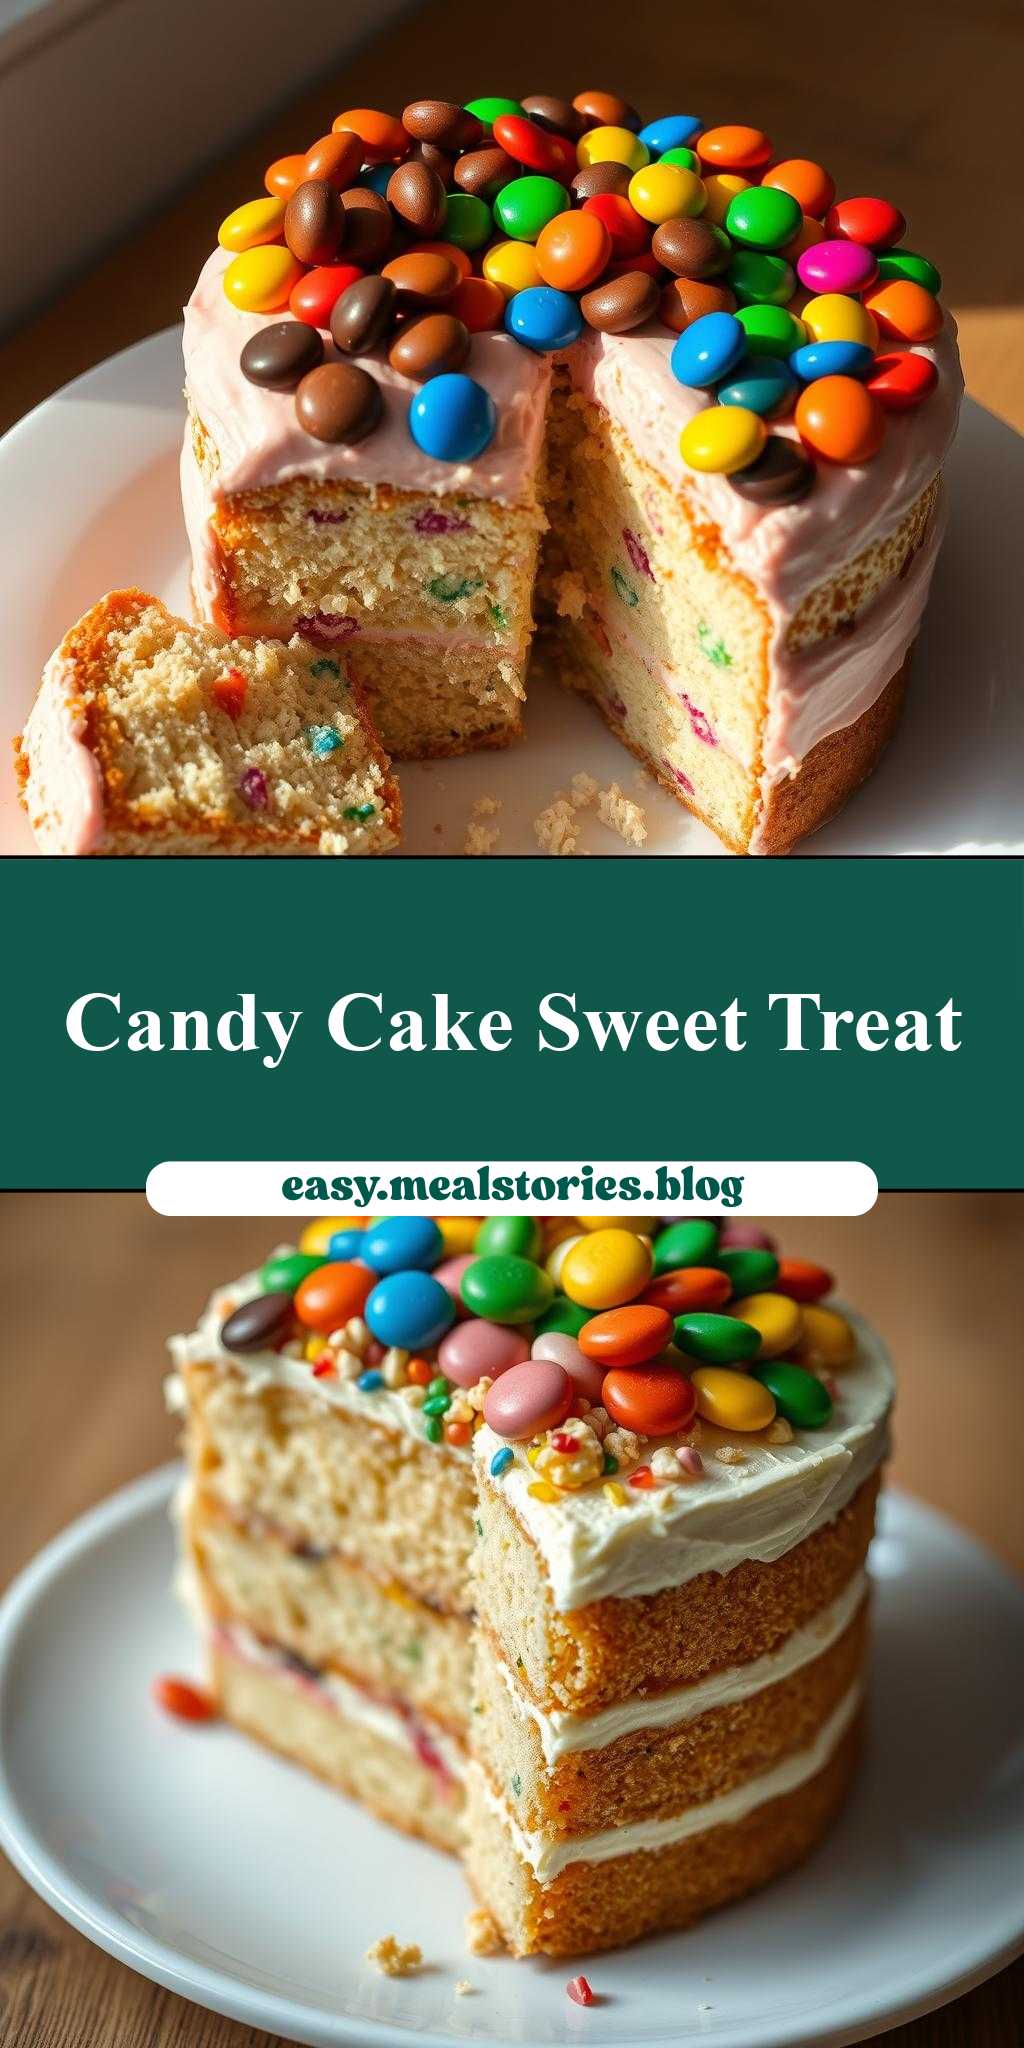
there is a cake with many candy toppings on the top and bottom layer, as well as one slice missing from it
Introduction
This vibrant and playful cake is a masterpiece of creativity and flavor, perfect for birthdays, parties, or any occasion that calls for a little extra joy. What makes this cake truly special is its generous helping of candy toppings, not just on the top, but also on the bottom layer, creating a delightful surprise with every bite. And, with one slice missing, it invites everyone to dive in and be a part of the celebration. The best part? It’s incredibly easy to make, using everyday ingredients that you might already have in your pantry. This recipe is all about embracing your inner child and letting your creativity shine through in the kitchen.
Why This Works
- Flavor balance and ingredient accessibility: The combination of moist cake, sweet candies, and the slight crunch from the toppings creates a perfect balance of flavors and textures. Plus, the ingredients are easily found in most supermarkets, making it accessible to everyone.
- Ease of preparation: Despite its impressive appearance, this cake is surprisingly simple to prepare. The cake itself can be made from a mix, and the assembly requires minimal effort, making it a great option for beginners or those short on time.
- Impressive results with minimal effort: The real magic of this recipe lies in how it transforms simple elements into a stunning dessert. The layering of candies on both the top and bottom adds a fun twist, and the missing slice adds a playful touch, all without requiring extensive culinary skills.
Key Ingredients
The main ingredients for this cake include a basic cake mix (you can use any flavor you like, but vanilla or chocolate work particularly well), a variety of candies for the toppings (M&M’s, sprinkles, chopped peanut butter cups, etc.), and any additional decorations you might want (icing, edible glitter, etc.). For the candies, feel free to get creative and use your favorites or what’s available. If you’re looking for a more cohesive look, you can choose candies in similar colors or textures. Practical substitutions can include using different types of cake mixes or swapping out candies based on dietary restrictions or preferences.
Instructions
- Step 1: Begin by preparing your cake according to the mix instructions. Typically, this involves mixing the cake mix with eggs, oil, and water, then pouring the batter into greased and floured pans. Bake as directed and let the cakes cool completely.
- Step 2: Once your cakes are cool, you can start assembling your dessert. Place one of the cakes on a serving plate or cake stand. If your cake is domed, you might want to level it to ensure stability.
- Step 3: Spread a thin layer of icing or frosting on top of the first cake layer. This will act as the “glue” for your bottom layer of candies. Immediately after applying the icing, sprinkle your chosen candies over the top. You can cover the entire surface or create patterns and designs.
- Step 4: Place the second cake on top of the first, creating a sandwich. If desired, you can frost the top and sides of the cake for a more polished look. Then, decorate the top with another layer of candies, mirroring the bottom layer or creating a completely different design. To add the final playful touch, carefully remove one slice of the cake, making it look like someone has already dug in.
Handy Tips
- When choosing your candies, consider the colors and textures to create a visually appealing combination. Also, be mindful of any dietary restrictions your guests might have, such as gluten-free, vegan, or sugar-free requirements.
- To prevent the candies from falling off, especially from the bottom layer, make sure the icing is sufficiently sticky. You can also lightly press the candies into the icing once they’re applied.
- For an extra-special touch, consider adding a theme to your cake and candies. For example, using candies in team colors for a sports-themed party or pastel colors for a baby shower.
Heat Control
Since this recipe involves baking a cake, it’s crucial to follow the temperature and timing instructions provided with the cake mix. Typically, cakes are baked at 350°F (175°C) for 30-40 minutes, but this can vary. The key signs of doneness include the cake pulling away from the sides of the pan, a toothpick inserted into the center coming out clean, and the top being golden brown.
Crunch Factor
The crunch factor in this dessert comes from the candies on top and bottom. To achieve the perfect crunch, make sure not to overload the cake with icing, as this can make the candies soggy. Also, choose candies with a good texture contrast, like crunchy M&M’s or soft and chewy gummies, to add depth to each bite.
Pro Kitchen Tricks
- To make your cake more stable, especially if you’re using a lot of heavy toppings, consider using a cake turntable or a sturdy cake stand. This will also make it easier to display and serve your cake.
- For a professional finish, use a crumb coat before applying the final layer of frosting. This involves applying a thin layer of frosting to the cake, then chilling it before adding the final, smooth layer of frosting.
- Experiment with different types of candies and decorations to create unique and personalized cakes for different occasions. This could include using themed sprinkles, edible images, or even creating designs with fresh fruits.
Storage Tips
- If you’re not serving the cake immediately, it’s best to store it in an airtight container at room temperature for up to 3 days. If you live in a hot or humid climate, consider storing it in the refrigerator to prevent the candies from melting or becoming soggy.
- For longer storage, you can freeze the cake without the candies for up to 2 months. When you’re ready to serve, thaw the cake, apply a fresh layer of icing, and decorate with candies.
- When reheating or serving, make sure the cake is at room temperature for the best flavor and texture. If it’s been refrigerated, let it sit out for about 30 minutes before serving.
Gift Packaging Ideas
If you’re planning to give this cake as a gift, consider how you can make the presentation even more special. You could wrap the cake stand or plate in colorful paper or a gift bag, add a ribbon around the cake itself, or include a personalized card or gift tag. For a more rustic look, you could place slices of the cake in mason jars, top with candies, and tie a ribbon around the lid. Whatever method you choose, the key is to make it look appealing and inviting.
Flavor Variations
- Different spices: Consider adding a pinch of salt, a teaspoon of vanilla extract, or a sprinkle of cinnamon to the cake batter for an extra depth of flavor.
- Creative toppings: Beyond candies, you could top your cake with fresh fruits, nuts, chocolate shavings, or even cookie crumbs for different textures and flavors.
- Ingredient swaps: For a gluten-free version, use a gluten-free cake mix. For a vegan version, replace eggs with flax eggs and use a non-dairy milk. You can also experiment with different types of sugar or sweeteners for a lower calorie version.
Troubleshooting
- Texture problems: If your cake turns out too dense, it might be due to overmixing the batter. If it’s too dry, it could be overbaked. Adjust your mixing and baking times accordingly for the next attempt.
- Ingredient replacements: If you’re missing an ingredient, don’t be afraid to substitute. For example, if you don’t have buttermilk, you can make a substitute by mixing milk with vinegar or lemon juice.
- Over/undercooking signs: Keep an eye on your cake while it’s baking. If the edges start to brown too quickly, cover the cake with foil. If it’s not done after the recommended time, check every 5 minutes until it’s cooked through.
FAQs
- Can I freeze it? Yes, you can freeze the cake itself for up to 2 months. However, it’s best to add the candies just before serving to preserve their texture.
- Is it gluten-free? It can be, if you use a gluten-free cake mix and ensure all your toppings and decorations are gluten-free as well.
- Can I double the recipe? Absolutely. Just keep in mind that you’ll need to adjust the baking time slightly for a larger cake. It’s also a good idea to bake the cakes in separate pans to ensure even cooking.
Conclusion
Making a cake with many candy toppings on the top and bottom layer, along with the playful touch of a missing slice, is a fun and creative project that’s sure to delight both kids and adults. With its ease of preparation, impressive presentation, and endless possibilities for customization, this recipe is perfect for any occasion. Don’t be afraid to experiment with different candies, flavors, and decorations to make it your own. And most importantly, enjoy the process and share the joy with others. Happy baking!
there is a cake with many candy toppings on the top and bottom layer, as well as one slice missing from it
A creative and playful cake recipe perfect for celebrations, featuring a moist cake, sweet candies, and a fun twist with a missing slice.
🥘 Ingredients
👩🍳 Instructions
-
1Prepare the cake mix according to the instructions and bake in greased and floured pans.
-
2Allow the cakes to cool completely before assembling the dessert.
-
3Apply a thin layer of icing to the top of one cake layer, then sprinkle with candies.
-
4Place the second cake layer on top and frost the entire cake if desired. Decorate the top with another layer of candies and remove one slice to create a playful touch.