What’s the ultimate comfort food that’s ridiculously easy to make at home? A towering bowl of cheese puffs made with sharp cheddar and a quick baking method is my go-to weeknight dinner solution. Save this idea for a homemade family favorite that’s sure to become a staple.
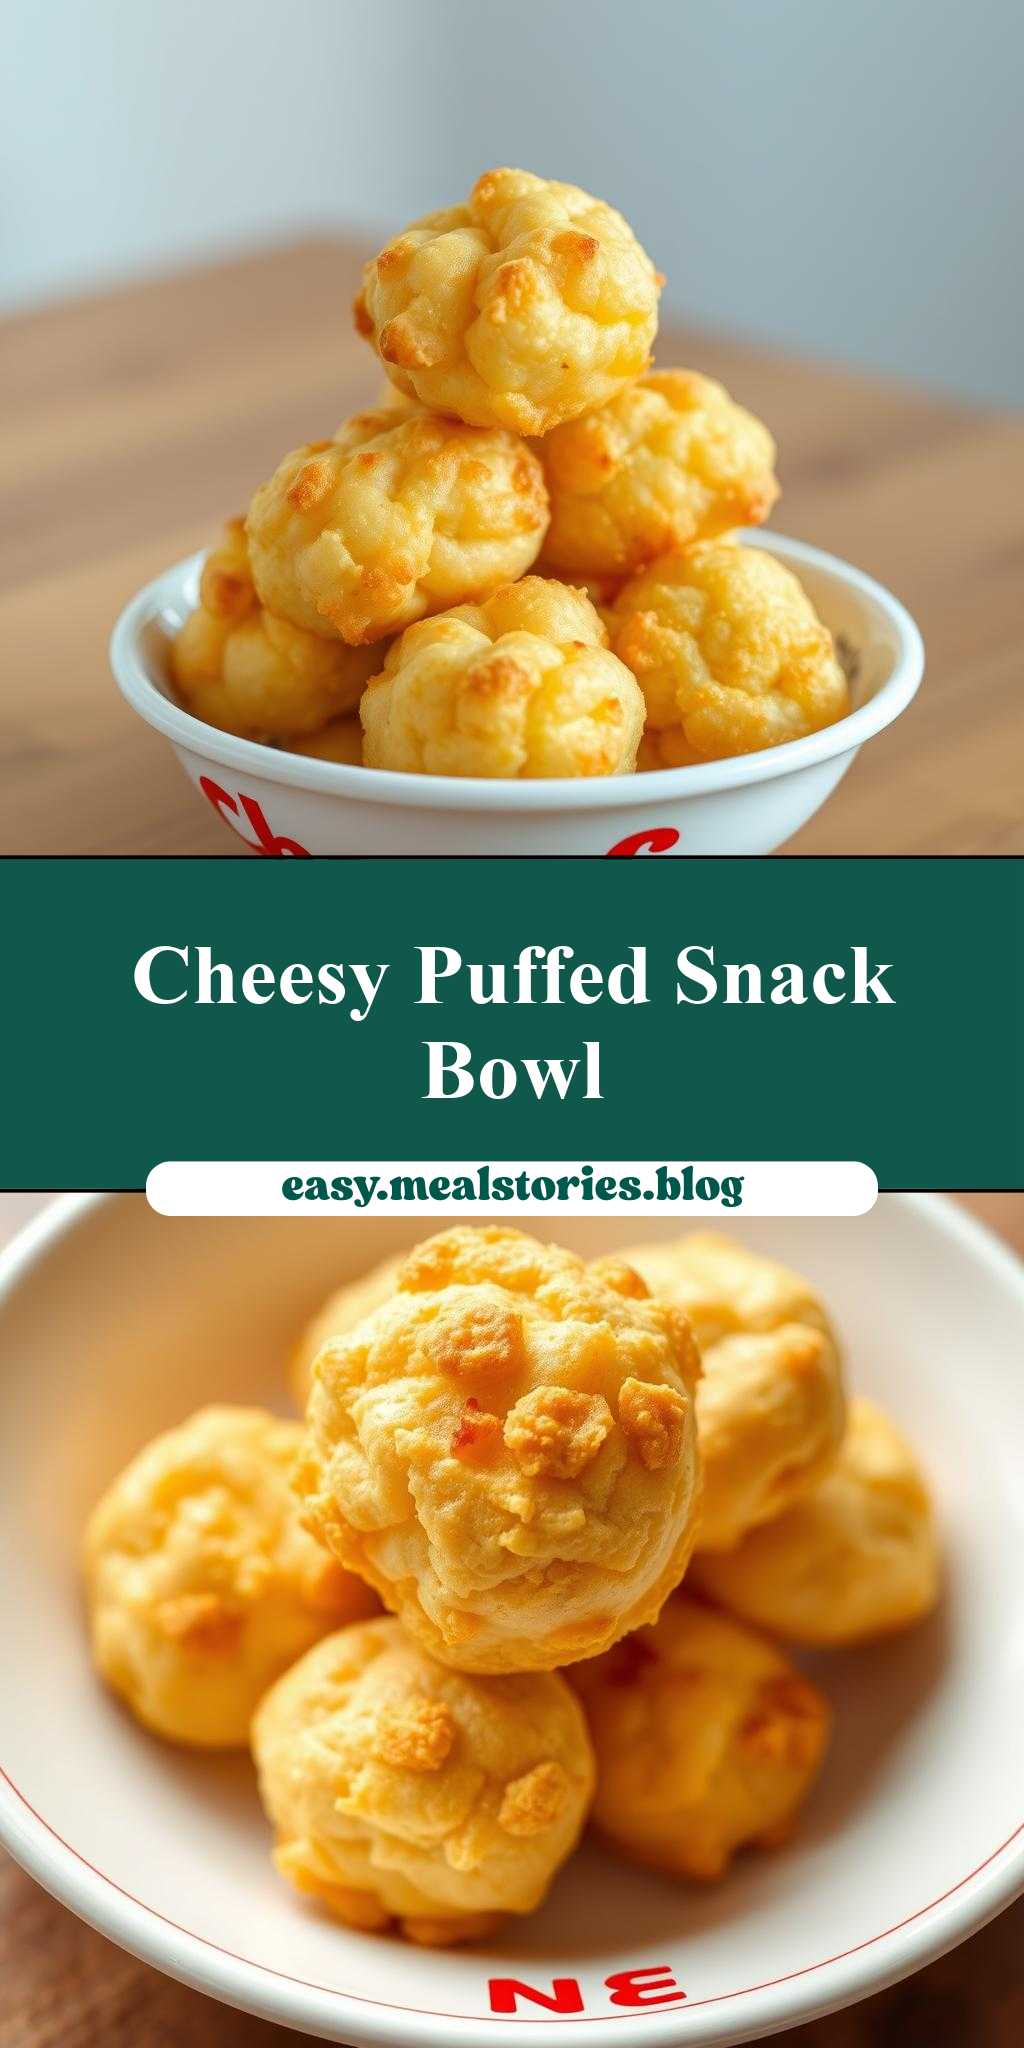
cheese puffs are piled on top of each other in a white bowl with red lettering
Introduction
Imagine a dish that combines the simplicity of everyday ingredients with the creativity of a gourmet presentation. “Cheese puffs are piled on top of each other in a white bowl with red lettering” is not just a visually stunning snack or appetizer, but it’s also a testament to how flavor, ease, and creativity can come together in perfect harmony. This recipe is about transforming a humble snack into a centerpiece that’s sure to impress, whether you’re hosting a party or just looking for a fun project to enjoy with family and friends. The best part? It requires minimal effort but yields impressive results, making it perfect for anyone looking to elevate their snack game without spending hours in the kitchen.
Why This Works
- Flavor balance and ingredient accessibility: The key to this dish is the balance of flavors and textures provided by the cheese puffs and the visual appeal of the red lettering on a white bowl. The ingredients are easily accessible, making it a feasible project for anyone.
- Ease of preparation: The preparation is straightforward and simple, requiring no cooking skills beyond perhaps melting cheese for an optional extra step.
- Impressive results with minimal effort: Despite the simplicity, the final presentation is visually appealing and can be customized with different colors or patterns of lettering, making it adaptable to various themes or occasions.
Key Ingredients
The main ingredients for this creative snack include cheese puffs, a white bowl, and materials for creating red lettering, such as paint, markers, or even edible decorations if you’re feeling adventurous. For practical substitutions, you can use different types of puffed snacks or vary the color scheme to match your occasion or brand. If looking to add an extra layer of flavor, consider melting some cheese to drizzle over the puffs or adding some fresh herbs for a pop of color and freshness.
Instructions
- Step 1: Begin by preparing your bowl. If using paint or markers for the lettering, ensure the bowl is clean and dry. For edible decorations, follow the package instructions for application.
- Step 2: Create your red lettering. This could involve painting or drawing directly onto the bowl, or arranging edible decorations to form letters or a design. Be creative and have fun with this step!
- Step 3: Fill the bowl with cheese puffs. You can pile them high for a dramatic effect or create a pattern with the puffs for added visual interest.
- Step 4: Final touches. Consider adding a drizzle of melted cheese or a sprinkle of paprika for extra flavor and color. If using, carefully place your fresh herbs on top or around the bowl for a finishing touch.
Handy Tips
- For a more durable and long-lasting design, consider using ceramic paint and following the manufacturer’s instructions for curing.
- When selecting cheese puffs, choose a brand that holds its shape well to maintain the structural integrity of your pile.
- Avoid overfilling the bowl, as this can make the snack difficult to serve and may compromise the design.
Heat Control
If you decide to melt cheese as an extra step, be cautious with the heat. Melt the cheese over low heat, stirring constantly, until it reaches your desired consistency. Be aware of the melting point of the cheese you’re using, as some may become too runny or separate if overheated.
Crunch Factor
The crunch factor in this dish comes from the cheese puffs themselves. To maintain crunchiness, it’s best to assemble the snack just before serving. If you’re looking for an extra crunch, consider sprinkling some crispy bacon bits or chopped nuts over the top of the cheese puffs.
Pro Kitchen Tricks
- For a professional finish, use a turntable to display your bowl, allowing the design to be admired from all sides.
- Keep your cheese puffs fresh by storing them in an airtight container before assembling the dish.
- Experiment with different flavors of cheese puffs or snacks to offer a variety of tastes without changing the core concept.
Storage Tips
- Leftover cheese puffs can be stored in an airtight container for up to 3 days.
- If you’ve added melted cheese, it’s best to consume the snack within a day for optimal flavor and texture.
- Consider using a bowl with a lid or covering it with plastic wrap to keep the snack fresh for a longer period.
Gift Packaging Ideas
This snack can be a fun and unique gift, especially for parties or as a hostess gift. Consider packaging the cheese puffs in decorative jars or bags and including a small bowl or container with a personalized message in red lettering. You could also create a gift basket filled with different flavored cheese puffs and snacks, along with a beautifully decorated bowl to display them in.
Flavor Variations
- Different spices: Sprinkle some cayenne pepper or smoked paprika over the cheese puffs for an added kick.
- Creative toppings: Experiment with various toppings such as diced onions, chopped hard-boiled eggs, or a dollop of sour cream.
- Ingredient swaps: Replace cheese puffs with other crunchy snacks like crackers or crisps, or use different types of cheese for the drizzle.
Troubleshooting
- Texture problems: If your cheese puffs become stale, try reviving them in a low-temperature oven for a few minutes. Be cautious not to overheat.
- Ingredient replacements: If you can’t find cheese puffs, look for similar snacks that are crunchy and flavorful.
- Over/undercooking signs: If melting cheese, watch for it to reach a smooth, creamy consistency. Avoid overheating, which can cause the cheese to separate or become too hard.
FAQs
- Can I freeze it? It’s not recommended to freeze assembled cheese puffs, as the texture and freshness may be compromised. However, you can store leftover cheese puffs in an airtight container in the freezer for up to 2 months.
- Is it gluten-free? Depending on the brand of cheese puffs you use, this snack can be gluten-free. Always check the ingredient label to confirm.
- Can I double the recipe? Yes, you can easily double or triple the recipe to serve a larger crowd. Just be sure to have enough bowls or a large enough serving container.
Conclusion
In conclusion, “cheese puffs are piled on top of each other in a white bowl with red lettering” is a fun, creative, and delicious project that’s perfect for any occasion. With its combination of ease, flavor, and visual appeal, it’s sure to be a hit with friends and family. Whether you’re looking for a simple snack to spice up your week or a unique centerpiece for your next party, this recipe has got you covered. So don’t be afraid to get creative, experiment with different flavors and designs, and most importantly, enjoy the process and the delicious outcome!
cheese puffs are piled on top of each other in a white bowl with red lettering
A creative snack featuring cheese puffs piled in a white bowl with red lettering, perfect for parties or as a fun project.
🥘 Ingredients
👩🍳 Instructions
-
1Prepare the bowl by cleaning and drying it.
-
2Create the red lettering on the bowl using paint or markers.
-
3Fill the bowl with cheese puffs.
-
4Add any final touches, such as a drizzle of melted cheese or fresh herbs.