What makes a perfect ice cream topping – a homemade chocolate magic shell made with melted chocolate and heavy cream is the answer. This easy recipe is a family favorite, perfect for weeknight treats. Save this idea for a quick dessert solution.
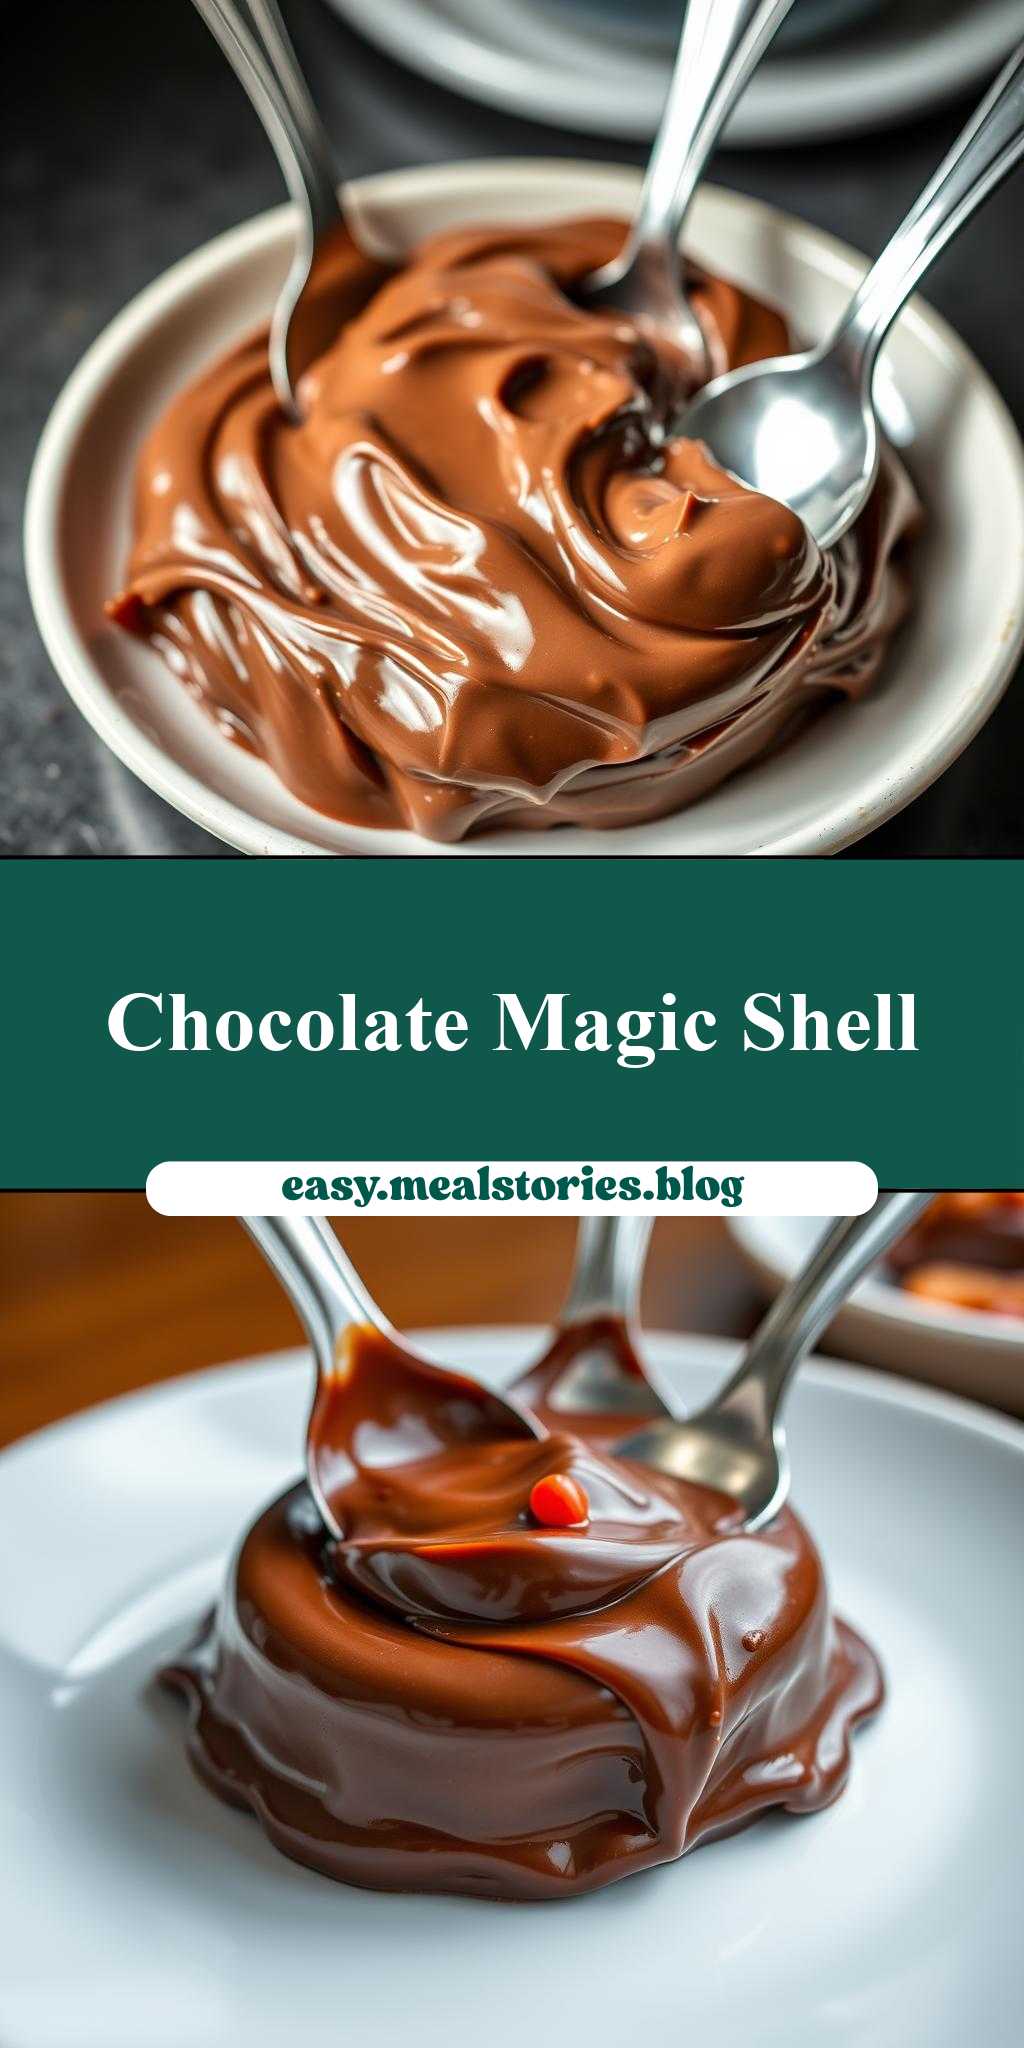
homemade chocolate magic shell recipe with spoons in it
Introduction
Indulge in the rich, velvety goodness of chocolate magic shell, now made even more whimsical with the addition of spoons right in the mix. This creative dessert is not only a feast for the taste buds but also a visually appealing treat that’s sure to delight both kids and adults alike. The best part? It’s incredibly easy to make, using everyday ingredients that you might already have in your pantry. The combination of melted chocolate, creamy elements, and the fun surprise of finding a spoon in your dessert makes for a truly magical experience. Whether you’re a chocolate lover, a fan of creative desserts, or just looking for a fun project to enjoy with family and friends, this homemade chocolate magic shell recipe with spoons in it is the perfect treat for you.
Why This Works
- Flavor balance and ingredient accessibility: The beauty of this recipe lies in its simplicity and the use of readily available ingredients, making it accessible to anyone who wants to give it a try. The balance of flavors between the chocolate and any additional ingredients you choose to add ensures a delicious and satisfying treat.
- Ease of preparation: One of the most appealing aspects of this recipe is how easy it is to prepare. With just a few simple steps, you can have your very own chocolate magic shell with spoons, ready to impress and delight.
- Impressive results with minimal effort: Despite the simplicity of the recipe, the end result is nothing short of impressive. The inclusion of spoons adds a fun and whimsical touch, making it perfect for special occasions or as a unique dessert to serve at gatherings.
Key Ingredients
To make this enchanting dessert, you’ll need a few key ingredients. First and foremost, you’ll need a good quality chocolate. This can be in the form of chocolate chips, chocolate bars, or even cocoa powder, depending on the method you choose for melting and the flavor profile you’re aiming for. Additional ingredients might include heavy cream or milk to achieve the desired consistency and flavor, and of course, spoons. Yes, you read that right – spoons! These will be embedded into the chocolate magic shell, creating a delightful surprise when you take a bite. Other ingredients like nuts, sprinkles, or even dried fruits can be added to enhance the flavor and texture, making each spoonful a new adventure.
Instructions
- Step 1: Begin by preparing your workspace and ingredients. If using solid chocolate, chop it into smaller pieces to facilitate melting. Measure out your cream or milk and have your spoons ready. If adding any toppings or mix-ins, prepare those as well by chopping nuts, sorting sprinkles, etc.
- Step 2: Melt your chocolate. This can be done in a double boiler, in the microwave in short intervals while stirring between each interval, or using a chocolate melter if you have one. Once the chocolate is melted and smooth, remove it from the heat source.
- Step 3: Add your cream or milk to the melted chocolate and stir until well combined. This will help achieve the right consistency for the magic shell. If the mixture becomes too thin, you can always add a bit more melted chocolate. If it’s too thick, a small amount of warm cream or milk can be added.
- Step 4: Pour the chocolate mixture into a lined or greased mold or tray. Immediately place your spoons into the chocolate, making sure they are fully covered. If desired, add any toppings or mix-ins at this stage. Refrigerate until set, which should take about 20-30 minutes depending on the size of your chocolate magic shell and the temperature of your refrigerator.
Handy Tips
- When melting chocolate, it’s crucial to do so gently to avoid burning the chocolate. Using a double boiler or short intervals in the microwave while stirring between each interval can help prevent this.
- Experiment with different types of chocolate for varying flavor profiles. Dark chocolate gives a deeper, richer taste, while milk chocolate is sweeter and creamier.
- Consider using edible gold or silver dust to give your chocolate magic shell a luxurious touch, perfect for special occasions or gifts.
Heat Control
Heat control is critical when melting chocolate to prevent it from seizing up or burning. Ideally, chocolate should be melted at a low temperature. If using a microwave, start with 10-second intervals and check the chocolate between each heating, stirring well. For a double boiler, ensure the water does not boil but instead simmers gently, with the bowl containing the chocolate not touching the water.
Crunch Factor
The crunch factor in your chocolate magic shell can come from various toppings such as nuts, cookies, or even cereal. To achieve the perfect crunch, add these elements just before the chocolate sets, so they adhere well but retain their texture. For a smoother treat, avoid adding crunchy toppings or press them gently into the chocolate to ensure they are fully coated.
Pro Kitchen Tricks
- For a glossy finish on your chocolate magic shell, temper the chocolate. This involves heating and cooling the chocolate to create a stable crystal structure that gives the chocolate a smooth, glossy appearance.
- Use high-quality chocolate for the best flavor. While it might be tempting to use cheaper alternatives, the flavor and texture of high-quality chocolate are unmistakable and worth the investment.
- Keep your chocolate magic shell fresh by storing it in an airtight container in the refrigerator. Let it come to room temperature before serving for the best taste and texture.
Storage Tips
- Store your chocolate magic shell in an airtight container to keep it fresh. This will prevent other flavors from affecting the taste of your chocolate and keep it from drying out.
- Refrigerate the chocolate magic shell to prolong its shelf life. It can be stored for up to a week in the fridge.
- Consider freezing for longer storage. Consider wrapping individual pieces tightly in plastic wrap or aluminum foil and placing them in a freezer-safe bag for up to 2 months. Thaw frozen pieces in the refrigerator overnight before serving.
Gift Packaging Ideas
This unique dessert makes for a wonderful gift, especially when packaged in a creative and appealing way. Consider placing individual pieces of the chocolate magic shell in small gift boxes or bags. For a more rustic look, use paper bags and twine. Adding a personal touch, such as a handwritten note or a small decorative spoon, can make the gift even more special. If giving as a gift during the holidays, consider using themed packaging like Christmas-themed bags or Easter-themed boxes to match the occasion.
Flavor Variations
- Different spices: Add a pinch of salt, a sprinkle of cinnamon, or a dash of cayenne pepper to give your chocolate magic shell a unique twist.
- Creative toppings: Experiment with various toppings like dried cranberries, chopped nuts, shredded coconut, or even candy pieces to change up the flavor and texture.
- Ingredient swaps: Use white chocolate instead of milk or dark chocolate for a sweeter and creamier flavor. You can also substitute the heavy cream with a non-dairy milk alternative for a vegan version.
Troubleshooting
- Texture problems: If your chocolate magic shell turns out too hard, it may have been overheated. If it’s too soft, it might not have been cooled enough. Adjusting the cooling time or the temperature during melting can help achieve the perfect texture.
- Ingredient replacements: If you find yourself without a particular ingredient, don’t hesitate to get creative with substitutions. For example, you can use almond milk instead of heavy cream or add a teaspoon of instant coffee to intensify the chocolate flavor.
- Over/undercooking signs: Overheated chocolate can become grainy or separate. Undercooking might result in a mixture that doesn’t set properly. Keep an eye on the temperature and the consistency of your mixture to avoid these issues.
FAQs
- Can I freeze it? Yes, you can freeze your chocolate magic shell. Wrap individual pieces tightly and place them in a freezer-safe bag for up to 2 months. Thaw overnight in the refrigerator before serving.
- Is it gluten-free? This recipe is naturally gluten-free, making it a great option for those with gluten intolerance. However, ensure that any additional ingredients you add, such as certain types of chocolate or toppings, are also gluten-free.
- Can I double the recipe? Absolutely! Simply double all the ingredients and follow the same instructions. Keep in mind that larger batches might require a bit more time to set in the refrigerator.
Conclusion
Making your own homemade chocolate magic shell with spoons in it is a fun and rewarding process that combines creativity with delicious flavors. Whether you’re a seasoned chef or a beginner in the kitchen, this recipe is easy to follow and allows for plenty of room for experimentation and customization. So go ahead, indulge in this magical treat, and don’t hesitate to share your creations with friends and family. With its unique twist and endless possibilities for variation, this dessert is sure to become a favorite. Happy cooking, and remember, the most important ingredient in any recipe is love!
homemade chocolate magic shell recipe with spoons in it
A creative and delicious dessert made with melted chocolate, cream, and spoons, perfect for special occasions or as a fun treat.
🥘 Ingredients
👩🍳 Instructions
-
1Melt the chocolate in a double boiler or in the microwave in short intervals, stirring between each interval.
-
2Add the heavy cream to the melted chocolate and stir until well combined.
-
3Pour the mixture into a lined or greased mold or tray.
-
4Immediately place the spoons into the chocolate, making sure they are fully covered. Add any desired toppings or mix-ins.
-
5Refrigerate until set, about 20-30 minutes, depending on the size and refrigerator temperature.