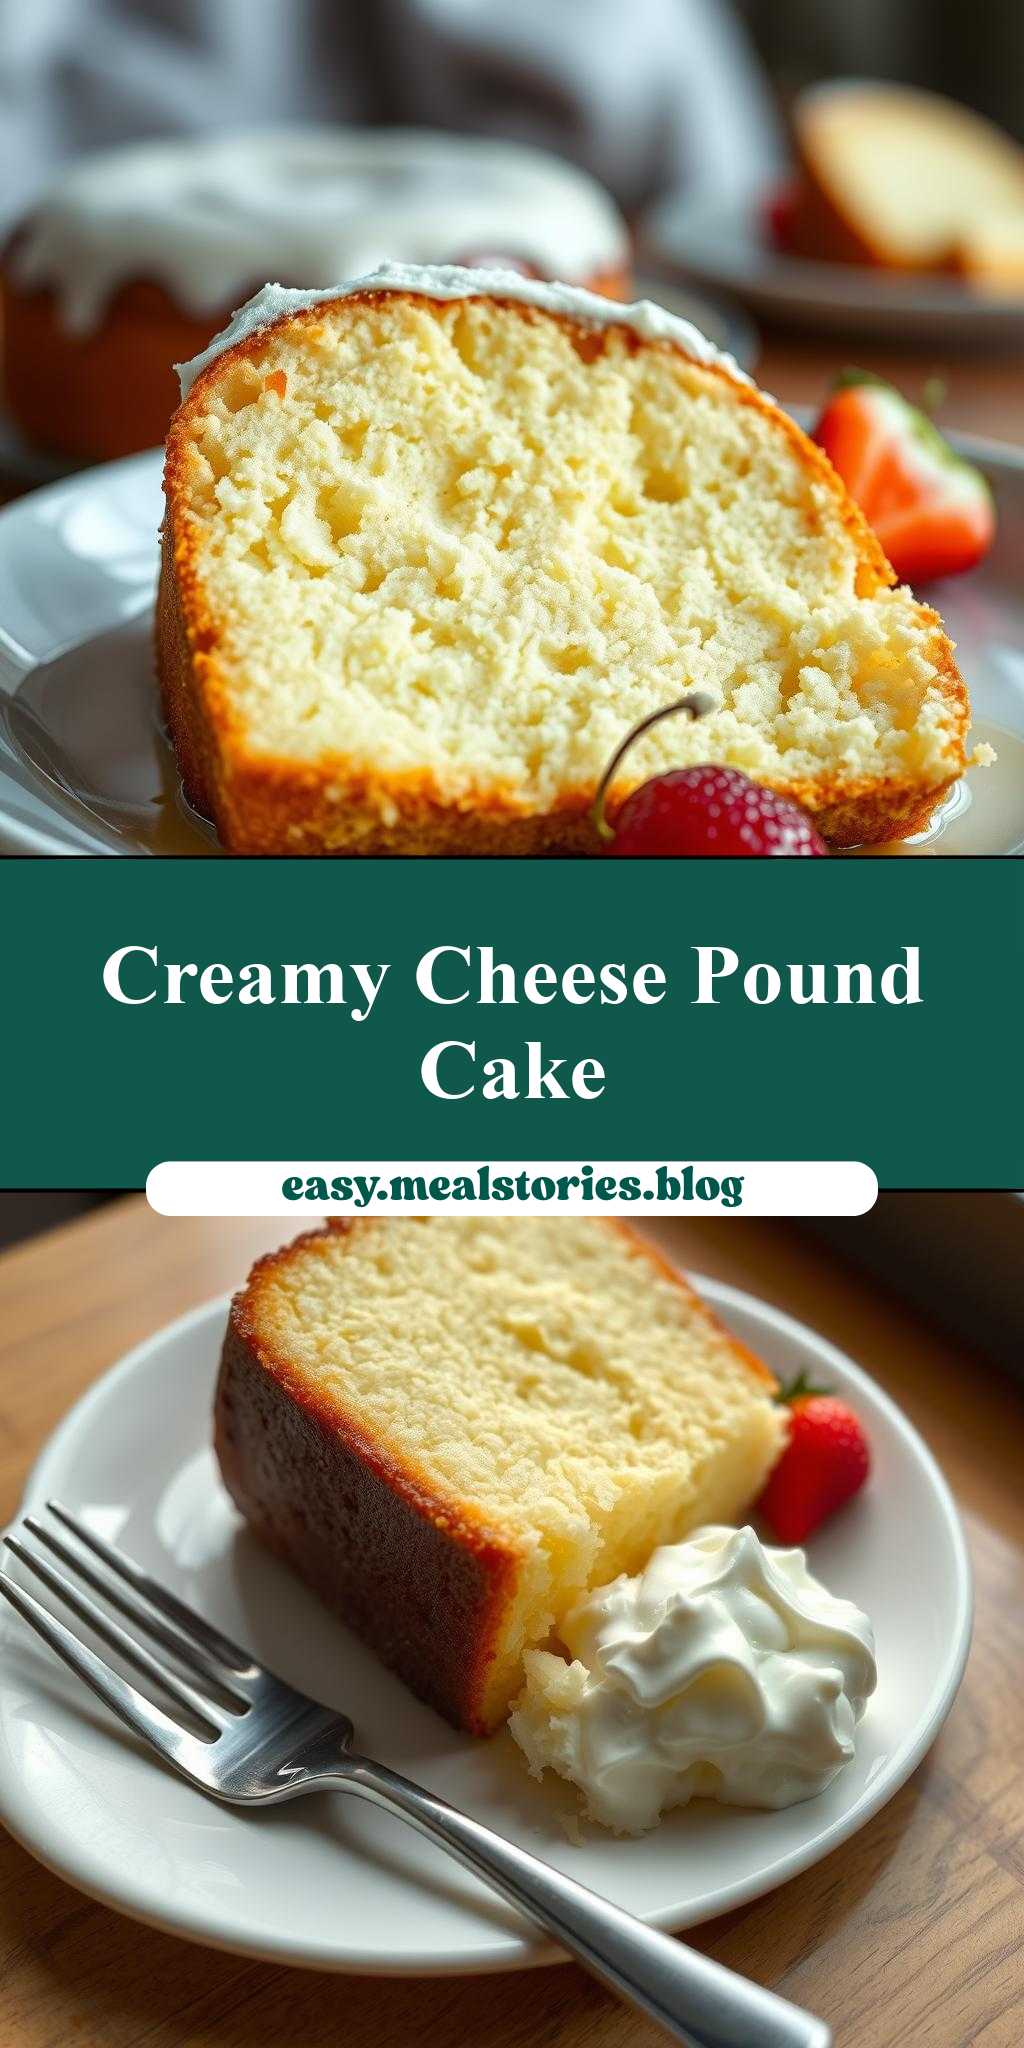
What makes a perfect dessert for any gathering? A moist cream cheese pound cake, made with simple homemade love and a generous helping of rich cream cheese, is the answer. This easy recipe is a family favorite, perfect for weeknight treats or special occasions. Save this idea for a deliciously tender cake that is sure to impress, try it soon and enjoy every last bite.
Cream Cheese Pound Cake
Introduction
The Cream Cheese Pound Cake is a masterpiece of simplicity and flavor, combining the richness of cream cheese with the classic comfort of a pound cake. This recipe stands out for its ease of preparation, using everyday ingredients that are readily available in most kitchens. What makes it truly special is the balance of tangy cream cheese and sweet, moist cake, all achievable with minimal effort. Whether you’re a seasoned baker or just starting out, this cake is sure to impress with its dense, velvety texture and its versatility in serving – perfect for brunch, dessert, or even as a gift. The best part? It’s incredibly easy to make and requires no exotic ingredients, making it a great choice for those looking to get creative in the kitchen without breaking the bank or spending hours on intricate preparations.
Why This Works
- Flavor balance and ingredient accessibility: The combination of cream cheese, butter, sugar, eggs, and flour creates a perfectly balanced flavor profile that is both rich and light. All these ingredients are staples in most kitchens, making the cake accessible to everyone.
- Ease of preparation: Despite its impressive outcome, the cake requires minimal preparation. The steps are straightforward, and the mixing process is simple, reducing the overall time spent in the kitchen.
- Impressive results with minimal effort: The end result is a beautifully moist and flavorful cake that looks and tastes like it was made by a professional. The effort-to-result ratio is exceptionally high, making it a favorite among both beginners and experienced bakers.
Key Ingredients
The main ingredients in this recipe include cream cheese, unsalted butter, granulated sugar, large eggs, all-purpose flour, salt, and vanilla extract. The cream cheese adds a tangy flavor and a moist texture, while the butter and sugar provide richness and sweetness. Eggs act as a binder, holding the cake together, and flour gives the cake its structure. Salt enhances the flavors, and vanilla extract adds a hint of warmth and depth. For practical substitutions, you can use low-fat cream cheese for a slightly lighter version or different extracts like almond for a unique flavor twist.
Instructions
- Step 1: Begin by preheating your oven to 325°F (165°C). Prepare a 9×5-inch loaf pan by greasing it with butter and dusting it with flour. In a large mixing bowl, soften the cream cheese and butter together until smooth. Add the granulated sugar and mix until well combined.
- Step 2: Beat in the eggs one at a time, ensuring each egg is fully incorporated before adding the next. Then, mix in the flour, salt, and vanilla extract until the batter is smooth and there are no lumps.
- Step 3: Pour the batter into the prepared loaf pan and smooth the top. If desired, add any additional toppings like chopped nuts or dried fruit to add texture and extra flavor.
- Step 4: Bake the cake for about 55-60 minutes, or until a toothpick inserted into the center comes out clean. Remove the cake from the oven and let it cool in the pan for 10 minutes before transferring it to a wire rack to cool completely.
Handy Tips
- Ensure all ingredients are at room temperature before starting to mix for a smoother batter. Also, don’t overmix, as this can lead to a dense cake. If you find the cake is browning too quickly, cover the top with foil to prevent overbrowning.
Heat Control
For this recipe, maintaining the right oven temperature is crucial. The ideal temperature is 325°F (165°C), and the cake should bake for approximately 55-60 minutes. Signs of doneness include a golden brown crust and a clean toothpick when inserted into the center of the cake. Keep an eye on the cake after the 50-minute mark, as oven times can vary.
Crunch Factor
This cake is designed to be moist and tender, not crunchy. To achieve this, ensure you don’t overbake it. The cake should be slightly springy to the touch and have a beautiful, even crust. If you’re looking to add a crunchy element, consider topping the cooled cake with chopped nuts or a crumbly streusel topping before serving.
Pro Kitchen Tricks
- To ensure the cake releases easily from the pan, make sure to grease it thoroughly and dust it with flour. For an extra moist cake, try adding an extra tablespoon or two of sour cream or Greek yogurt to the batter.
Storage Tips
- The cake can be stored at room temperature for up to 3 days, wrapped tightly in plastic wrap or aluminum foil. For longer storage, it can be refrigerated for up to a week or frozen for up to 2 months. When freezing, wrap the cake tightly in plastic wrap and then in aluminum foil. To thaw, leave the cake at room temperature overnight or thaw it in the refrigerator.
Gift Packaging Ideas
This cake makes a wonderful gift, especially when nicely packaged. Consider wrapping the cooled cake in decorative paper or a tea towel and tying it with a ribbon. You can also add a personal touch with a handwritten note or a small bag of specialty coffee or tea to enjoy with the cake.
Flavor Variations
- Different spices: Add a pinch of cinnamon, nutmeg, or cardamom to the batter for a unique twist. For a lemon or orange flavor, incorporate some zest into the batter and a squeeze of fresh juice.
- Creative toppings: Top the cake with a cream cheese frosting, a dusting of powdered sugar, or fresh fruits like strawberries or blueberries.
- Ingredient swaps: Replace some of the flour with almond meal for a nutty flavor or use different types of sugar like brown sugar for a deeper flavor profile.
Troubleshooting
- Texture problems: If the cake turns out too dense, it might be due to overmixing. If it’s too dry, it could be overbaked. Adjust the mixing time and oven temperature accordingly in future attempts.
- Ingredient replacements: If you’re out of a particular ingredient, refer to the substitutions mentioned earlier. However, keep in mind that significant changes can affect the final result.
- Over/undercooking signs: Keep an eye on the cake’s color and texture. A perfectly baked cake will be golden brown and firm to the touch, with a slight springiness.
FAQs
- Can I freeze it? Yes, the cake can be frozen for up to 2 months. Wrap it tightly in plastic wrap and then in aluminum foil before placing it in the freezer.
- Is it gluten-free? No, this recipe uses all-purpose flour and is not gluten-free. However, you can experiment with gluten-free flours for a gluten-free version, though the texture might vary.
- Can I double the recipe? Yes, you can double the recipe to make a larger cake. Just ensure you have a large enough loaf pan or consider using multiple smaller pans.
Conclusion
The Cream Cheese Pound Cake is a versatile and delicious addition to any meal or occasion. With its rich flavor and moist texture, it’s sure to become a favorite. Don’t be afraid to experiment with different flavors and toppings to make the cake your own. Whether you’re a beginner in the kitchen or a seasoned pro, this recipe is a must-try. So go ahead, bake a cake, and share the joy of homemade goodness with your loved ones. Happy baking!
Cream Cheese Pound Cake
A moist and flavorful cake combining the richness of cream cheese with the classic comfort of a pound cake.
🥘 Ingredients
👩🍳 Instructions
-
1Preheat the oven to 325°F (165°C). Grease and flour a 9x5-inch loaf pan.
-
2Mix the cream cheese and butter until smooth, then add the sugar and mix well.
-
3Beat in the eggs one at a time, followed by the flour, salt, and vanilla extract until the batter is smooth.
-
4Pour the batter into the prepared loaf pan and bake for 55-60 minutes or until a toothpick inserted into the center comes out clean.