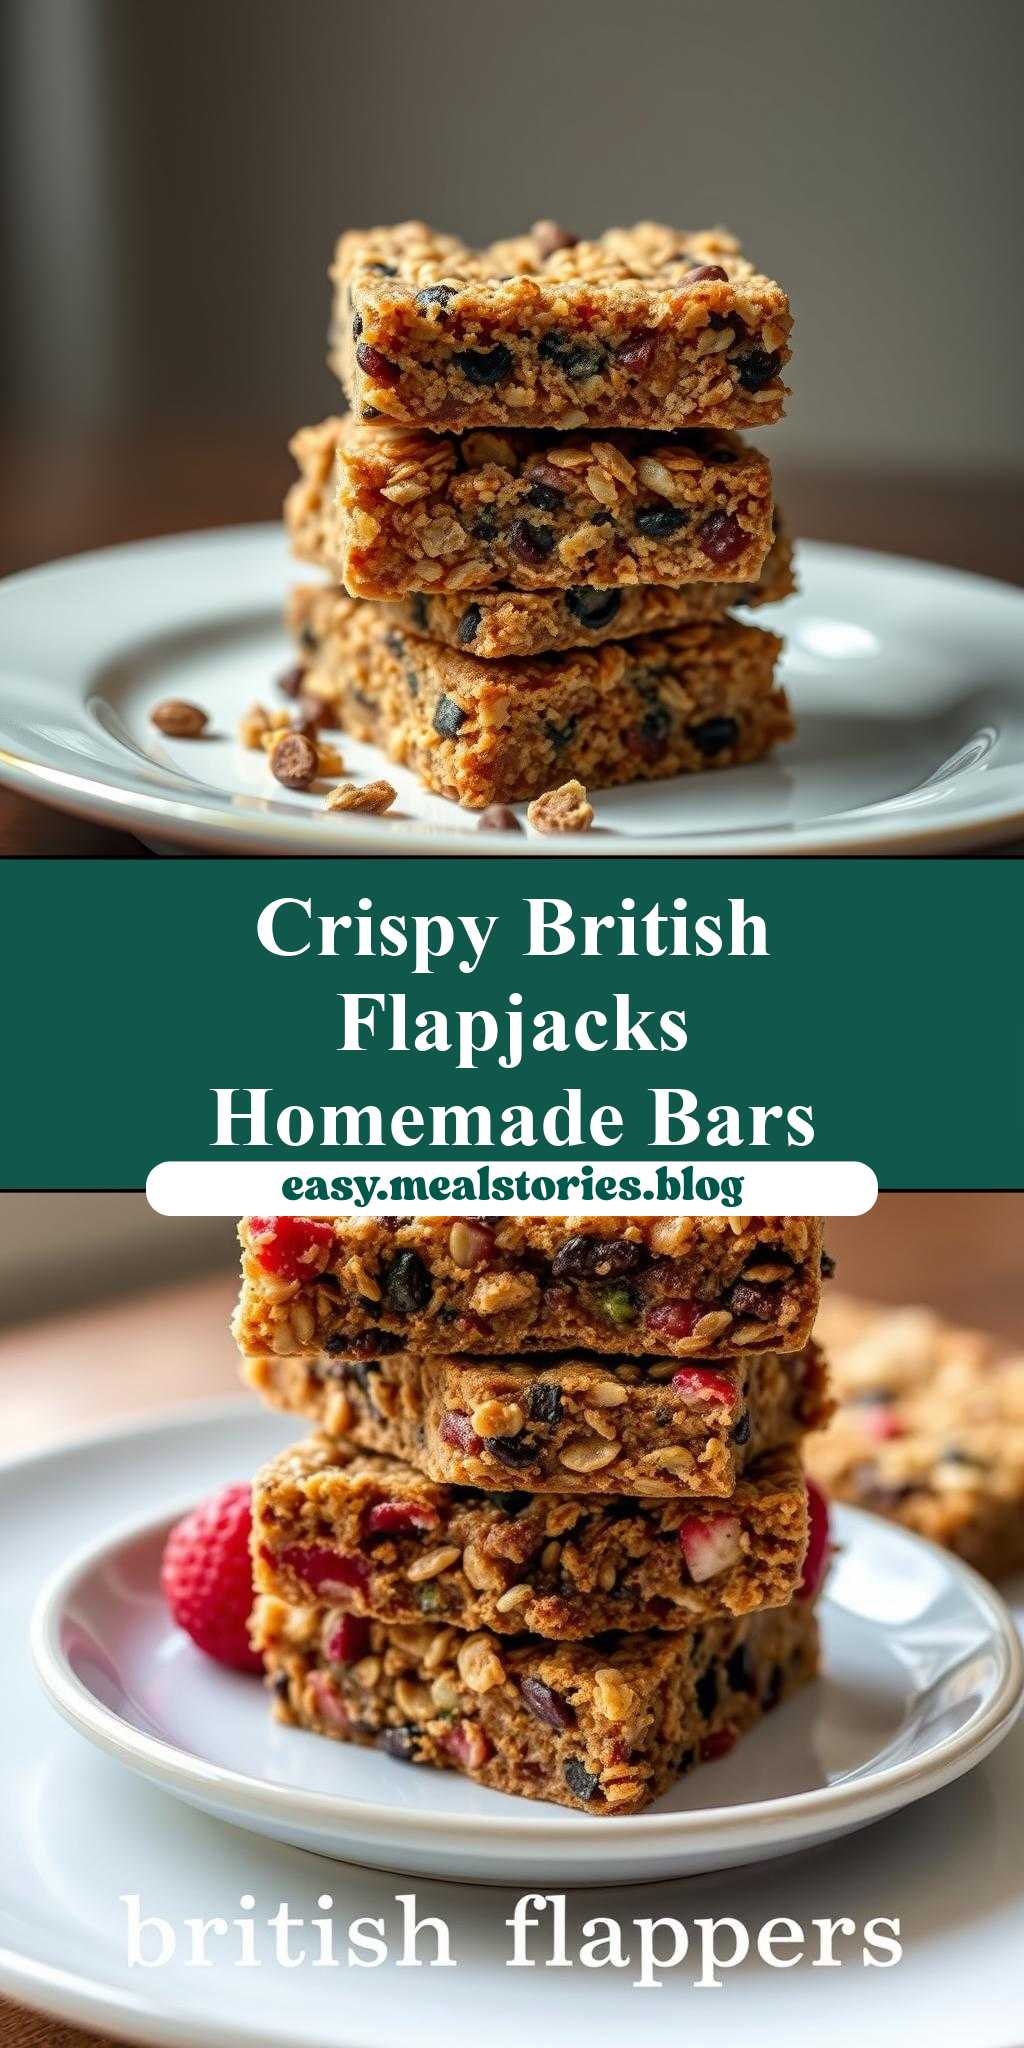
What makes a classic British flapjacks recipe so irresistible? These chewy homemade granola bars are made with rolled oats and golden syrup for a quick and easy family favorite snack, perfect for a weeknight pick-me-up, save this idea
homemade granola bars stacked on top of each other with the words british flapjacks recipe below
Introduction
Imagine the perfect blend of crunchy texture and sweet flavor in every bite, all from the comfort of your own kitchen. Making homemade granola bars, or as the British fondly call them, flapjacks, is not just a treat but an adventure in creativity and ease. Using everyday ingredients, you can craft a snack that’s both healthy and indulgent, tailored to your taste preferences. Whether you’re a busy parent looking for a quick breakfast solution, an athlete seeking a nutritious energy boost, or simply a food enthusiast exploring new recipes, homemade granola bars offer the perfect combination of simplicity, flavor, and versatility.
Why This Works
- Flavor balance and ingredient accessibility: The beauty of homemade granola bars lies in their adaptability. You can mix and match a variety of ingredients to achieve the perfect balance of sweet and savory, ensuring that every bite is a delight for your taste buds. Plus, most ingredients are readily available in your pantry or at your local grocery store.
- Ease of preparation: One of the most appealing aspects of making homemade granola bars is how straightforward the process is. With minimal cooking required and a simple mixing process, you can have a batch ready in no time. This makes it an ideal activity for families, allowing children to participate and learn about cooking in a fun and engaging way.
- Impressive results with minimal effort: Despite the simplicity of the recipe, the end result is surprisingly impressive. The combination of rolled oats, golden syrup, and sugar, along with your choice of nuts, seeds, and dried fruits, creates a deliciously chewy and satisfying snack that looks as good as it tastes. Perfect for lunchboxes, after-school snacks, or as a post-workout treat.
Key Ingredients
The foundation of a great flapjack recipe includes rolled oats, which provide the chewy texture; golden syrup, which acts as a binder and adds a rich, caramel-like flavor; and sugar, which contributes to the sweetness and helps in binding the ingredients together. Nuts, seeds, and dried fruits are optional but highly recommended for adding texture, flavor, and nutritional value. Practical substitutions can be made based on dietary preferences or allergies, such as using maple syrup instead of golden syrup or choosing gluten-free oats for those with gluten intolerance.
Instructions
- Step 1: Begin by preparing your ingredients. This includes measuring out the oats, sugar, and golden syrup, and chopping any nuts or dried fruits you plan to add. Ensure your workspace is clean and organized to make the mixing process as smooth as possible.
- Step 2: In a large saucepan, gently heat the sugar and golden syrup over low heat, stirring occasionally, until the sugar has dissolved. This mixture will form the glue that holds your flapjacks together, so it’s crucial to get it just right.
- Step 3: Remove the saucepan from the heat and stir in the rolled oats, nuts, seeds, and dried fruits (if using) until everything is well combined. The mixture should be sticky but not too wet; if necessary, you can adjust by adding a bit more oats or syrup.
- Step 4: Press the mixture into a lined or greased tin. Let it cool completely before cutting into bars. The cooling process is crucial as it allows the flapjacks to set properly, making them easier to cut and handle.
Handy Tips
- When pressing the mixture into the tin, use the back of a spoon or your hands (lightly greased with butter or oil) to ensure it’s evenly distributed and firmly packed. This helps in achieving a consistent texture throughout the flapjacks.
- Avoid overcooking the sugar and syrup mixture, as it can quickly become too dark and develop a bitter taste. Keep an eye on the heat and stir frequently.
- Experiment with different combinations of nuts, seeds, and dried fruits to find your favorite flavor. This is also a great way to use up any leftovers or pantry staples, reducing food waste and making the recipe more economical.
Heat Control
When heating the sugar and golden syrup, it’s essential to keep the heat low to medium. This prevents the mixture from burning or caramelizing too quickly. Stir occasionally to ensure even heating and to prevent hot spots. The ideal temperature is just enough to melt the sugar and combine it smoothly with the syrup. If you notice the mixture starting to darken too quickly, remove it from the heat immediately.
Crunch Factor
The crunch factor in your homemade granola bars comes from the nuts and seeds you add. To achieve the perfect crunch, ensure that your nuts are freshly chopped and your seeds are toasted lightly before adding them to the mixture. This enhances their flavor and texture, providing a satisfying crunch in every bite. For an extra crunchy exterior and chewy interior, press the mixture firmly into the tin and avoid overbaking if you choose to bake the flapjacks for a firmer texture.
Pro Kitchen Tricks
- For a professional finish, once your flapjacks are cut, you can melt a small amount of chocolate and drizzle it over the top. This not only adds an extra layer of flavor but also makes the bars look more appealing and gift-worthy.
- To ensure your flapjacks retain their freshness, store them in an airtight container. If you plan to keep them for more than a week, consider freezing them. Simply wrap each bar individually in plastic wrap or aluminum foil and place them in a freezer-safe bag.
- For easier cleanup, line your tin with parchment paper before pressing in the flapjack mixture. This allows you to lift the whole batch out once it’s set and cut it into bars without the hassle of sticking.
Storage Tips
- Store your homemade granola bars in an airtight container at room temperature for up to 5 days. For longer storage, consider refrigerating or freezing them.
- When freezing, it’s best to wrap each bar individually to prevent them from sticking together. This also makes it easier to grab one on the go without having to thaw the whole batch.
- Reheating is not necessary for flapjacks, but if you prefer them slightly softer, you can microwave a bar for a few seconds. Be cautious not to overheat, as this can make the bar too soft or even burnt.
Gift Packaging Ideas
If you’re considering gifting your homemade granola bars, presentation is key. Wrap each bar individually in decorative paper or cellophane and tie with a ribbon. For a more rustic look, place a few bars in a mason jar, fill any gaps with decorative pebbles or small candies, and attach a gift tag with a personal message. You can also create a gift basket filled with your homemade treats, along with other goodies like nuts, dried fruits, or specialty teas, for a thoughtful and unique present.
Flavor Variations
- Different spices: Add a pinch of cinnamon, nutmeg, or ginger to give your flapjacks a warm, spicy flavor.
- Creative toppings: Once your flapjacks are set, melt some chocolate and spread it on top. Add chopped nuts, shredded coconut, or dried cranberries for extra texture and flavor.
- Ingredient swaps: Use honey or maple syrup instead of golden syrup for a different flavor profile. Choose different types of sugar, like brown sugar, for a richer taste. Experiment with various nuts and seeds to find your favorite combination.
Troubleshooting
- Texture problems: If your flapjacks turn out too hard, they might have been overcooked or pressed too firmly into the tin. If they’re too soft, the mixture might not have been heated enough or was too wet.
- Ingredient replacements: Always consider the role of the ingredient you’re replacing. For example, if replacing nuts with seeds, choose seeds with a similar texture to maintain the crunch factor.
- Over/undercooking signs: Keep an eye on the color and consistency of your sugar and syrup mixture. It should be smooth and lightly golden. If it darkens too quickly, it’s overcooking.
FAQs
- Can I freeze it? Yes, homemade granola bars can be frozen for up to 2 months. Wrap each bar individually and store them in a freezer-safe bag.
- Is it gluten-free? Depending on the type of oats used, homemade granola bars can be gluten-free. Ensure that your oats are labeled as gluten-free to accommodate dietary restrictions.
- Can I double the recipe? Yes, you can easily double or triple the recipe to make more bars. Just ensure you have a large enough tin to accommodate the increased volume.
Conclusion
Making homemade granola bars is a fun and rewarding experience that allows you to create a delicious, healthy snack tailored to your tastes. With its simplicity, versatility, and the joy of sharing homemade goodies with friends and family, this recipe is sure to become a staple in your kitchen. Feel free to experiment with different ingredients and flavors, and don’t hesitate to share your creations with others. The world of homemade granola bars is vast and waiting to be explored, one delicious batch at a time.
homemade granola bars stacked on top of each other with the words british flapjacks recipe below
A simple and delicious recipe for homemade granola bars, also known as British flapjacks, made with rolled oats, golden syrup, and sugar, perfect for a healthy snack or gift.
🥘 Ingredients
👩🍳 Instructions
-
1Prepare ingredients by measuring and chopping.
-
2Heat sugar and golden syrup in a saucepan until sugar dissolves.
-
3Combine oats, nuts, and dried fruits with the sugar and syrup mixture.
-
4Press mixture into a lined tin and let cool before cutting into bars.