What makes a cake truly showstopping? For me, it’s all about the pastel rainbow ombre effect, achieved with simple homemade buttercream frosting and layered sponge cake. This easy dessert recipe is perfect for a family favorite celebration, requiring just a few key ingredients like fresh cream and food coloring. Save this idea for your next special occasion bake.
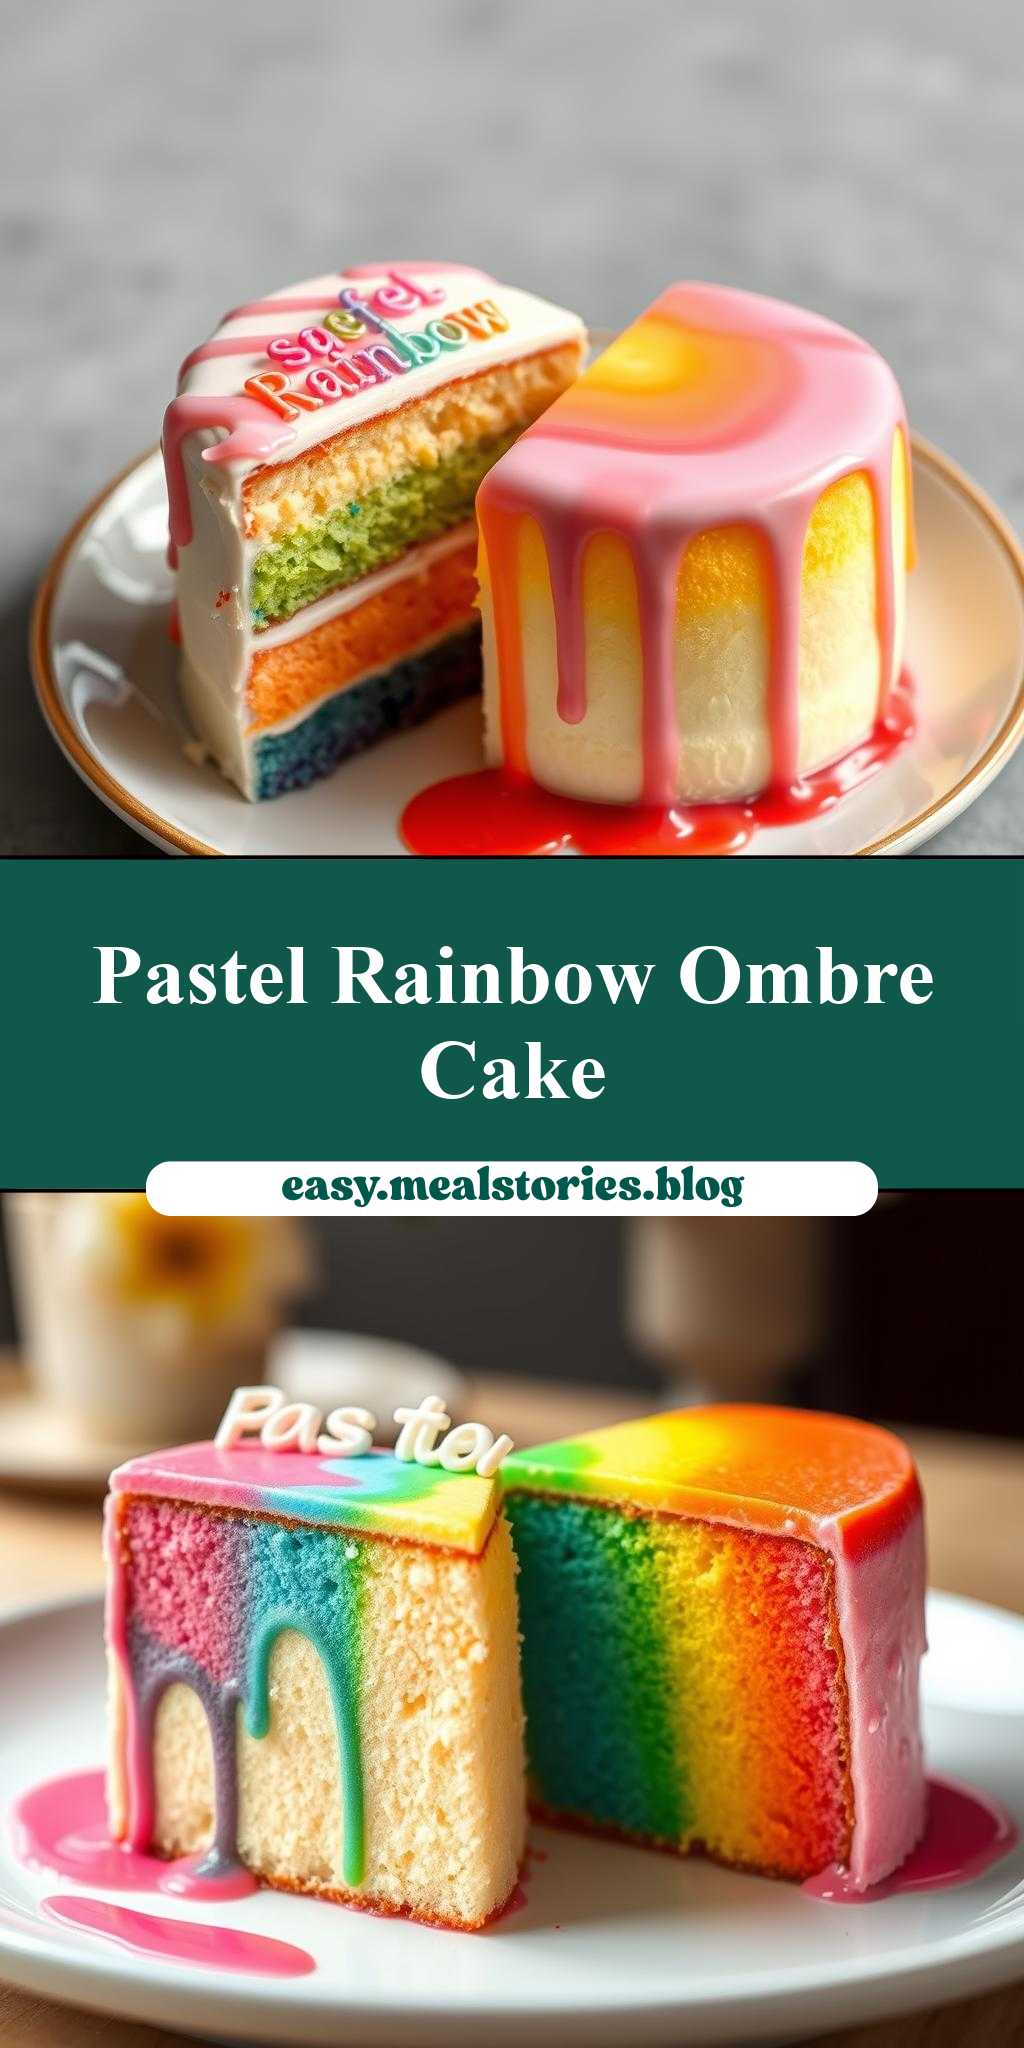
Two Different Types of Rainbow Ombre Drip Cake with the Words Pastel Rainbow on Top
Introduction
Imagine a cake that’s not just a dessert, but a masterpiece of color and creativity. The Rainbow Ombre Drip Cake is a show-stopping delight that combines the simplicity of a classic cake recipe with the vibrant beauty of a pastel rainbow. With its moist, fluffy texture and the dramatic effect of the ombre drip, this cake is sure to impress both kids and adults alike. The best part? It’s incredibly easy to make, using everyday ingredients that you might already have in your pantry. Whether you’re a seasoned baker or a beginner, this recipe is perfect for anyone looking to add a pop of color and fun to their next celebration or gathering.
Why This Works
- Flavor balance and ingredient accessibility: The combination of vanilla cake, buttercream frosting, and pastel-colored drips creates a perfect balance of flavors that’s both familiar and exciting. Plus, the ingredients are easy to find and work with.
- Ease of preparation: Despite its impressive appearance, the Rainbow Ombre Drip Cake is surprisingly simple to prepare. The cake and frosting can be made ahead of time, and the assembly is a breeze.
- Impressive results with minimal effort: The ombre effect and colorful drips make this cake look like a professional masterpiece, but it requires minimal special equipment or techniques. Anyone can achieve this stunning look with a little practice and patience.
Key Ingredients
The Rainbow Ombre Drip Cake requires a few key ingredients, including all-purpose flour, granulated sugar, unsalted butter, eggs, vanilla extract, and whole milk. For the frosting, you’ll need additional butter, cream cheese, and powdered sugar. The pastel-colored drips are made with white chocolate and food coloring. You can also use practical substitutions like almond milk instead of whole milk, or vegan butter instead of unsalted butter. The cake is also customizable with different flavors, like adding a teaspoon of almond extract or a handful of sprinkles to the batter.
Instructions
- Step 1: Begin by preheating your oven to 350°F (180°C). Prepare three 8-inch round cake pans and line the bottoms with parchment paper. In a medium bowl, whisk together the flour, sugar, and baking powder. In a large bowl, whisk together the butter, eggs, vanilla extract, and milk.
- Step 2: Gradually add the dry ingredients to the wet ingredients and mix until just combined. Divide the batter evenly among the prepared pans and smooth the tops. Bake for 20-25 minutes or until a toothpick inserted into the center comes out clean.
- Step 3: Allow the cakes to cool in the pans for 5 minutes before transferring them to a wire rack to cool completely. Once the cakes are cool, you can start making the frosting. Beat the butter and cream cheese until smooth, then gradually add the powdered sugar and mix until combined.
- Step 4: To assemble the cake, place one cake layer on a serving plate or cake stand. Spread a thick layer of frosting on top, then repeat with the remaining two cake layers. Frost the outside of the cake with the remaining frosting. Melt the white chocolate and add a few drops of pastel food coloring to create the desired colors. Drizzle the colored chocolate over the top of the cake in an ombre effect, starting with the lightest color at the top and gradually increasing the intensity of the color as you move down the cake.
Handy Tips
- To ensure that your cake layers are even, make sure to divide the batter evenly among the pans and smooth the tops before baking.
- If you’re having trouble getting the ombre effect to look right, try using a turntable or cake stand to spin the cake as you drizzle the chocolate. This will help you achieve a smooth, even effect.
- To add an extra pop of color to your cake, try adding a few sprinkles or nonpareils to the batter before baking. This will give the cake a fun, festive look that’s perfect for celebrations and special occasions.
Heat Control
If you’re using a convection oven, make sure to reduce the temperature by 25°F (15°C) to prevent the cake from cooking too quickly. You can also use a thermometer to ensure that the cake is cooked to the right temperature. The ideal internal temperature for a cake is 190-200°F (88-93°C). If you’re unsure whether the cake is done, try inserting a toothpick into the center. If it comes out clean, the cake is ready. If not, bake for an additional 5-10 minutes and check again.
Crunch Factor
The Rainbow Ombre Drip Cake is designed to be a moist and tender dessert, but you can add a crunch factor by sprinkling some chopped nuts or shredded coconut over the top of the cake before serving. This will add a nice texture contrast to the smooth, creamy frosting and cake. You can also try adding a layer of caramel or caramel sauce to the top of the cake for an extra-decadent treat.
Pro Kitchen Tricks
- To get a smooth, even frosting, make sure to beat the butter and cream cheese until they’re light and fluffy. This will help to incorporate air and give the frosting a smooth, creamy texture.
- If you’re having trouble getting the cake to release from the pans, try running a knife around the edges of the cake to loosen it. You can also try dipping the pans in hot water for a few seconds to help the cake release.
- To add an extra touch of professionalism to your cake, try using a cake turntable or cake stand to display it. This will make it easy to spin the cake and show off the ombre effect from all angles.
Storage Tips
- The Rainbow Ombre Drip Cake can be stored at room temperature for up to 3 days, or frozen for up to 2 months. If you’re freezing the cake, make sure to wrap it tightly in plastic wrap or aluminum foil to prevent freezer burn.
- If you’re serving the cake at a party or special occasion, try setting up a cake table or dessert bar with a variety of toppings and decorations. This will make it easy for guests to customize their own slices and add their favorite toppings.
- To keep the cake fresh for as long as possible, make sure to store it in an airtight container or wrap it tightly in plastic wrap. You can also try freezing the cake and thawing it at room temperature when you’re ready to serve.
Gift Packaging Ideas
The Rainbow Ombre Drip Cake is a beautiful and delicious gift that’s perfect for special occasions and celebrations. To package the cake as a gift, try using a decorative cake box or cake stand. You can also add a few decorative touches, such as a ribbon or gift tag, to make the cake look extra special. If you’re giving the cake as a gift, consider adding a few extras, such as a packet of coffee or a box of chocolates, to make it an extra-special treat.
Flavor Variations
- Different spices: Try adding a teaspoon of cinnamon or nutmeg to the batter for a warm, spicy flavor. You can also try adding a handful of dried fruit, such as cranberries or cherries, for a fruity twist.
- Creative toppings: Consider adding a few creative toppings to the cake, such as chopped nuts, shredded coconut, or caramel sauce. You can also try using different types of milk, such as almond milk or soy milk, to create a non-dairy version of the cake.
- Ingredient swaps: If you’re looking for a gluten-free version of the cake, try substituting the all-purpose flour with a gluten-free flour blend. You can also try using vegan butter or cream cheese to create a dairy-free version of the frosting.
Troubleshooting
- Texture problems: If the cake is too dense or dry, try adding a little more milk or butter to the batter. If the cake is too wet or soggy, try adding a little more flour or baking powder.
- Ingredient replacements: If you’re missing an ingredient, try substituting it with something similar. For example, you can use almond milk instead of whole milk, or vegan butter instead of unsalted butter.
- Over/undercooking signs: If the cake is overcooked, it will be dry and crumbly. If the cake is undercooked, it will be wet and soggy. Try checking the cake frequently as it bakes to ensure that it’s cooked to the right temperature.
FAQs
- Can I freeze it? Yes, the Rainbow Ombre Drip Cake can be frozen for up to 2 months. Simply wrap the cake tightly in plastic wrap or aluminum foil and store it in the freezer.
- Is it gluten-free? No, the Rainbow Ombre Drip Cake contains gluten. However, you can try substituting the all-purpose flour with a gluten-free flour blend to create a gluten-free version of the cake.
- Can I double the recipe? Yes, you can double the recipe to make a larger cake. Simply multiply the ingredients by two and bake the cake in two 9×13-inch pans.
Conclusion
The Rainbow Ombre Drip Cake is a stunning and delicious dessert that’s perfect for special occasions and celebrations. With its moist, tender texture and vibrant, colorful appearance, this cake is sure to impress both kids and adults alike. Whether you’re a seasoned baker or a beginner, this recipe is easy to follow and requires minimal special equipment or techniques. So why not give it a try? With a little practice and patience, you can create a beautiful and delicious Rainbow Ombre Drip Cake that’s perfect for any occasion.
Two Different Types of Rainbow Ombre Drip Cake with the Words Pastel Rainbow on Top
A moist and tender cake with a vibrant, colorful appearance, featuring a pastel rainbow ombre effect and a delicious buttercream frosting.
🥘 Ingredients
👩🍳 Instructions
-
1Preheat the oven to 350°F (180°C). Prepare three 8-inch round cake pans and line the bottoms with parchment paper.
-
2In a medium bowl, whisk together the flour, sugar, and baking powder. In a large bowl, whisk together the butter, eggs, vanilla extract, and milk.
-
3Gradually add the dry ingredients to the wet ingredients and mix until just combined. Divide the batter evenly among the prepared pans and smooth the tops.
-
4Bake for 20-25 minutes or until a toothpick inserted into the center comes out clean. Allow the cakes to cool in the pans for 5 minutes before transferring them to a wire rack to cool completely.
-
5To assemble the cake, place one cake layer on a serving plate or cake stand. Spread a thick layer of frosting on top, then repeat with the remaining two cake layers. Frost the outside of the cake with the remaining frosting.
-
6Melt the white chocolate and add a few drops of pastel food coloring to create the desired colors. Drizzle the colored chocolate over the top of the cake in an ombre effect, starting with the lightest color at the top and gradually increasing the intensity of the color as you move down the cake.