What makes red velvet cake irresistible to you? These bite sized cake balls are a quick and easy homemade treat made with cream cheese and chocolate, perfect for a weeknight dessert. Save this idea for your next family gathering or special occasion and indulge in the rich flavors of red velvet. Try it soon and enjoy the ooohs and aahhs from your loved ones, Pin for later
red velvet cake balls on a white plate
Introduction
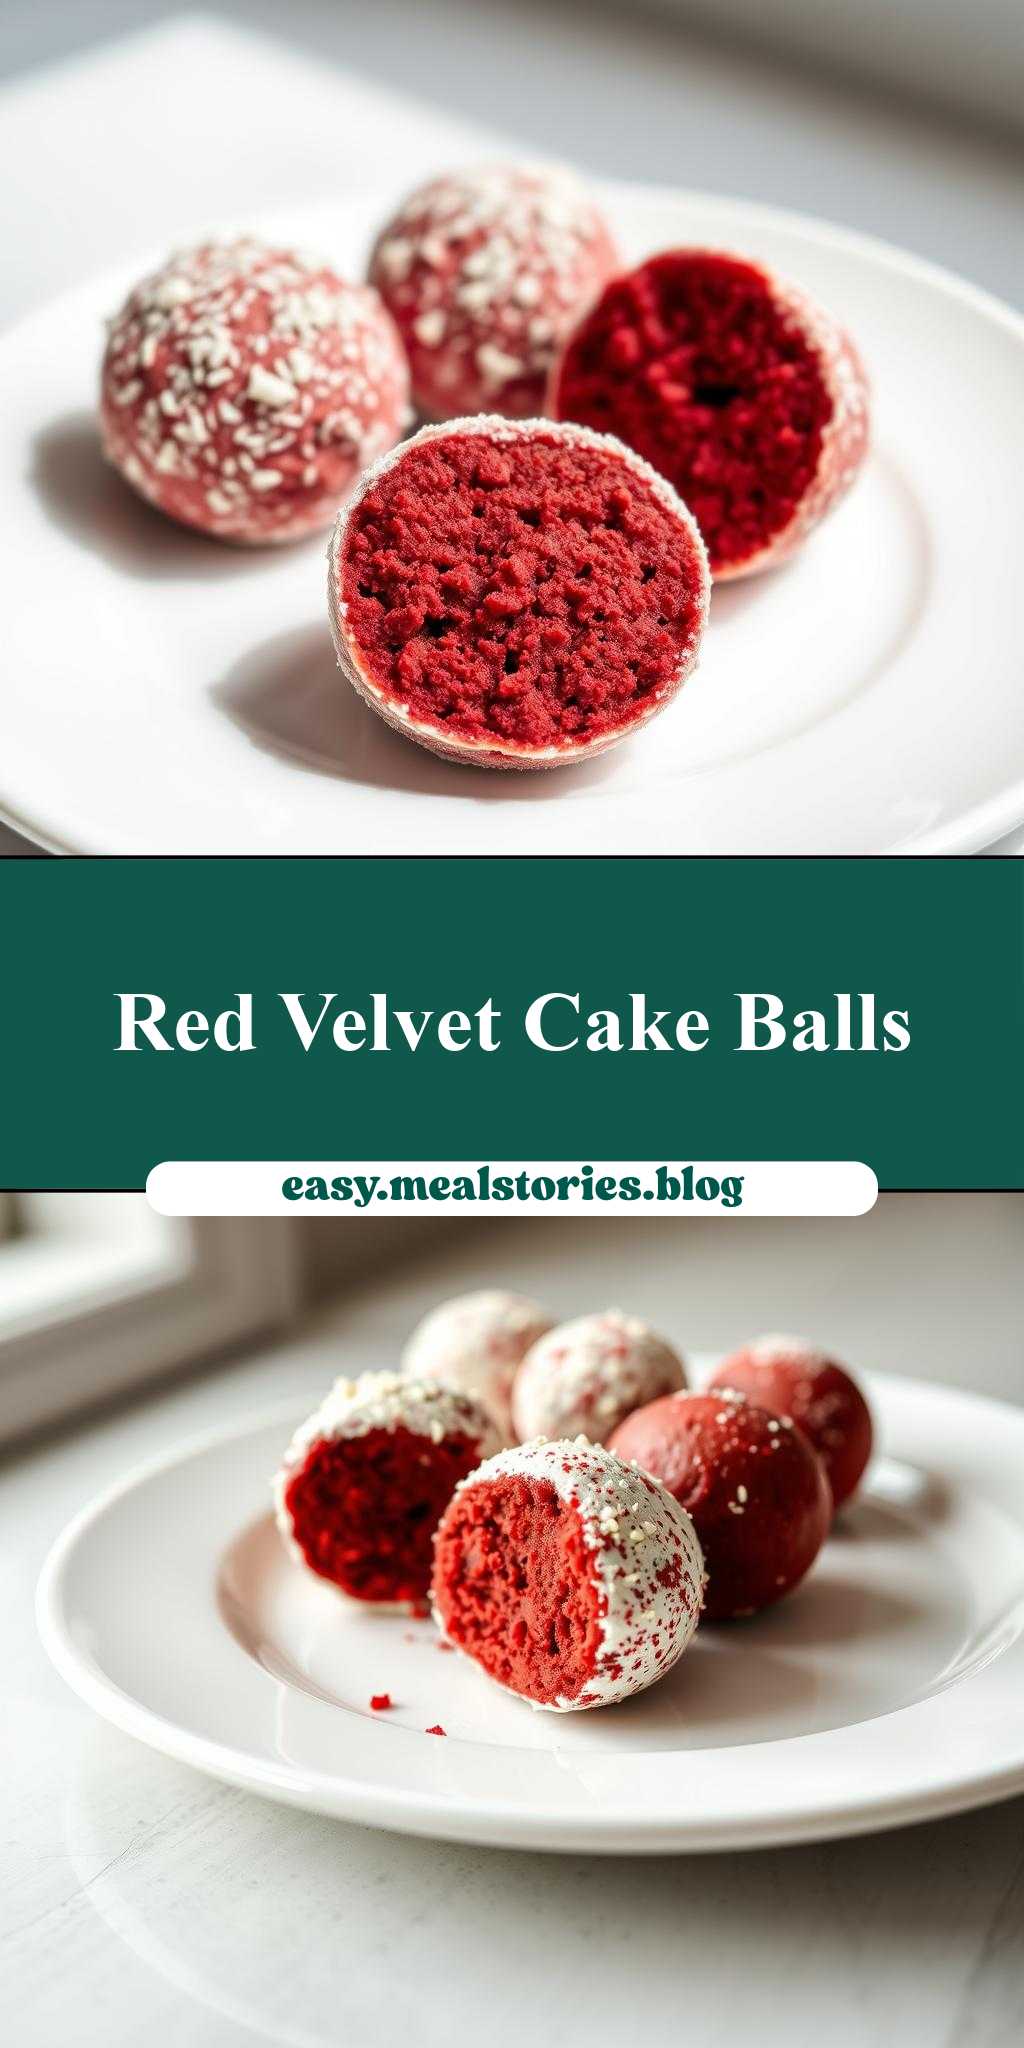
Imagine a delicate balance of flavors and textures, all wrapped up in a beautiful, bite-sized package. Red velvet cake balls on a white plate are not only a stunning dessert option, but they’re also incredibly easy to make and require minimal special ingredients. By combining the richness of red velvet cake with the simplicity of cake balls, you can create a treat that’s both impressive and approachable. Whether you’re a seasoned baker or just starting out, this recipe is perfect for anyone looking to add a little creativity and flair to their dessert repertoire.
Why This Works
- Flavor balance and ingredient accessibility: The key to this recipe’s success lies in its careful balance of flavors and the use of everyday ingredients. By combining the deep, slightly sweet flavor of red velvet cake with the richness of cream cheese frosting, you create a taste experience that’s both familiar and exciting.
- Ease of preparation: One of the best things about this recipe is how easy it is to prepare. With just a few simple steps, you can go from raw ingredients to beautifully plated cake balls in no time.
- Impressive results with minimal effort: Despite their elegant appearance, red velvet cake balls require surprisingly little effort to make. By using a few clever shortcuts and substitutions, you can create a dessert that’s sure to impress your friends and family without breaking a sweat.
Key Ingredients
The main ingredients in this recipe include red velvet cake mix, cream cheese frosting, powdered sugar, and white chocolate chips. You’ll also need a few basic pantry staples, such as eggs, oil, and vanilla extract. If you don’t have red velvet cake mix on hand, you can easily make your own by combining all-purpose flour, granulated sugar, cocoa powder, and food coloring. For a gluten-free option, simply substitute the all-purpose flour with a gluten-free flour blend.
Instructions
- Step 1: Begin by preheating your oven to 350°F (180°C). Prepare a 9-inch (23cm) round cake pan by greasing it with butter and dusting it with flour. In a large mixing bowl, combine the red velvet cake mix, eggs, oil, and vanilla extract. Mix the batter on medium speed until it’s smooth and well combined.
- Step 2: Pour the batter into the prepared cake pan and bake for 25-30 minutes, or until a toothpick inserted into the center comes out clean. Allow the cake to cool completely in the pan before using a fork to break it up into small crumbs.
- Step 3: In a large mixing bowl, combine the cake crumbs, cream cheese frosting, and powdered sugar. Mix the ingredients together until they form a smooth, pliable dough. Use your hands to shape the dough into small balls, about 1 inch (2.5cm) in diameter.
- Step 4: Melt the white chocolate chips in a double boiler or in the microwave in 30-second increments, stirring between each interval until smooth. Dip the end of a fork into the melted white chocolate and use it to coat each cake ball, tapping off any excess chocolate by gently tapping the fork against the side of the bowl. Place the coated cake balls on a white plate or serving dish and refrigerate for at least 30 minutes to allow the chocolate to set.
Handy Tips
- To ensure that your cake balls are evenly coated in white chocolate, make sure to melt the chocolate slowly and stir it frequently. This will help to prevent the chocolate from seizing up or becoming too thick.
- If you find that your cake balls are too crumbly or prone to falling apart, you can try adding a little more cream cheese frosting to the dough to help bind the ingredients together.
- To add a little extra flavor and texture to your cake balls, you can try rolling them in powdered sugar or chopped nuts before coating them in white chocolate.
Heat Control
When baking the red velvet cake, it’s essential to keep an eye on the temperature and timing to ensure that the cake is cooked through but not overcooked. The ideal temperature for baking the cake is 350°F (180°C), and the cake should be baked for 25-30 minutes, or until a toothpick inserted into the center comes out clean. If you’re unsure whether the cake is done, you can try checking it every 5 minutes until it reaches the desired level of doneness.
Crunch Factor
The crunch factor in this recipe comes from the white chocolate coating, which provides a satisfying crunch and texture contrast to the soft, fluffy cake balls. To achieve the perfect crunch, make sure to coat the cake balls in white chocolate when it’s still slightly warm and pliable. This will help the chocolate to set evenly and prevent it from becoming too thick or brittle.
Pro Kitchen Tricks
- One of the best ways to ensure that your cake balls are evenly coated in white chocolate is to use a fork to dip them in the chocolate. This will help to prevent the chocolate from pooling at the bottom of the cake ball and create a smooth, even coating.
- To make the recipe more efficient, you can try baking the cake and preparing the cream cheese frosting ahead of time. This will save you time and effort when it comes to assembling the cake balls.
- If you’re looking for a way to add a little extra flair to your cake balls, you can try using a flavored extract, such as almond or coconut, to give the cake a unique and interesting flavor.
Storage Tips
- The cake balls can be stored in an airtight container in the refrigerator for up to 5 days. To keep them fresh, make sure to store them in a single layer and separate them with parchment paper or wax paper.
- If you want to freeze the cake balls, you can do so by placing them in a single layer on a baking sheet and freezing them until solid. Once frozen, transfer the cake balls to an airtight container or freezer bag and store them in the freezer for up to 2 months.
- To reheat the cake balls, simply place them in the microwave for 10-15 seconds, or until they’re warmed through. You can also reheat them in the oven at 350°F (180°C) for 5-7 minutes, or until they’re warmed through.
Gift Packaging Ideas
If you’re looking for a way to package the cake balls as a gift, you can try placing them in a decorative tin or jar and wrapping them in ribbon or twine. You can also package them in cellophane bags or wrap them individually in plastic wrap or wax paper. To add a little extra flair, you can include a gift tag or card with a personal message or the recipe for the cake balls.
Flavor Variations
- Different spices: To give the cake balls a unique and interesting flavor, you can try adding different spices, such as cinnamon, nutmeg, or cardamom, to the dough.
- Creative toppings: To add a little extra texture and flavor to the cake balls, you can try rolling them in chopped nuts, shredded coconut, or sprinkles before coating them in white chocolate.
- Ingredient swaps: If you’re looking for a way to make the recipe more interesting, you can try swapping out the cream cheese frosting for a different type of frosting, such as buttercream or whipped cream. You can also try using different types of cake, such as carrot or pumpkin, to create a unique and delicious flavor combination.
Troubleshooting
- Texture problems: If you find that your cake balls are too crumbly or prone to falling apart, you can try adding a little more cream cheese frosting to the dough to help bind the ingredients together.
- Ingredient replacements: If you don’t have a particular ingredient on hand, you can try substituting it with a similar ingredient. For example, you can use butter instead of oil, or vanilla extract instead of almond extract.
- Over/undercooking signs: To ensure that your cake is cooked through but not overcooked, make sure to check it frequently while it’s baking. If the cake is undercooked, it will be soft and soggy in the center. If it’s overcooked, it will be dry and crumbly.
FAQs
- Can I freeze it? Yes, you can freeze the cake balls for up to 2 months. Simply place them in a single layer on a baking sheet and freeze them until solid, then transfer them to an airtight container or freezer bag.
- Is it gluten-free? No, this recipe is not gluten-free. However, you can try substituting the all-purpose flour with a gluten-free flour blend to make the recipe more accessible.
- Can I double the recipe? Yes, you can double the recipe to make more cake balls. Simply multiply the ingredients by two and follow the same instructions as before.
Conclusion
Red velvet cake balls on a white plate are a delicious and impressive dessert option that’s perfect for any occasion. With their rich, velvety texture and deep, slightly sweet flavor, they’re sure to be a hit with anyone who tries them. Whether you’re a seasoned baker or just starting out, this recipe is a great way to add a little creativity and flair to your dessert repertoire. So why not give it a try and see what you think? With a little practice and patience, you can create beautiful, delicious cake balls that are sure to impress.
red velvet cake balls on a white plate
A delicious and impressive dessert option made with red velvet cake, cream cheese frosting, and white chocolate
🥘 Ingredients
👩🍳 Instructions
-
1Preheat oven to 350°F (180°C). Prepare a 9-inch (23cm) round cake pan by greasing it with butter and dusting it with flour.
-
2Combine cake mix, eggs, oil, and vanilla extract in a large mixing bowl. Mix on medium speed until smooth and well combined.
-
3Pour batter into prepared cake pan and bake for 25-30 minutes, or until a toothpick inserted into the center comes out clean.
-
4Allow cake to cool completely in pan before using a fork to break it up into small crumbs.
-
5Combine cake crumbs, cream cheese frosting, and powdered sugar in a large mixing bowl. Mix until smooth and well combined.
-
6Use hands to shape dough into small balls, about 1 inch (2.5cm) in diameter.
-
7Melt white chocolate chips in a double boiler or in the microwave in 30-second increments, stirring between each interval until smooth.
-
8Dip each cake ball into melted white chocolate, tapping off excess chocolate by gently tapping fork against side of bowl.
-
9Place coated cake balls on a white plate or serving dish and refrigerate for at least 30 minutes to allow chocolate to set.