What happens when red velvet cake meets Oreo cookies and creamy cheesecake? This homemade dessert combines rich flavors with an easy cookie topping, perfect for a family favorite treat. Save this idea for your next special occasion dessert to impress.
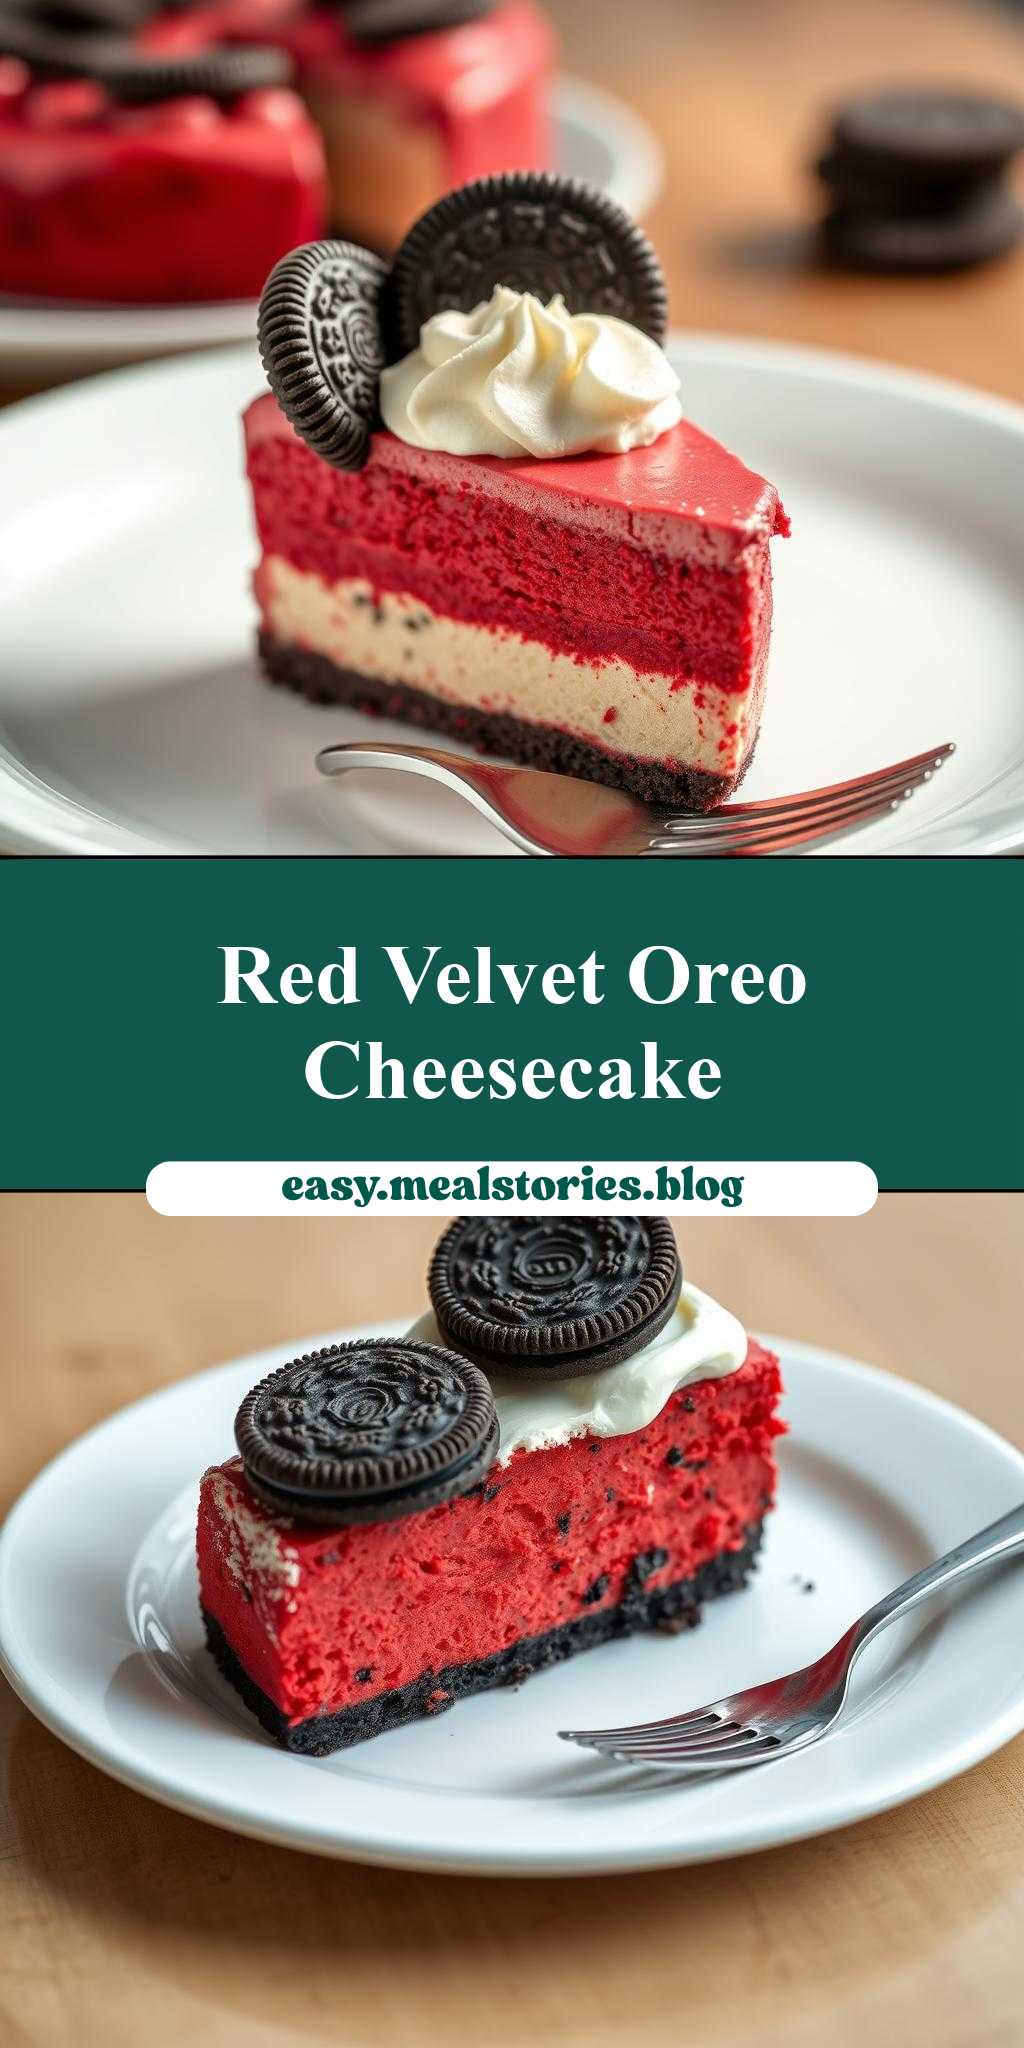
red velvet oreo cheesecake with cookies on top
Introduction
Imagine a dessert that combines the richness of cheesecake, the decadence of red velvet cake, and the crunch of Oreo cookies, all in one stunning package. The red velvet Oreo cheesecake with cookies on top is a masterpiece of creativity and flavor, using everyday ingredients to create something truly special. This dessert is not only a feast for the eyes but also a treat for the taste buds, with its perfect balance of tangy cream cheese, sweet red velvet, and the unmistakable crunch of Oreos. Best of all, it’s easier to make than you might think, requiring minimal special equipment and using ingredients you can find in most grocery stores.
Why This Works
- Flavor balance and ingredient accessibility: The combination of red velvet, cheesecake, and Oreos creates a unique and enticing flavor profile that’s hard to resist. Plus, the ingredients are easy to find and work with.
- Ease of preparation: Despite its impressive appearance, this dessert is surprisingly straightforward to make. The steps are simple, and the ingredients are easy to mix and assemble.
- Impressive results with minimal effort: The end result looks and tastes like a professional dessert, but it doesn’t require hours of intricate preparation or special culinary skills.
Key Ingredients
The main ingredients for this recipe include a package of Oreo cookies for the crust and topping, cream cheese and sugar for the cheesecake filling, eggs, sour cream, and red food coloring to give it that signature red velvet hue. You’ll also need flour, cocoa powder, and baking powder for the cake layer, and butter or margarine to bind the crust together. Practical substitutions can be made for some of these ingredients, such as using different types of cookies for the crust or adjusting the amount of food coloring to achieve the desired color intensity.
Instructions
- Step 1: Begin by preheating your oven to 325°F (165°C). Prepare the Oreo crust by crushing the cookies in a food processor and mixing them with melted butter. Press this mixture into the bottom of a springform pan.
- Step 2: Next, prepare the cheesecake filling by beating the cream cheese and sugar until smooth, then adding eggs one at a time, followed by sour cream and red food coloring. Pour this mixture over the Oreo crust.
- Step 3: Bake the cheesecake for about 55 minutes, or until the edges are set and the center is slightly jiggly. Allow it to cool completely in the pan.
- Step 4: For the final touches, melt some chocolate and spread it over the top of the cooled cheesecake. Arrange additional Oreo cookies on top in a pattern you like, and drizzle with more melted chocolate if desired.
Handy Tips
- To ensure the cheesecake sets properly, avoid overmixing the batter and make sure the oven is at the correct temperature. Also, don’t open the oven door during the baking time, as this can cause the cheesecake to sink or crack.
Heat Control
For this recipe, maintaining the right oven temperature is crucial. The ideal temperature is 325°F (165°C), and the cheesecake should bake for about 55 minutes. It’s done when the edges are set, and the center still looks slightly underbaked. Overbaking can lead to a dry cheesecake, so keep an eye on the time and check frequently towards the end of the baking time.
Crunch Factor
The crunch in this dessert comes from the Oreo cookies used in the crust and on top. To maintain this crunch, it’s essential not to overbake the crust and to handle the cookies gently when placing them on top of the cheesecake. You can also experiment with different types of cookies or even nuts to change up the texture and flavor.
Pro Kitchen Tricks
- One expert tip is to use a water bath when baking the cheesecake to prevent cracking and ensure even cooking. This involves wrapping the springform pan in foil and placing it in a larger pan filled with water.
Storage Tips
- This cheesecake can be stored in the refrigerator for up to 5 days. It’s best to keep it in the springform pan until you’re ready to serve, then release the spring and transfer it to a serving plate. For longer storage, the cheesecake can be frozen for up to 2 months, thawed overnight in the fridge when you’re ready to serve.
Gift Packaging Ideas
This dessert makes a stunning gift, especially for special occasions like birthdays or holidays. Consider packaging it in a decorative box or on a fancy serving plate, wrapped with ribbon or decorated with fresh flowers. You could also include a packet of extra Oreo cookies on the side for an added touch.
Flavor Variations
- Different spices: Try adding a pinch of cinnamon or nutmeg to the cheesecake batter for a unique twist.
- Creative toppings: Experiment with different types of cookies, nuts, or even candy pieces on top of the cheesecake for varying textures and flavors.
- Ingredient swaps: You could substitute the Oreos with another type of cookie or even use a different flavor of extract, like mint or orange, in the cheesecake batter.
Troubleshooting
- Texture problems: If your cheesecake turns out too dense, it might be due to overmixing the batter. If it’s too soft, it could be underbaked.
- Ingredient replacements: If you don’t have sour cream, you can substitute it with a mixture of milk and lemon juice or vinegar to mimic the acidity and moisture it provides.
- Over/undercooking signs: Keep an eye on your cheesecake while it bakes. If the edges start to brown too quickly, cover the pan with foil. If the center still looks very jiggly after the baking time, give it a few more minutes and check again.
FAQs
- Can I freeze it? Yes, this cheesecake can be frozen for up to 2 months. Thaw it overnight in the fridge when you’re ready to serve.
- Is it gluten-free? The traditional recipe includes flour, which contains gluten. However, you can experiment with gluten-free flours to make a version that’s safe for those with gluten intolerance.
- Can I double the recipe? Yes, you can double the recipe, but keep in mind you’ll need a larger springform pan and possibly adjust the baking time slightly.
Conclusion
Making a red velvet Oreo cheesecake with cookies on top is a fun and rewarding baking project that’s sure to impress your family and friends. With its unique flavor combination and stunning appearance, it’s perfect for special occasions or just a sweet treat any time of the year. Don’t be afraid to experiment with the recipe and make it your own, and enjoy the process of creating something truly delicious and memorable.
red velvet oreo cheesecake with cookies on top
A decadent dessert combining the richness of cheesecake, the decadence of red velvet cake, and the crunch of Oreo cookies.
🥘 Ingredients
👩🍳 Instructions
-
1Preheat the oven to 325°F (165°C).
-
2Prepare the Oreo crust and press it into a springform pan.
-
3Prepare the cheesecake filling and pour it over the crust.
-
4Bake the cheesecake for 55 minutes, then let it cool completely.
-
5Melt chocolate and spread it over the cooled cheesecake, then arrange additional Oreo cookies on top.