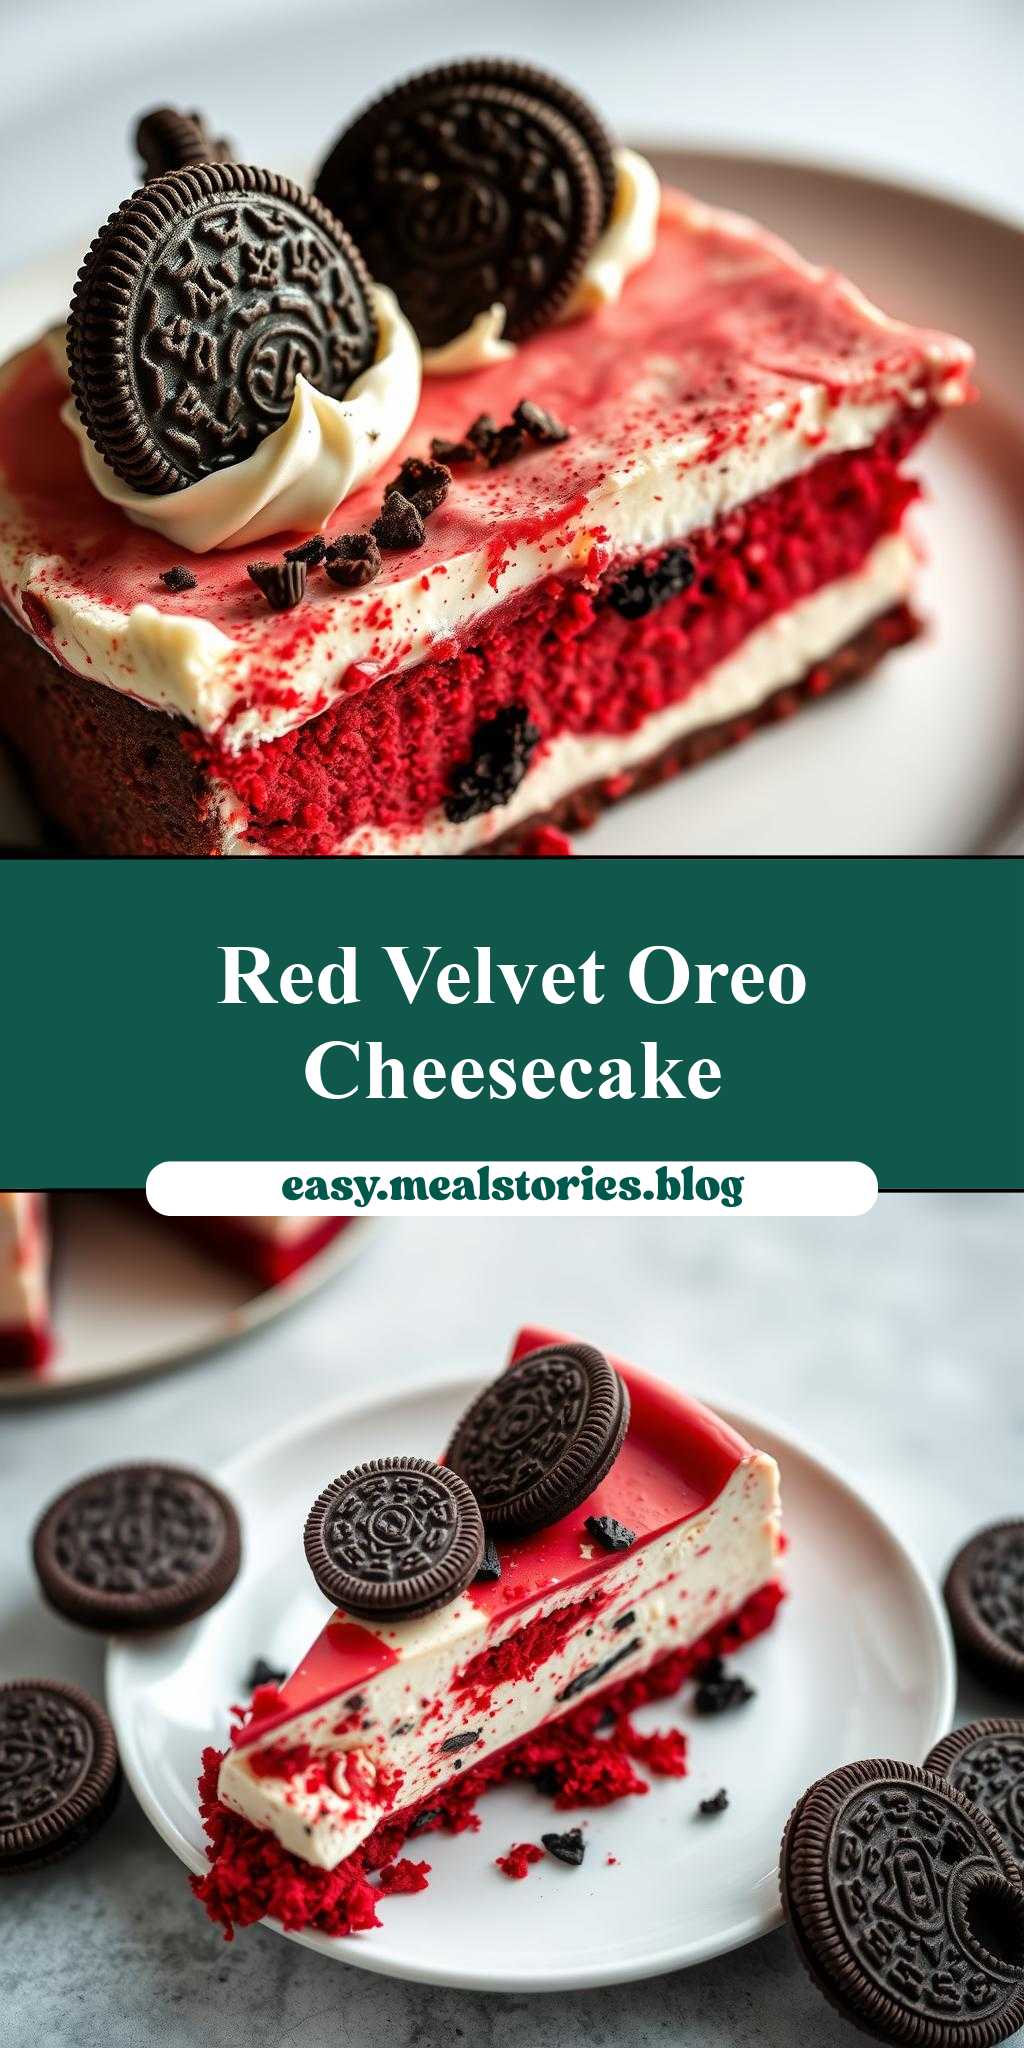
What makes the perfect dessert combination? Rich red velvet and creamy cheesecake come together in this stunning homemade treat, loaded with Oreos on top and a velvety smooth texture from the cream cheese mixture. Save this idea for your next family favorite dessert night.
red velvet oreo cheesecake with oreos on top
Introduction
Imagine a dessert that combines the richness of cheesecake, the allure of red velvet, and the crunch of Oreo cookies all in one magnificent treat. The red velvet oreo cheesecake with oreos on top is not just a dessert; it’s an experience. This recipe is a masterful blend of flavors and textures, perfect for special occasions or simply to satisfy your sweet tooth. What makes it even more appealing is its accessibility – using everyday ingredients, it’s surprisingly easy to make and requires minimal effort for such an impressive outcome. Whether you’re a seasoned baker or a culinary newbie, this recipe is sure to delight with its vibrant red color, creamy cheesecake texture, and the unmistakable taste of Oreo cookies.
Why This Works
- Flavor balance and ingredient accessibility: The combination of red velvet cake mix, cream cheese, and Oreo cookies creates a unique and tantalizing flavor profile that’s both familiar and exciting. The ingredients are readily available in most grocery stores, making it easy to whip up this dessert at a moment’s notice.
- Ease of preparation: Despite its impressive appearance, this cheesecake is relatively simple to prepare. The use of a pre-made red velvet cake mix simplifies the process, and the no-bake method eliminates the risk of overcooking, making it a stress-free baking experience.
- Impressive results with minimal effort: The end result is a visually stunning dessert that’s sure to impress friends and family. The layer of Oreo cookies on top adds a fun textural element, and the red velvet color gives the cheesecake a dramatic appearance that’s perfect for special occasions.
Key Ingredients
The main ingredients in this recipe include a red velvet cake mix, which provides the distinctive color and flavor; cream cheese, which is the base of the cheesecake and gives it a rich, creamy texture; sour cream, which adds moisture and a subtle tang; eggs, which help bind the ingredients together; vanilla extract, for added depth of flavor; and Oreo cookies, which are used both in the crust and as a topping for their unmistakable taste and crunchy texture. For those looking for substitutions, a homemade red velvet cake recipe can be used instead of the mix, and different types of cookies can be experimented with for the crust and topping, though Oreos provide a unique and complementary flavor.
Instructions
- Step 1: Begin by preparing your ingredients. Crush the Oreo cookies for the crust, and set aside the necessary amount for the topping. Preheat your oven to 350°F if you choose to bake the crust for a crunchier base.
- Step 2: Mix the crust ingredients, which include the crushed Oreos, melted butter, and a pinch of sugar. Press this mixture into the bottom of a springform pan. If desired, bake the crust for about 10 minutes to set, then let it cool completely.
- Step 3: Prepare the cheesecake batter by mixing the cream cheese, sour cream, eggs, vanilla extract, and the red velvet cake mix (prepared according to the box instructions but without the water, as the cheesecake batter will provide the necessary moisture). Pour this batter over the cooled crust.
- Step 4: Refrigerate the cheesecake for at least 4 hours or overnight to allow it to set. Once set, top with additional Oreo cookies. You can arrange them in a pattern or simply sprinkle them on top for a fun, casual look.
Handy Tips
- Ensure your cream cheese is at room temperature for easier mixing and a smoother cheesecake texture. Also, don’t overmix the batter, as this can lead to a dense cheesecake.
- For a cleaner release from the springform pan, run a knife around the edges of the cheesecake before unlocking the pan.
- Experiment with different Oreo flavors for the topping, like mint or peanut butter, for a unique twist on the classic recipe.
Heat Control
If you decide to bake the crust, keep an eye on it to ensure it doesn’t become too dark. The ideal temperature is 350°F, and the crust should be baked for no more than 10 minutes. For the cheesecake itself, since it’s a no-bake recipe, you won’t need to worry about heat control, making it a great option for hot summer days or for those without access to an oven.
Crunch Factor
The crunch factor in this dessert comes primarily from the Oreo cookies used in the crust and as a topping. To enhance the crunch, you can bake the crust as mentioned earlier. Additionally, using a variety of textures, like adding some chopped nuts or candy pieces to the cheesecake batter, can provide an interesting contrast to the smooth cheesecake and crunchy cookies.
Pro Kitchen Tricks
- Use a water bath if you decide to bake the cheesecake to prevent cracking and ensure even cooking.
- Let the cheesecake cool in the pan before refrigerating it to prevent sudden temperature changes that could cause cracking.
- For a glossy top, melt some chocolate and spread it over the cheesecake before adding the Oreo cookies on top.
Storage Tips
- Store the cheesecake in the refrigerator, covered with plastic wrap or aluminum foil, for up to 3 days.
- For longer storage, the cheesecake can be frozen. Wrap it tightly in plastic wrap and then in aluminum foil, and it will keep for up to 2 months. Thaw frozen cheesecake in the refrigerator overnight.
- When serving, let the cheesecake sit at room temperature for about 30 minutes to soften slightly, which enhances the flavor and texture.
Gift Packaging Ideas
This cheesecake makes a wonderful gift, especially for birthdays or holidays. Consider packaging it in a decorative tin or on a cake stand covered with a dome. You can also add a personal touch with a handwritten note or a ribbon around the tin. If you want to give individual servings, slice the cheesecake, place each slice in a cupcake liner, and wrap in plastic wrap or cellophane bags tied with a ribbon.
Flavor Variations
- Different spices: Add a pinch of cinnamon or nutmeg to the cheesecake batter for a warm, spicy flavor.
- Creative toppings: Experiment with different types of cookies, nuts, or even candy pieces for unique flavor combinations.
- Ingredient swaps: Use different flavors of cake mix, like carrot or chocolate, for a completely different dessert.
Troubleshooting
- Texture problems: If the cheesecake is too dense, it may be due to overmixing. If it’s too soft, it might not have been refrigerated long enough.
- Ingredient replacements: Always try to use the ingredients listed, but if you must substitute, do so with similar ingredients. For example, you can use Greek yogurt instead of sour cream.
- Over/undercooking signs: Since this is a no-bake cheesecake, you won’t have to worry about overcooking. However, if you bake the crust, watch for it to be lightly browned and firm to the touch.
FAQs
- Can I freeze it? Yes, the cheesecake can be frozen for up to 2 months. Wrap it tightly and thaw in the refrigerator overnight when you’re ready to serve.
- Is it gluten-free? Depending on the brand of red velvet cake mix used, this cheesecake might not be gluten-free. Look for a gluten-free cake mix to make it accessible to those with gluten intolerance.
- Can I double the recipe? Yes, you can double the recipe, but you’ll need to adjust the refrigeration time accordingly. A larger cheesecake will require more time to set.
Conclusion
Making a red velvet oreo cheesecake with oreos on top is a fun and rewarding baking project that’s sure to impress. With its unique flavor combination, ease of preparation, and stunning appearance, it’s perfect for any occasion. Don’t be afraid to experiment with different flavors and toppings to make the recipe your own, and enjoy the process of creating something truly special. Whether you’re a baking enthusiast or just starting out, this recipe is a great way to explore your creativity in the kitchen and share delicious treats with loved ones.
red velvet oreo cheesecake with oreos on top
A rich and creamy cheesecake with the distinctive flavor of red velvet and the fun crunch of Oreo cookies, perfect for special occasions or everyday indulgence.
🥘 Ingredients
👩🍳 Instructions
-
1Prepare the crust by crushing Oreo cookies and mixing with melted butter and sugar.
-
2Press the crust mixture into the bottom of a springform pan.
-
3Prepare the cheesecake batter by mixing the cream cheese, sour cream, eggs, vanilla extract, and prepared red velvet cake mix.
-
4Pour the cheesecake batter over the crust and refrigerate until set.
-
5Top with additional Oreo cookies before serving.