What’s the perfect pair for a sweet celebration? Two stunning cakes, one white and one red, loaded with Oreos and fresh strawberries, make for a show-stopping homemade dessert that’s surprisingly easy to make. Rich chocolate flavors and creamy textures come together in this quick treat. Save this idea for your next special occasion.
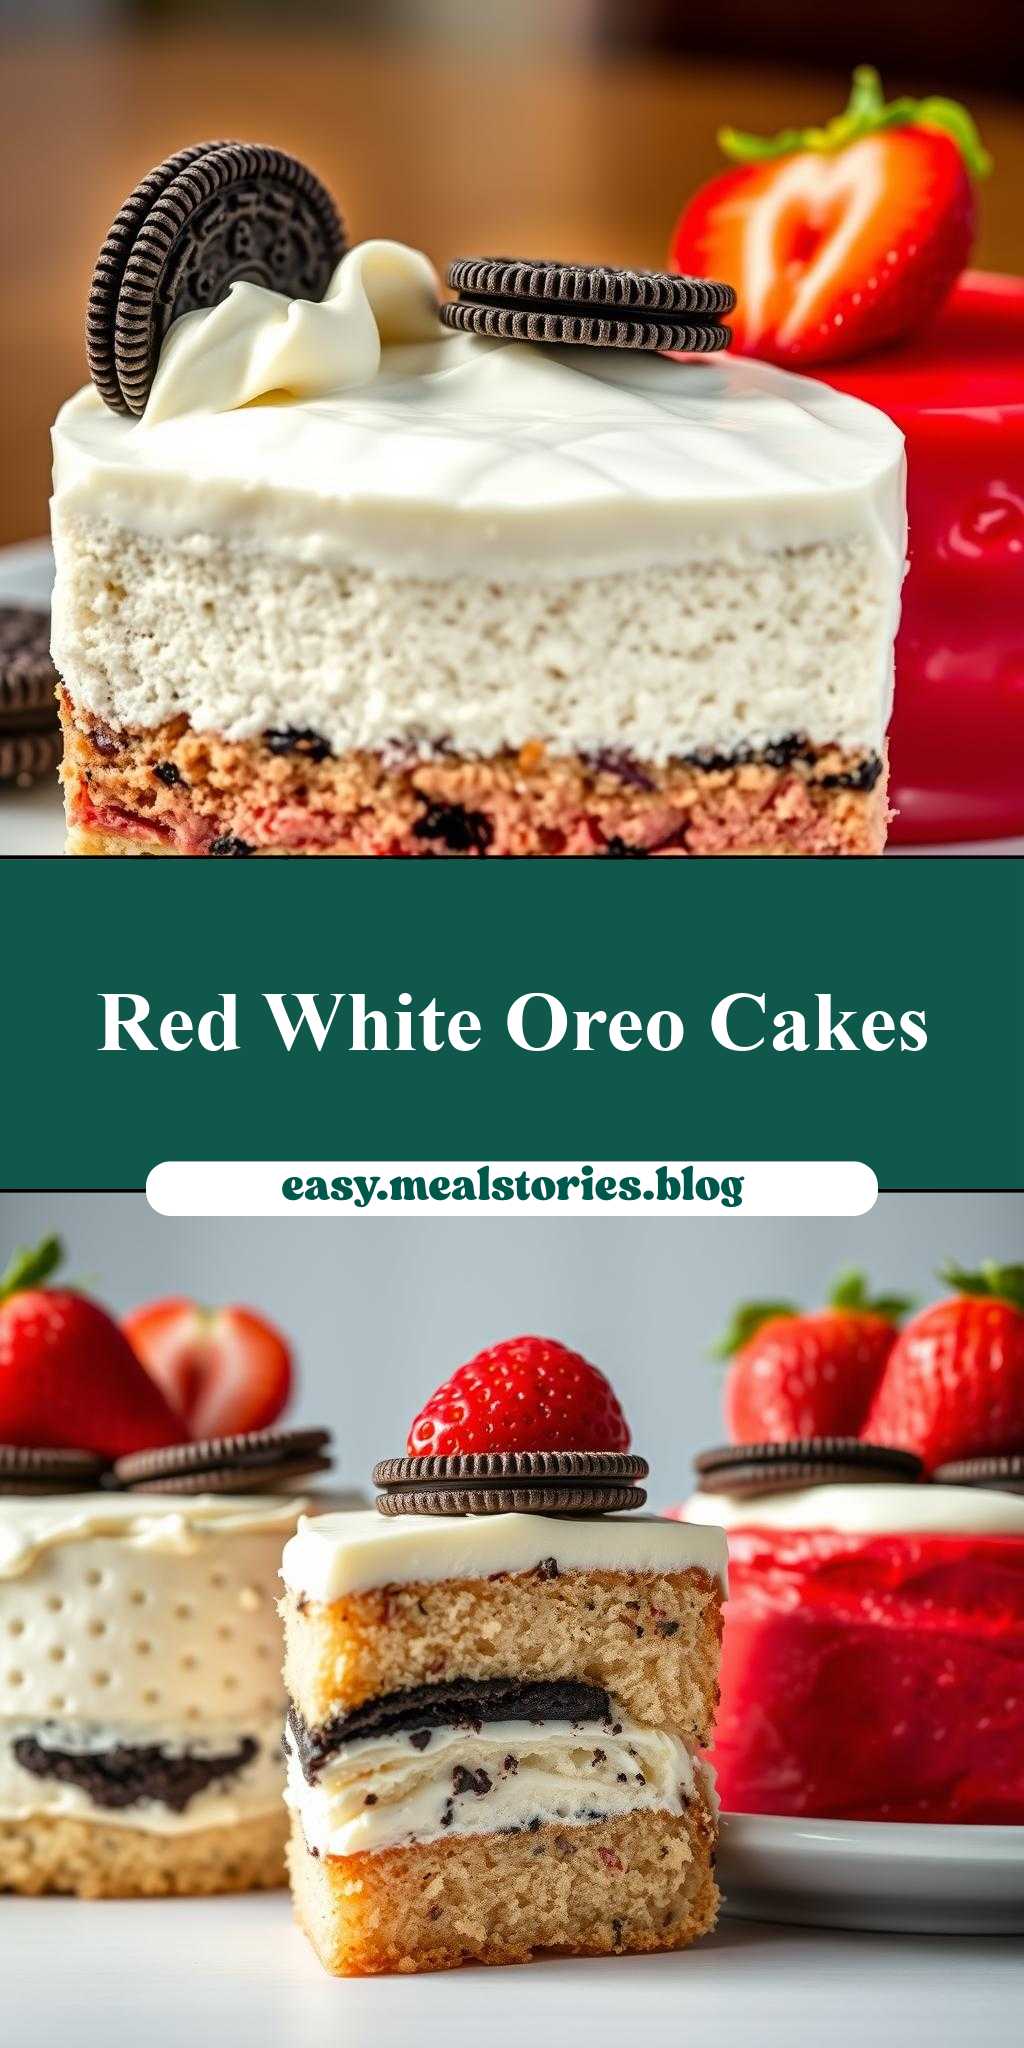
two cakes with oreo cookies and strawberries on top, one is white and the other is red
Introduction
Imagine a dessert that combines the classic appeal of cakes, the crunch of Oreo cookies, and the sweetness of fresh strawberries, all in one visually stunning presentation. This recipe for two cakes, one white and one red, topped with Oreo cookies and strawberries, is not just a treat for the taste buds but also a feast for the eyes. It’s perfect for special occasions, birthdays, or simply a delightful weekend dessert. The best part? It’s surprisingly easy to make, using everyday ingredients that are readily available, making it a great option for both beginner and experienced bakers.
Why This Works
- Flavor balance and ingredient accessibility: The combination of moist cake, crunchy Oreo cookies, and sweet strawberries provides a delightful contrast of textures and flavors that everyone will love. Plus, all the ingredients are easy to find in most supermarkets.
- Ease of preparation: Despite its impressive appearance, this dessert is relatively simple to prepare. The cakes can be made from scratch or using a mix, and the toppings require minimal effort, making it a great option for those short on time.
- Impressive results with minimal effort: The visual appeal of two differently colored cakes with Oreo cookies and strawberries on top is sure to impress your guests or family, with the effort required being surprisingly minimal compared to the impact it makes.
Key Ingredients
To make these stunning cakes, you’ll need a few key ingredients. For the cakes, you’ll need flour, sugar, eggs, butter or oil, milk, and food coloring (red and white). For the toppings, you’ll need a package of Oreo cookies and some fresh strawberries. If you want to add an extra layer of flavor, you can also use strawberry syrup or jam. Practical substitutions can be made for some ingredients; for example, you can use almond milk instead of regular milk for a dairy-free option, or use different types of oil for a slightly different flavor.
Instructions
- Step 1: Begin by preheating your oven to 350°F (180°C). Prepare two 8-inch round cake pans by greasing them and lining the bottoms with parchment paper. Then, chop the strawberries and set them aside, and separate the Oreo cookies, crushing some for potential use in the cake batter or as an extra topping.
- Step 2: Mix the cake batter according to your recipe or cake mix instructions. Divide the batter evenly into two bowls. Add a few drops of red food coloring to one bowl and mix until the color is evenly distributed. Leave the other bowl as is for the white cake. Pour the batters into the prepared pans and bake for about 20-25 minutes, or until a toothpick inserted in the center comes out clean. Let the cakes cool completely.
- Step 3: Once the cakes are cool, you can start assembling your dessert. Place one cake on a serving plate or cake stand, then arrange Oreo cookies on top. Slice the strawberries and place them over the Oreos. Repeat the process with the second cake, creating a beautiful contrast with the red and white cakes.
- Step 4: For the final touches, you can drizzle some strawberry syrup over the strawberries or use whipped cream to add an extra layer of flavor and texture. Your dessert is now ready to be served and enjoyed!
Handy Tips
- When baking the cakes, make sure to not overmix the batter, as this can result in dense cakes. Also, don’t overbake; the cakes should be lightly golden and still moist.
- For the Oreo topping, you can crush some of the cookies and sprinkle them around the whole strawberries for an extra decorative touch.
- Consider using high-quality strawberries for the best flavor and texture. If strawberries are not in season, you can also use other berries like blueberries or raspberries for a different twist.
Heat Control
When baking the cakes, it’s crucial to control the heat to ensure they turn out perfectly. The ideal temperature is 350°F (180°C), and the cakes should be baked for 20-25 minutes. Check for doneness by inserting a toothpick into the center of each cake; if it comes out clean, the cakes are ready. Also, keep an eye on the cakes to prevent overbrowning, as this can affect their texture and appearance.
Crunch Factor
The crunch factor in this dessert comes from the Oreo cookies. To maintain their crunch, it’s best to add them just before serving. If you’re preparing the dessert ahead of time, you can prepare everything else and then add the Oreos right before serving to keep them fresh and crunchy.
Pro Kitchen Tricks
- To ensure the cakes are perfectly level, you can use a cake leveler or a serrated knife to trim them after they’ve cooled.
- For an extra moist cake, try adding an extra egg yolk to the batter or using buttermilk instead of regular milk.
- To make the dessert more stable, especially if you’re using a lot of toppings, you can insert a dowel or a long skewer through the center of the cakes to hold them together.
Storage Tips
- If you’re not serving the cakes immediately, you can store them at room temperature for up to a day. For longer storage, consider refrigerating or freezing them. When refrigerating, make sure to cover the cakes tightly with plastic wrap or aluminum foil to prevent drying out. For freezing, wrap the cakes tightly in plastic wrap or aluminum foil and place them in a freezer-safe bag.
- When reheating, you can let the cakes come to room temperature naturally or warm them up in the microwave for a few seconds. Be cautious not to overheat, as this can dry out the cakes.
- The shelf life of the cakes depends on how they’re stored. At room temperature, they’re best consumed within a day. Refrigerated, they can last for up to 3 days, and frozen, they can be kept for up to 2 months.
Gift Packaging Ideas
If you’re considering gifting this dessert, presentation is key. You can place each cake in a decorative box or wrap them individually in cellophane bags tied with a ribbon. Adding a personal touch, like a handwritten note or a small bouquet of fresh strawberries, can make the gift even more special. For a more rustic look, consider placing the cakes in a wicker basket lined with a checkered cloth and topping them with fresh greenery.
Flavor Variations
- Different spices: You can add a pinch of cinnamon, nutmeg, or cardamom to the cake batter for a unique flavor twist.
- Creative toppings: Besides strawberries and Oreo cookies, you can experiment with other toppings like blueberries, raspberries, chocolate shavings, or even caramel sauce.
- Ingredient swaps: For a gluten-free option, you can substitute the flour with a gluten-free flour mix. You can also use different types of milk or substitute the butter with a vegan alternative for a dairy-free version.
Troubleshooting
- Texture problems: If your cakes turn out too dense, it might be due to overmixing the batter. If they’re too dry, it could be from overbaking. Adjusting your mixing time and baking duration can help achieve the perfect texture.
- Ingredient replacements: If you’re missing an ingredient, there are often substitutions you can make. For example, if you don’t have buttermilk, you can make a substitute by mixing milk with vinegar or lemon juice.
- Over/undercooking signs: Keep an eye on your cakes while they’re baking. If they start to brown too quickly, you can cover the tops with foil to prevent overbrowning. Undercooked cakes will be soggy in the center, so make sure to check them with a toothpick.
FAQs
- Can I freeze it? Yes, you can freeze the cakes for up to 2 months. It’s best to freeze them without the toppings and then add the Oreos and strawberries when you’re ready to serve.
- Is it gluten-free? The original recipe contains gluten due to the wheat flour. However, you can easily make a gluten-free version by substituting the flour with a gluten-free flour mix.
- Can I double the recipe? Yes, you can double the recipe to make more cakes. Just keep in mind that you’ll need to adjust the baking time slightly, so keep an eye on the cakes to ensure they don’t overcook.
Conclusion
This recipe for two cakes with Oreo cookies and strawberries on top, one white and one red, offers a delightful combination of flavors and textures that’s sure to impress. With its ease of preparation, accessibility of ingredients, and the impressive visual result, it’s a perfect dessert for any occasion. Feel free to experiment with different flavors and toppings to make it your own, and don’t hesitate to reach out if you have any questions or need further substitutions or variations. Happy baking, and enjoy the joy of sharing delicious homemade desserts with your loved ones!
two cakes with oreo cookies and strawberries on top, one is white and the other is red
A dessert recipe featuring two cakes, one white and one red, topped with Oreo cookies and fresh strawberries, perfect for special occasions or a delightful weekend treat.
🥘 Ingredients
👩🍳 Instructions
-
1Preheat the oven to 350°F (180°C). Prepare two 8-inch round cake pans.
-
2Mix the cake batter, divide it into two bowls, and add red food coloring to one. Pour into prepared pans and bake for 20-25 minutes.
-
3Let the cakes cool, then place one on a serving plate and top with Oreo cookies and sliced strawberries. Repeat with the second cake.
-
4Add final touches such as strawberry syrup or whipped cream, and serve.