What makes the perfect chocolate chip cookie? Soft centers, crispy edges, and a generous helping of semi sweet chocolate chips are just the start. This easy homemade favorite uses simple ingredients like brown sugar and melted butter to create a weeknight treat that is sure to become a family favorite. Save this idea for a delicious surprise anytime.
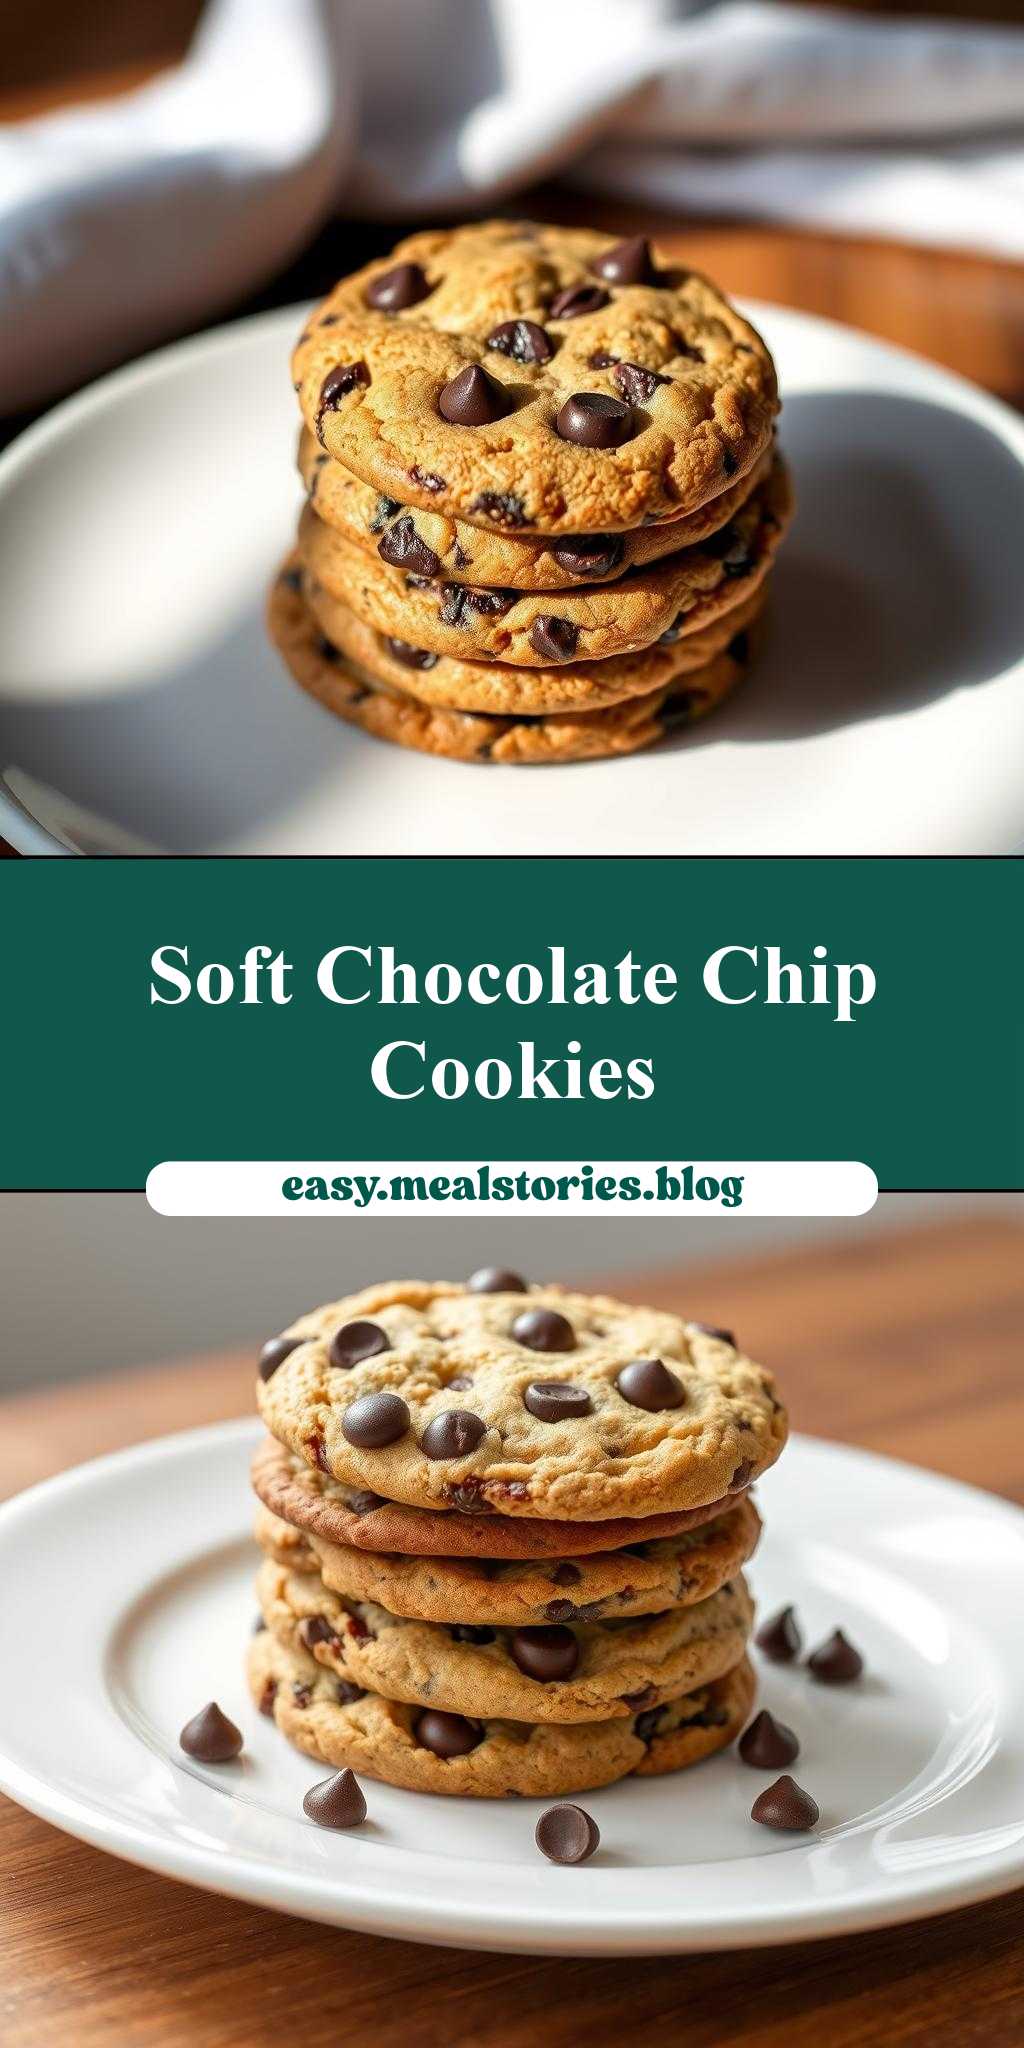
a stack of chocolate chip cookies on a white plate
Introduction
Imagine the perfect treat to satisfy your sweet tooth: a stack of warm, chewy chocolate chip cookies, fresh from the oven, sitting invitingly on a crisp white plate. This classic dessert is a staple for a reason – it’s incredibly easy to make, requires minimal ingredients, and offers endless possibilities for creativity and customization. Whether you’re a seasoned baker or a beginner in the kitchen, this recipe is sure to become a favorite. With its perfect balance of crunchy edges and soft centers, and the deep, rich flavor of melted chocolate chips, it’s the ultimate comfort food. So, let’s dive into the world of chocolate chip cookies and explore what makes them so special.
Why This Works
- Flavor balance and ingredient accessibility: The combination of butter, sugar, eggs, flour, and chocolate chips creates a flavor profile that is both familiar and irresistible. Plus, these ingredients are easily found in most kitchens, making it a convenient treat to whip up at any time.
- Ease of preparation: The process of making chocolate chip cookies is straightforward and simple, requiring minimal equipment and effort. It’s a great recipe for those new to baking or looking for a quick dessert solution.
- Impressive results with minimal effort: Despite its simplicity, the end result is always impressive – a stack of golden-brown cookies that are sure to impress family and friends. It’s a great way to show you care without spending hours in the kitchen.
Key Ingredients
The main ingredients in this recipe include all-purpose flour, baking soda, salt, granulated sugar, brown sugar, butter, eggs, and semi-sweet chocolate chips. Each of these ingredients plays a crucial role in the texture and flavor of the cookies. For example, using a combination of white and brown sugar gives the cookies a richer, deeper flavor. If you’re looking for substitutions, you can try using different types of sugar or flour, such as coconut sugar or oat flour, to create a slightly different taste and texture. Additionally, if you want to make the cookies more interesting, you can add in nuts, dried fruit, or even candy pieces to create a unique flavor combination.
Instructions
- Step 1: Begin by preheating your oven to 375°F (190°C). While the oven is heating up, whisk together the flour, baking soda, and salt in a medium bowl. Set aside. In a large bowl, use an electric mixer to cream together the butter and sugars until light and fluffy, about 2-3 minutes.
- Step 2: Beat in the eggs one at a time, followed by the vanilla extract. Gradually mix in the dry ingredients (flour mixture) until just combined, being careful not to overmix. Stir in the chocolate chips.
- Step 3: Use a cookie scoop or tablespoon to drop rounded balls of dough onto a baking sheet lined with parchment paper, leaving about 2 inches of space between each cookie. Bake for 10-12 minutes, or until the edges are lightly golden brown and the centers are set.
- Step 4: Remove the cookies from the oven and let them cool on the baking sheet for 5 minutes before transferring them to a wire rack to cool completely. Once cooled, stack the cookies on a white plate and serve.
Handy Tips
- Make sure to use room temperature ingredients, especially the butter and eggs, for the best results. This will help the dough come together smoothly and evenly.
- Don’t overbake the cookies – they should be lightly golden brown and still slightly soft in the center. Overbaking will result in hard, crunchy cookies that lose their chewy texture.
- Experiment with different types of chocolate chips or add-ins, such as nuts or dried fruit, to create unique flavor combinations. This is a great way to make the recipe your own and tailor it to your tastes.
Heat Control
When baking the cookies, it’s essential to keep an eye on the temperature and timing. The ideal temperature for baking chocolate chip cookies is between 375°F (190°C) and 400°F (200°C). Bake the cookies for 10-12 minutes, or until they are lightly golden brown around the edges and set in the center. If you prefer a chewier cookie, bake for 8-10 minutes. If you prefer a crisper cookie, bake for 12-14 minutes.
Crunch Factor
The crunch factor in chocolate chip cookies comes from the combination of a crispy edge and a chewy center. To achieve this, make sure not to overbake the cookies. Take them out of the oven when they are lightly golden brown and still slightly soft in the center. As they cool, they will retain their chewy texture while developing a crunchy edge. If you prefer a crisper cookie, you can bake them for a few minutes longer, but be careful not to overdo it.
Pro Kitchen Tricks
- Use a combination of white and brown sugar for a richer flavor. Brown sugar contains more moisture than white sugar, which helps to keep the cookies chewy and soft.
- Chill the dough for at least 30 minutes before baking to allow the flavors to meld together and the butter to firm up. This will help the cookies to retain their shape and bake up with a better texture.
- Use a cookie scoop or spoon to portion out the dough, making sure each cookie is evenly sized. This will help the cookies to bake evenly and prevent some from being overcooked or undercooked.
Storage Tips
- Store the cookies in an airtight container at room temperature for up to 5 days. This will help to keep them fresh and prevent them from becoming stale.
- Freeze the cookies for up to 2 months. Simply place the cookies in a single layer in a freezer-safe bag or container and store in the freezer. When you’re ready to eat them, simply thaw at room temperature or reheat in the microwave or oven.
Gift Packaging Ideas
If you want to give the cookies as a gift, consider packaging them in a decorative tin or jar, or wrapping them individually in plastic wrap or cellophane bags. You can also add a personal touch by including a handwritten note or a sprinkle of decorative toppings, such as chopped nuts or sprinkles. Another idea is to create a cookie gift basket, filled with a variety of cookies, including chocolate chip, oatmeal raisin, and peanut butter cookies. This is a great way to show you care and provide a thoughtful and delicious gift.
Flavor Variations
- Different spices: Try adding a pinch of cinnamon, nutmeg, or cardamom to the dough for a unique twist on the classic recipe.
- Creative toppings: Consider adding chopped nuts, dried fruit, or candy pieces to the dough for added texture and flavor.
- Ingredient swaps: Substitute different types of sugar, such as coconut sugar or honey, or try using different types of flour, such as oat flour or almond flour, to create a gluten-free version.
Troubleshooting
- Texture problems: If the cookies are too hard or too soft, adjust the baking time or temperature. If they are too dense, try adding more leavening agents or using a higher-quality flour.
- Ingredient replacements: If you’re out of a particular ingredient, try substituting with a similar ingredient. For example, you can use margarine instead of butter or honey instead of sugar.
- Over/undercooking signs: Keep an eye on the cookies while they’re baking and remove them from the oven when they’re lightly golden brown and still slightly soft in the center. If they’re overcooked, they’ll be hard and dry. If they’re undercooked, they’ll be soft and raw in the center.
FAQs
- Can I freeze it? Yes, you can freeze the cookies for up to 2 months. Simply place the cookies in a single layer in a freezer-safe bag or container and store in the freezer.
- Is it gluten-free? No, this recipe contains gluten due to the use of all-purpose flour. However, you can try substituting with a gluten-free flour blend to create a gluten-free version.
- Can I double the recipe? Yes, you can easily double or triple the recipe to make more cookies. Just be sure to adjust the baking time accordingly, as the cookies may take longer to bake in larger quantities.
Conclusion
In conclusion, making a stack of chocolate chip cookies on a white plate is a simple yet rewarding process that’s perfect for any occasion. With its rich, buttery flavor and crunchy texture, it’s a treat that’s sure to please both kids and adults. Whether you’re a seasoned baker or a beginner in the kitchen, this recipe is a great way to get started with baking and to create a delicious dessert that’s sure to become a favorite. So go ahead, get baking, and enjoy the warm, fuzzy feeling that comes with sharing a plate of freshly baked cookies with loved ones.
a stack of chocolate chip cookies on a white plate
A classic dessert recipe for a stack of warm, chewy chocolate chip cookies, fresh from the oven, sitting invitingly on a crisp white plate.
🥘 Ingredients
👩🍳 Instructions
-
1Preheat the oven to 375°F (190°C).
-
2Whisk together the flour, baking soda, and salt in a medium bowl. Set aside.
-
3Cream together the butter and sugars until light and fluffy. Beat in the eggs one at a time, followed by the vanilla extract.
-
4Gradually mix in the dry ingredients until just combined, being careful not to overmix. Stir in the chocolate chips.
-
5Use a cookie scoop or spoon to drop rounded balls of dough onto a baking sheet lined with parchment paper, leaving about 2 inches of space between each cookie.
-
6Bake for 10-12 minutes, or until the edges are lightly golden brown and the centers are set.
-
7Remove the cookies from the oven and let them cool on the baking sheet for 5 minutes before transferring them to a wire rack to cool completely.