What makes the perfect grilled cheese sandwich even better? A spicy kick from jalapeños and a rich flavor from sharp cheddar, of course. This easy homemade recipe is a weeknight dinner staple that combines melted cheddar, sliced jalapeños, and toasted bread for a quick family favorite. Try grilling it to perfection for a gooey, cheesy treat. Save this idea for your next quick dinner solution.
Jalapeño Cheddar Grilled Cheese
Introduction
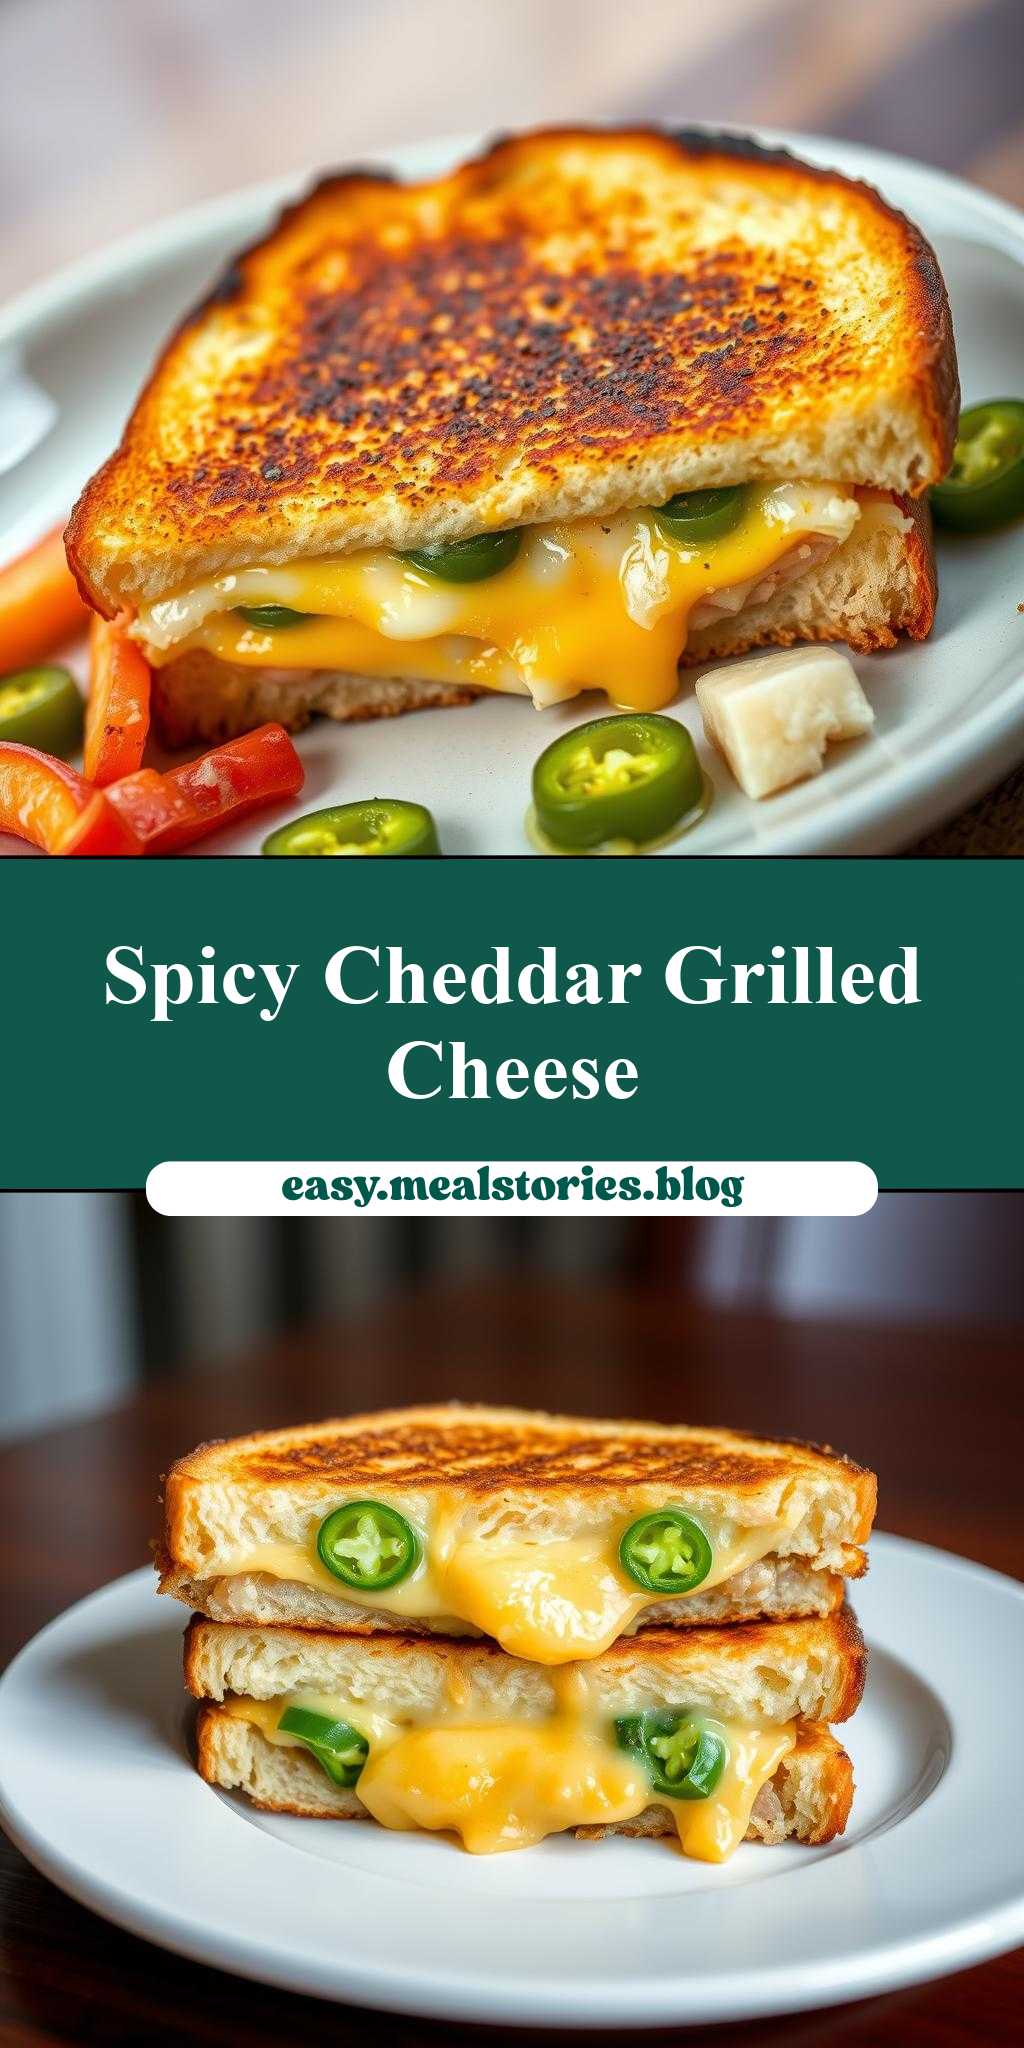
The Jalapeño Cheddar Grilled Cheese is a masterful blend of spicy, savory, and gooey, all perfectly balanced within a crispy, golden-brown package. This recipe stands out for its ease of preparation, requiring just a few everyday ingredients, yet it delivers impressive results that are sure to elevate any meal or snack. At its core, it’s a creative twist on the classic grilled cheese, incorporating the bold flavors of jalapeño peppers and the richness of cheddar cheese. Whether you’re a fan of spicy food, a cheese aficionado, or simply looking for a new twist on an old favorite, this dish is sure to delight. With its straightforward preparation and customizable heat level, it’s perfect for both beginners and seasoned cooks alike.
Why This Works
- The balance of flavors is key, with the creaminess of the cheese offset by the spicy kick of the jalapeños, making each bite interesting and addictive.
- The accessibility of the ingredients is a major plus; most of what you need is likely already in your pantry or easily found at your local grocery store.
- Despite its impressive flavor profile, the dish requires minimal effort to prepare, making it an ideal option for a quick lunch, dinner, or snack.
Key Ingredients
The main ingredients in this recipe include high-quality cheddar cheese for its sharp, rich flavor; jalapeño peppers for their spicy kick; good bread, preferably something with a bit of heft to it like sourdough or ciabatta, to hold up to the filling and the grilling process; and butter or a non-stick spray to ensure the bread crisps up nicely without sticking to the pan. For those looking for substitutions, other types of cheese like pepper jack or gouda can add interesting twists, and if jalapeños are too spicy, milder peppers like Anaheim or Poblano can be used. Additionally, for a gluten-free version, consider using gluten-free bread.
Instructions
- Step 1: Begin by preparing your ingredients. Slice the jalapeños, making sure to wear gloves to avoid the oil getting on your skin, and shred or slice the cheddar cheese. Butter or spray one side of each slice of bread.
- Step 2: Place one slice of bread, buttered side down, in a skillet or griddle over medium heat. Top with a slice or two of cheese, depending on how cheesy you like it, and a few slices of jalapeño.
- Step 3: Place the second slice of bread, buttered side up, on top of the filling. Cook for about 2-3 minutes or until the bread is golden brown and the cheese starts to melt. Carefully flip the sandwich over and cook for another 2-3 minutes, until the other side is also golden brown.
- Step 4: Once cooked, remove the sandwich from the heat and let it cool for a minute or two. Slice in half and serve immediately. For an extra crispy crust, you can grill the sandwich in a panini press or under the broiler for a few seconds.
Handy Tips
- When handling jalapeños, be careful not to touch your face, especially your eyes, as the oils in the peppers can cause irritation. Wash your hands thoroughly afterward.
- For an extra melted cheese effect, you can place the sandwich under the broiler for a few seconds after grilling. Keep an eye on it to avoid burning.
- Consider using a cast-iron skillet for the best crust on your bread. If you don’t have one, any skillet or griddle will work.
Heat Control
The ideal heat for grilling the cheese sandwich is medium. This allows for a slow and even melting of the cheese and a nice browning of the bread without burning it. Timing is everything; cook for about 2-3 minutes on each side, or until you see the cheese melting and the bread turning golden. Signs of doneness include a crispy, golden-brown crust and melted cheese oozing out when you cut into the sandwich.
Crunch Factor
Achieving the right crunch factor is crucial for this dish. The bread should be crispy on the outside, giving way to a gooey, cheesy interior. To ensure this, make sure your skillet or griddle is hot before adding the sandwich, and don’t press down on the sandwich while it’s cooking, as this can push out the cheese and make the bread dense. A light touch and the right heat will give you a beautifully crunchy exterior and a deliciously cheesy interior.
Pro Kitchen Tricks
- For a pro touch, consider adding some caramelized onions or a sprinkle of chopped fresh herbs like parsley or cilantro on top of the cheese before closing the sandwich.
- A quick way to clean up any cheese spills from the griddle is to sprinkle a bit of water on the area and scrub with a soft sponge while the griddle is still warm.
- Experiment with different types of cheese and peppers to find your perfect combination. Some cheeses melt better than others, and the same goes for the heat level of peppers.
Storage Tips
- If you’re planning to make these sandwiches ahead of time, it’s best to assemble them without grilling and store them in the refrigerator for up to a day. Grill just before serving.
- For reheating, place the grilled sandwich in the oven at a low temperature (around 200°F) for a few minutes, or until the cheese is melted and the bread is warmed through.
- These sandwiches are best consumed fresh, but if you have leftovers, they can be stored in an airtight container in the refrigerator for up to two days. Reheat as needed.
Gift Packaging Ideas
If you’re considering gifting these sandwiches, perhaps as part of a picnic basket or a care package, consider wrapping them individually in parchment paper or aluminum foil and placing them in a thermally insulated bag to keep warm. You could also include a side of tomato soup or a green salad for a complete meal. For a more rustic touch, wrap the sandwich in a paper bag and tie with twine, adding a handwritten note with heating instructions.
Flavor Variations
- Spice it up with different peppers: If jalapeños are too mild, try using habaneros or ghost peppers for an intense heat. For a milder option, Anaheim or bell peppers can add sweetness.
- Get creative with cheese: While cheddar is a classic, mixing in some gouda, parmesan, or feta can add interesting flavors. Consider a blend for the best of all worlds.
- Add some meats: Sliced ham, turkey, or roast beef can add protein and texture, making the sandwich more filling. Bacon is also a great addition for smoky flavor.
Troubleshooting
- Texture problems: If your bread is turning out too dense, it might be because you’re pressing down on the sandwich while it cooks. Try to resist the temptation and let it cook undisturbed.
- Ingredient replacements: If you can’t find jalapeños, look for other hot peppers. For cheese, experiment with different types to find one you like, keeping in mind melting points and flavors.
- Over/undercooking signs: If the bread is too light, it might not be cooked enough. If it’s too dark, it’s likely burnt. Aim for a golden brown color and melted cheese.
FAQs
- Can I freeze it? Yes, you can freeze the sandwiches before grilling. Assemble them, place them on a baking sheet lined with parchment paper, and put it in the freezer until they’re frozen solid. Then, transfer them to a freezer-safe bag or container for up to 2 months. Grill from frozen, adding a bit more time to the cooking process.
- Is it gluten-free? The gluten-free status depends on the bread used. If you use gluten-free bread, the dish can be gluten-free. Be mindful of cross-contamination if you’re cooking for someone with gluten intolerance.
- Can I double the recipe? Absolutely, this recipe scales well. Just be sure you have enough space in your skillet or griddle to cook all the sandwiches at once, or cook them in batches to prevent overcrowding.
Conclusion
The Jalapeño Cheddar Grilled Cheese is a versatile and delicious dish that can be enjoyed at any time of day. With its spicy kick, gooey cheese, and crunchy bread, it’s sure to become a favorite. Don’t be afraid to experiment with different ingredients and variations to make it your own. Whether you’re cooking for one or a crowd, this recipe is easy to scale and always delivers. So go ahead, get creative, and share your favorite versions with friends and family. Happy cooking!
Jalapeño Cheddar Grilled Cheese
A spicy twist on the classic grilled cheese, featuring jalapeños and cheddar cheese.
🥘 Ingredients
👩🍳 Instructions
-
1Butter or spray one side of each slice of bread.
-
2Place one slice of bread, buttered side down, in a skillet or griddle over medium heat.
-
3Top with cheese and jalapeño slices.
-
4Place the second slice of bread, buttered side up, on top of the filling and cook until the bread is golden brown and the cheese is melted, flipping halfway through.