What’s the best way to keep your furry friend happy and healthy? Whip up a batch of these quick and easy homemade yogurt dog treats, made with plain yogurt and simple ingredients. Perfect for a weeknight reward, they’re a family favorite. Save this idea for a fun DIY project with your pet.
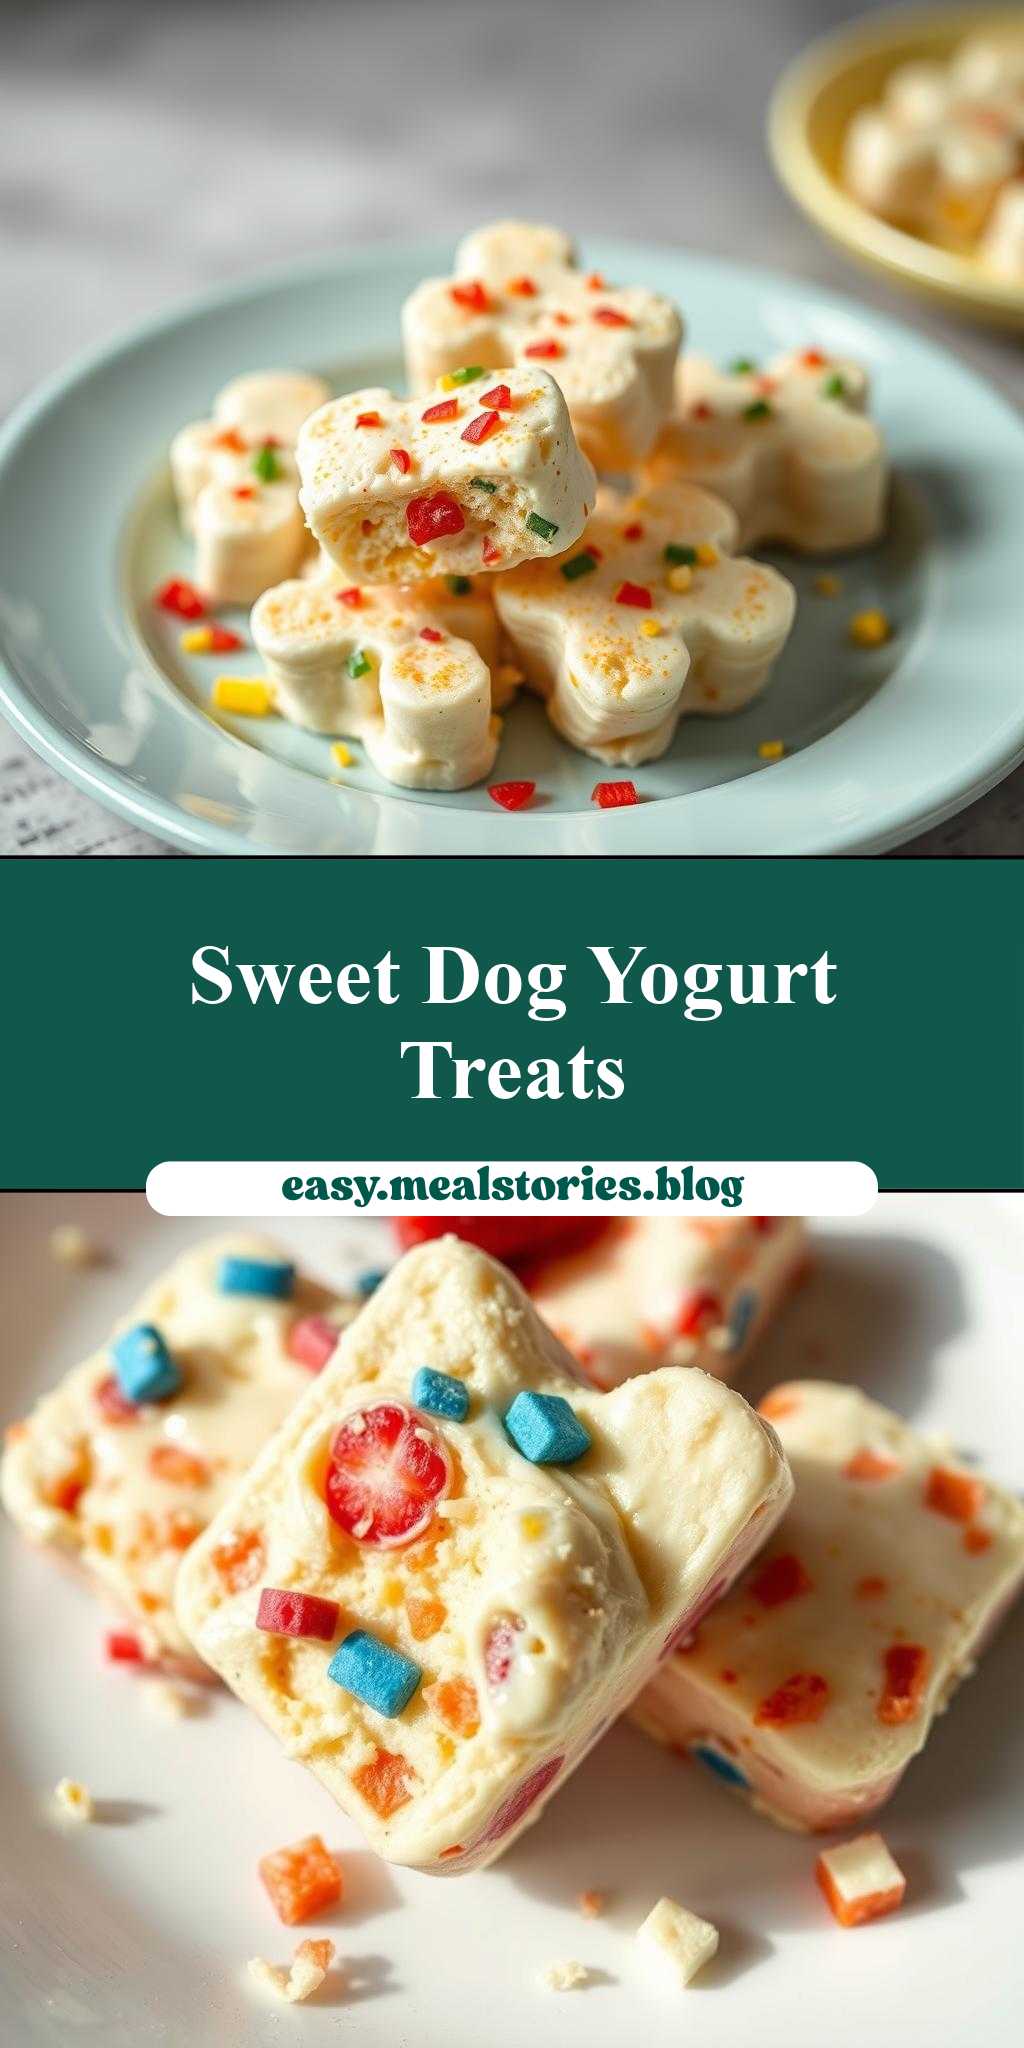
Yogurt Dog Treats
Introduction
Creating delicious and healthy treats for your furry friends doesn’t have to be complicated or time-consuming. With just a few simple ingredients, you can make mouthwatering yogurt dog treats that your pets will adore. The beauty of these treats lies in their ease of preparation, the balance of flavors, and the creativity you can bring to the recipe using everyday ingredients. Whether you’re looking for a special snack to reward good behavior or a fun project to enjoy with your family, these yogurt dog treats are the perfect choice. They’re not only tasty but also packed with nutrients, making them a great addition to your dog’s diet.
Why This Works
- Flavor balance and ingredient accessibility: The combination of yogurt, honey, and peanut butter creates a delicious and appealing flavor profile for dogs, while the ingredients are easily accessible and affordable.
- Ease of preparation: The process of making these treats is straightforward and quick, requiring minimal cooking and preparation time.
- Impressive results with minimal effort: Despite the simplicity of the recipe, the end result is impressive and sure to delight your dogs, making it a great option for pet owners who want to provide healthy, homemade treats without spending too much time in the kitchen.
Key Ingredients
The main ingredients for these yogurt dog treats include plain yogurt, which provides a cool and creamy base; peanut butter, which adds a rich, nutty flavor; honey, which serves as a natural sweetener; and oats or flour, which help bind the mixture together. You can also customize the recipe with your dog’s favorite fruits or other dog-safe ingredients. For dogs with peanut allergies, you can substitute the peanut butter with pumpkin puree or sunflower seed butter. Always ensure that any ingredients you introduce are safe for canine consumption.
Instructions
- Step 1: Begin by preparing your ingredients. Measure out 1 cup of plain yogurt, 1/2 cup of peanut butter, 1 tablespoon of honey, and 1/2 cup of oats or flour. If using add-ins like fruits or nuts, chop them into small pieces.
- Step 2: In a large bowl, mix together the yogurt, peanut butter, and honey until you have a smooth, consistent mixture. This may require a bit of effort to fully incorporate the peanut butter, but the end result is worth it.
- Step 3: Gradually add the oats or flour to the yogurt mixture, stirring until the mixture forms a dough. If the dough is too sticky, you can add a bit more oats or flour. If it’s too dry, a small amount of water or additional yogurt can be added.
- Step 4: Once you have your dough, you can shape it into various forms. Use a cookie cutter to create fun shapes, or simply roll the dough into balls. Place the shaped treats on a baking sheet lined with parchment paper and refrigerate for at least 30 minutes to set.
Handy Tips
- Always check with your veterinarian before introducing new foods or ingredients to your dog’s diet, especially if they have food allergies or sensitivities.
- Keep the treats small to prevent choking hazards, especially for smaller dogs.
- Experiment with different add-ins like bananas, carrots, or green beans to create variety and tailor the treats to your dog’s preferences.
Heat Control
Since these treats are no-bake, heat control is not a concern. However, it’s essential to store them properly in the refrigerator to maintain their texture and freshness. If you find that your treats are too soft, you can freeze them for about 10 minutes to firm them up before serving.
Crunch Factor
The crunch factor of these treats can be adjusted based on your dog’s preference. If you want a crunchier treat, you can add some chopped nuts or seeds to the dough. For a chewier treat, simply reduce the amount of oats or flour used. The refrigeration time also affects the texture, with longer times resulting in firmer treats.
Pro Kitchen Tricks
- Use a silicone mat or parchment paper to prevent the treats from sticking to the surface, making them easier to remove and clean up.
- For an extra-special touch, consider drizzling the treats with a bit of peanut butter or yogurt before serving.
- Keep a variety of shapes and sizes on hand by using different cookie cutters or a glass to create fun shapes.
Storage Tips
- Store the treats in an airtight container in the refrigerator for up to 5 days.
- For longer storage, consider freezing the treats. Simply place them in a single layer in a freezer-safe bag or container and store in the freezer for up to 2 months. Allow the treats to thaw at room temperature or in the refrigerator before serving.
- When storing, it’s a good idea to label the container with the date and ingredients used, especially if you have multiple pets with different dietary needs.
Gift Packaging Ideas
If you’re looking to give these treats as a gift, consider packaging them in decorative jars or containers. You can add a ribbon around the lid and include a gift tag with the ingredients and storage instructions. Another idea is to place the treats in cellophane bags and tie them with a twist tie or a ribbon. Adding a personal touch, such as a handwritten note or a small toy, can make the gift even more special.
Flavor Variations
- Different spices: You can add a pinch of cinnamon or nutmeg to the dough for a unique flavor profile.
- Creative toppings: Consider adding a sprinkle of shredded coconut, chopped nuts, or dried fruits on top of the treats before refrigerating them.
- Ingredient swaps: Replace the peanut butter with another nut butter like almond or cashew butter for a different flavor. You can also use different types of yogurt, such as coconut or goat’s milk yogurt, for a unique twist.
Troubleshooting
- Texture problems: If the treats are too sticky, add a bit more oats or flour. If they’re too dry, add a small amount of yogurt or water.
- Ingredient replacements: Always choose replacements that are safe for canine consumption. Consult with your veterinarian if you’re unsure about any ingredients.
- Over/undercooking signs: Since these treats are no-bake, you don’t have to worry about overcooking. However, if you find that the treats are too soft or too hard, adjust the refrigeration time accordingly.
FAQs
- Can I freeze it? Yes, you can freeze the treats for up to 2 months. Simply thaw them at room temperature or in the refrigerator before serving.
- Is it gluten-free? The recipe as stated is gluten-free, but always check the ingredients of the specific brands you’re using to ensure they meet gluten-free standards.
- Can I double the recipe? Yes, you can easily double or triple the recipe to make more treats. Just be sure to adjust the storage container size accordingly.
Conclusion
Making yogurt dog treats is a fun and rewarding experience that allows you to provide your pets with healthy, delicious snacks. With their simple ingredients and easy preparation, these treats are perfect for any dog owner looking to add a personal touch to their pet’s diet. Don’t be afraid to experiment with different flavors and ingredients to find the perfect combination for your furry friend. Remember, the most important aspect of making these treats is the love and care you put into them, and your dogs are sure to appreciate the effort. So go ahead, get creative, and enjoy the joy of making something special for your pets.
Yogurt Dog Treats
Healthy and delicious homemade dog treats made with yogurt, peanut butter, and honey.
🥘 Ingredients
👩🍳 Instructions
-
1Mix together yogurt, peanut butter, and honey until smooth.
-
2Add oats or flour and stir until a dough forms.
-
3Shape into desired forms and refrigerate for at least 30 minutes.
-
4Store in an airtight container in the refrigerator for up to 5 days or freeze for up to 2 months.