What makes a better dessert than combining rich red velvet cake with creamy cheesecake and crunchy Oreo cookies in one show-stopping homemade treat? This easy recipe features a moist cake layer and a velvety cheesecake topping, all made possible with simple baking methods. Save this idea for your next special occasion dessert.
red velvet cheesecake cake with oreo cookies
Introduction
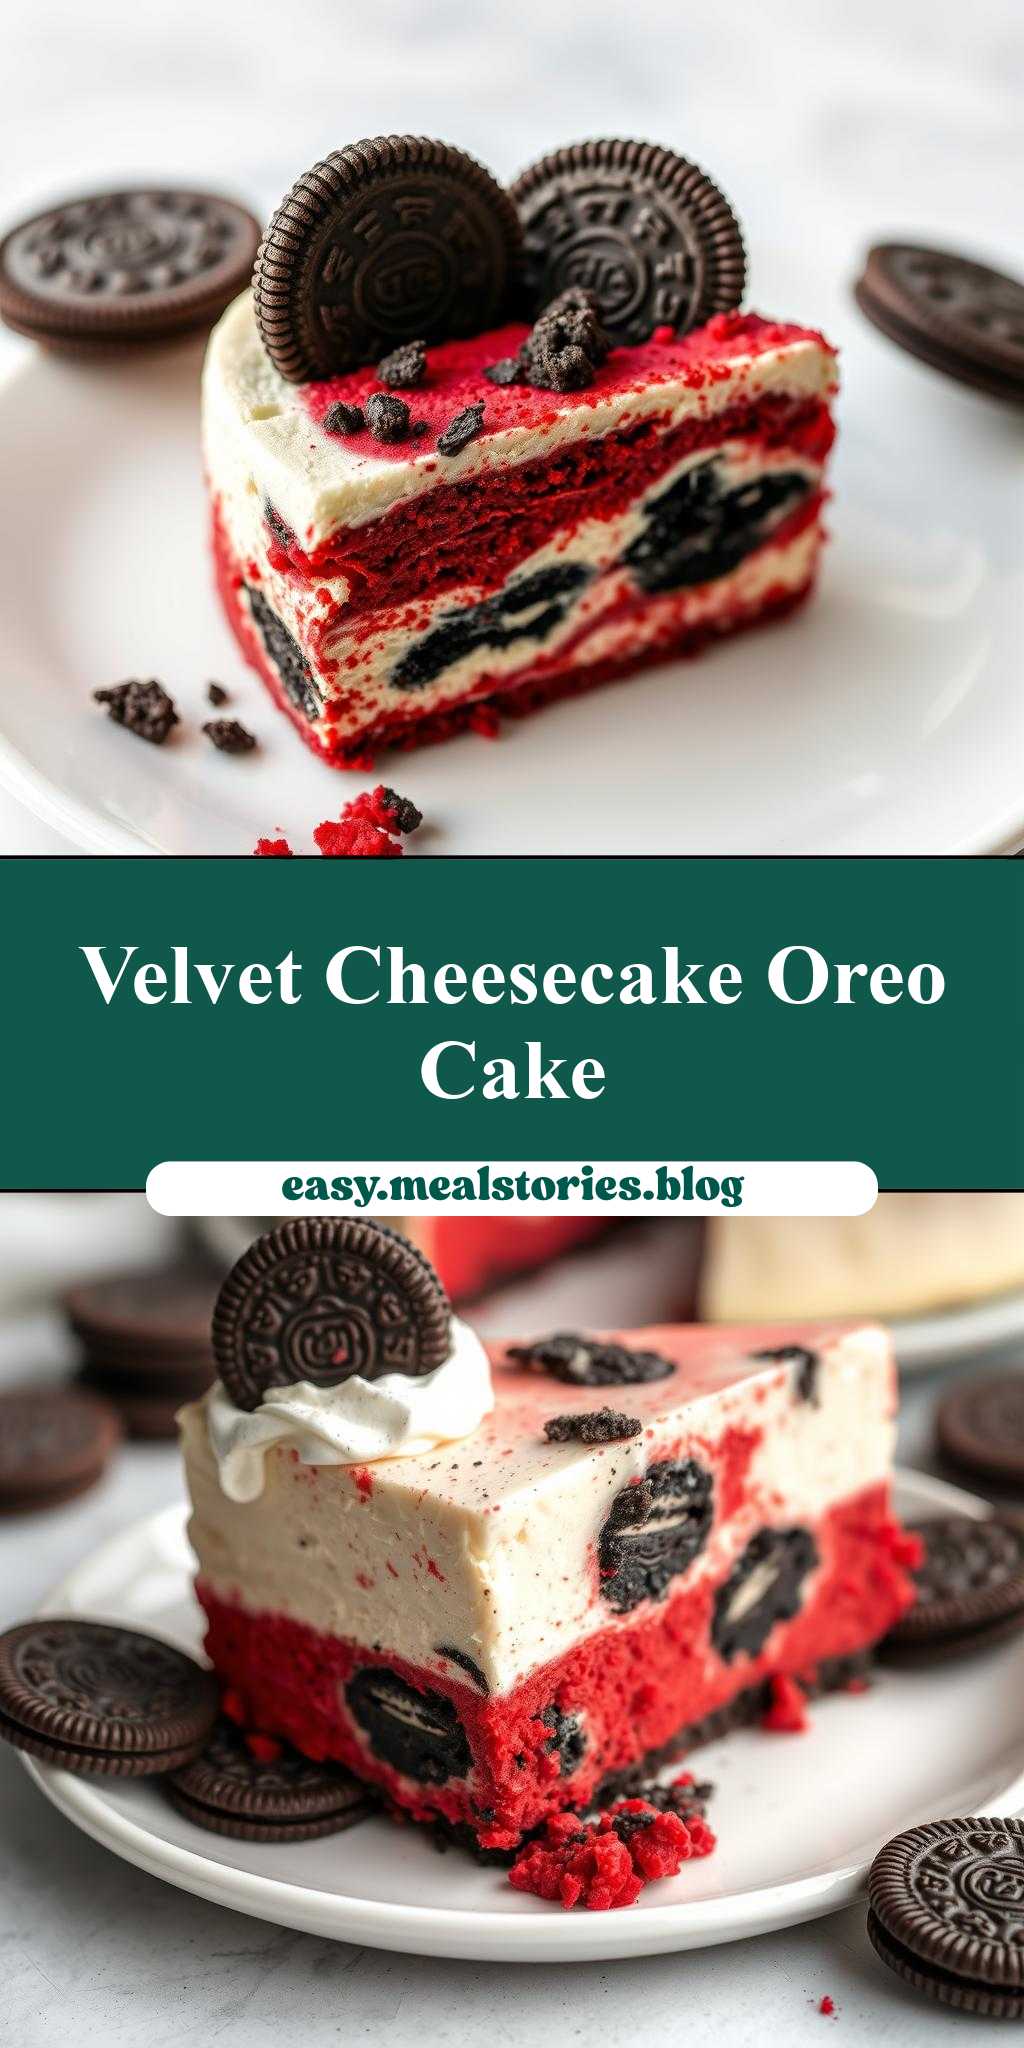
Imagine a moist red velvet cake, a creamy cheesecake, and the crunch of Oreo cookies all in one decadent dessert. This red velvet cheesecake cake with Oreo cookies is a game-changer for anyone looking to impress their friends and family with a unique and delicious treat. The best part? It’s easier to make than you think, using everyday ingredients and requiring minimal special equipment. The combination of flavors and textures is truly creative, making it perfect for special occasions or just a sweet indulgence any day of the week.
Why This Works
- Flavor balance and ingredient accessibility: The red velvet cake provides a deep, slightly tangy flavor, while the cheesecake adds a rich creaminess. The Oreo cookies contribute a delightful crunch and a touch of sweetness. All the ingredients are easily found in most supermarkets, making this dessert accessible to everyone.
- Ease of preparation: Despite its impressive appearance, this dessert is relatively straightforward to prepare. It involves making a red velvet cake, a cheesecake, and then assembling them with a layer of Oreo cookies in between.
- Impressive results with minimal effort: The end result is a stunning, multi-layered dessert that looks like it came from a professional bakery. The effort required is surprisingly minimal, considering the wow factor it delivers.
Key Ingredients
The main ingredients for this recipe include red velvet cake mix (or the ingredients to make one from scratch, such as flour, sugar, cocoa powder, and buttermilk), cream cheese, eggs, sour cream, and Oreo cookies. For practicality, you can use store-bought red velvet cake mix and cheesecake mix, but making them from scratch allows for greater control over the ingredients and freshness. If you’re looking for substitutions, you can use different types of cookies or even nuts for the crunch layer, and non-dairy alternatives for the cheesecake to cater to dietary restrictions.
Instructions
- Step 1: Begin by preheating your oven to 350°F (180°C). Prepare your red velvet cake according to the package instructions or your recipe. Pour the batter into two 9-inch round cake pans and bake until a toothpick inserted in the center comes out clean. Let the cakes cool completely.
- Step 2: Prepare your cheesecake. Beat the cream cheese until smooth, then add eggs one at a time, followed by sour cream and vanilla extract. Pour the cheesecake batter into a 9-inch springform pan and bake until the edges are set and the center is slightly jiggly. Let it cool completely.
- Step 3: Once both the cake and cheesecake are cooled, it’s time to assemble. Place one of the red velvet cakes on a serving plate, followed by a layer of cheesecake, and then a layer of Oreo cookies. You can use a thin layer of cream cheese frosting to help the layers stick together. Repeat this process, ending with a layer of cake on top.
- Step 4: Finally, frost the outside of the cake with cream cheese frosting and decorate as desired. You can crush additional Oreo cookies and sprinkle them around the bottom of the cake or use them to decorate the top.
Handy Tips
- Make sure to cool each component completely before assembling to prevent a soggy mess. If you’re short on time, consider making the cake and cheesecake a day in advance.
- For a cleaner cut, refrigerate the assembled cake for at least 30 minutes before serving. This will help the layers set and make it easier to slice.
- Don’t overmix the cheesecake batter, as this can lead to cracking. Similarly, avoid overbaking, as it can make the cheesecake dry.
Heat Control
When baking the cake and cheesecake, it’s crucial to keep an eye on the temperature and timing. The ideal temperature is 350°F (180°C) for both. The cake should take about 30-35 minutes to bake, or until a toothpick inserted into the center comes out clean. The cheesecake will take about 50-60 minutes, or until the edges are set and the center is just slightly jiggly. Avoid overbaking, as this can lead to dryness and cracking.
Crunch Factor
The crunch factor in this dessert comes from the Oreo cookies. To enhance this, you can also sprinkle crushed cookies on top of the cheesecake layer before adding the next cake layer, or use them to decorate the outside of the cake. If you prefer a different type of crunch, chopped nuts or even candy pieces can be used as substitutes.
Pro Kitchen Tricks
- Use a water bath for the cheesecake to ensure it cooks evenly and to prevent cracking. This involves wrapping the springform pan in foil and placing it in a larger pan filled with water to about halfway up the sides of the cheesecake pan.
- For a smoother cheesecake, make sure all your ingredients are at room temperature before mixing. This will help in incorporating air and ensuring a uniform texture.
- Invest in a good quality cake stand or serving plate that can hold the multi-layered dessert securely, making it easier to serve and display.
Storage Tips
- This dessert can be stored in the refrigerator for up to 5 days. It’s best to keep it covered to prevent drying out.
- If you want to freeze it, it’s best to freeze the components separately before assembling. The cake and cheesecake can be frozen for up to 2 months. Thaw overnight in the refrigerator before assembling and serving.
- For reheating, you can let the dessert sit at room temperature for a few hours or gently warm it in the oven at a very low temperature. However, be cautious not to melt the cheesecake or make the cake soggy.
Gift Packaging Ideas
This dessert makes a fantastic gift, especially for birthdays or special occasions. Consider placing a slice or two in a decorative tin or airtight container, wrapped with a ribbon and a gift tag. For a more rustic look, you can wrap slices individually in parchment paper and tie with twine. Don’t forget to include a card with reheating instructions to ensure the recipient enjoys it at its best.
Flavor Variations
- Different spices: Try adding a pinch of cinnamon or nutmeg to the cake batter for an extra depth of flavor.
- Creative toppings: Instead of Oreo cookies, you can use different types of cookies, nuts, or even candy pieces to change up the flavor and texture.
- Ingredient swaps: For a gluten-free version, use gluten-free flours. For a vegan version, consider using non-dairy cream cheese and milk alternatives.
Troubleshooting
- Texture problems: If your cheesecake cracks, it might be due to overmixing or overbaking. If your cake is too dense, it could be from overmixing the batter.
- Ingredient replacements: Always try to use the exact ingredients called for in the recipe, but if you need to substitute, do so with similar ingredients. For example, you can use non-dairy milk instead of regular milk.
- Over/undercooking signs: Keep an eye on your desserts while they’re baking. A toothpick inserted into the center of the cake should come out clean, and the cheesecake should be slightly jiggly in the center.
FAQs
- Can I freeze it? Yes, you can freeze the cake and cheesecake separately before assembling. They can be frozen for up to 2 months.
- Is it gluten-free? Not in its traditional form, but you can make it gluten-free by using gluten-free flours and being mindful of the ingredients in the cheesecake and frosting.
- Can I double the recipe? Yes, you can double the recipe, but be sure to adjust the baking time accordingly. It’s also a good idea to use larger pans to accommodate the increased batter and cheesecake mix.
Conclusion
Creating a red velvet cheesecake cake with Oreo cookies is an adventure that combines the best of both worlds – the richness of cheesecake and the moistness of red velvet cake, all tied together with the crunch of Oreo cookies. It’s a dessert that’s sure to impress and satisfy any sweet tooth. Don’t be afraid to experiment with different flavors and textures to make it your own. Whether you’re a seasoned baker or just starting out, this recipe is a must-try for anyone looking to elevate their dessert game. So go ahead, get baking, and enjoy the ooohs and ahhhs as you present this stunning dessert to your loved ones.
red velvet cheesecake cake with oreo cookies
A decadent dessert combining red velvet cake, cheesecake, and Oreo cookies for a unique flavor and texture experience.
🥘 Ingredients
👩🍳 Instructions
-
1Preheat oven to 350°F (180°C). Prepare two 9-inch round cake pans.
-
2Make the red velvet cake according to the recipe and bake until a toothpick inserted comes out clean.
-
3Prepare the cheesecake batter and pour into a 9-inch springform pan. Bake until the edges are set and the center is slightly jiggly.
-
4Assemble the dessert by layering cake, cheesecake, and Oreo cookies, finishing with a layer of cake on top.