What makes the perfect cookie so irresistible? Fresh from the oven, these chewy treats feature rich chocolate chunks and a hint of vanilla, making them a quick and easy family favorite. Save this idea for your next homemade baking session.
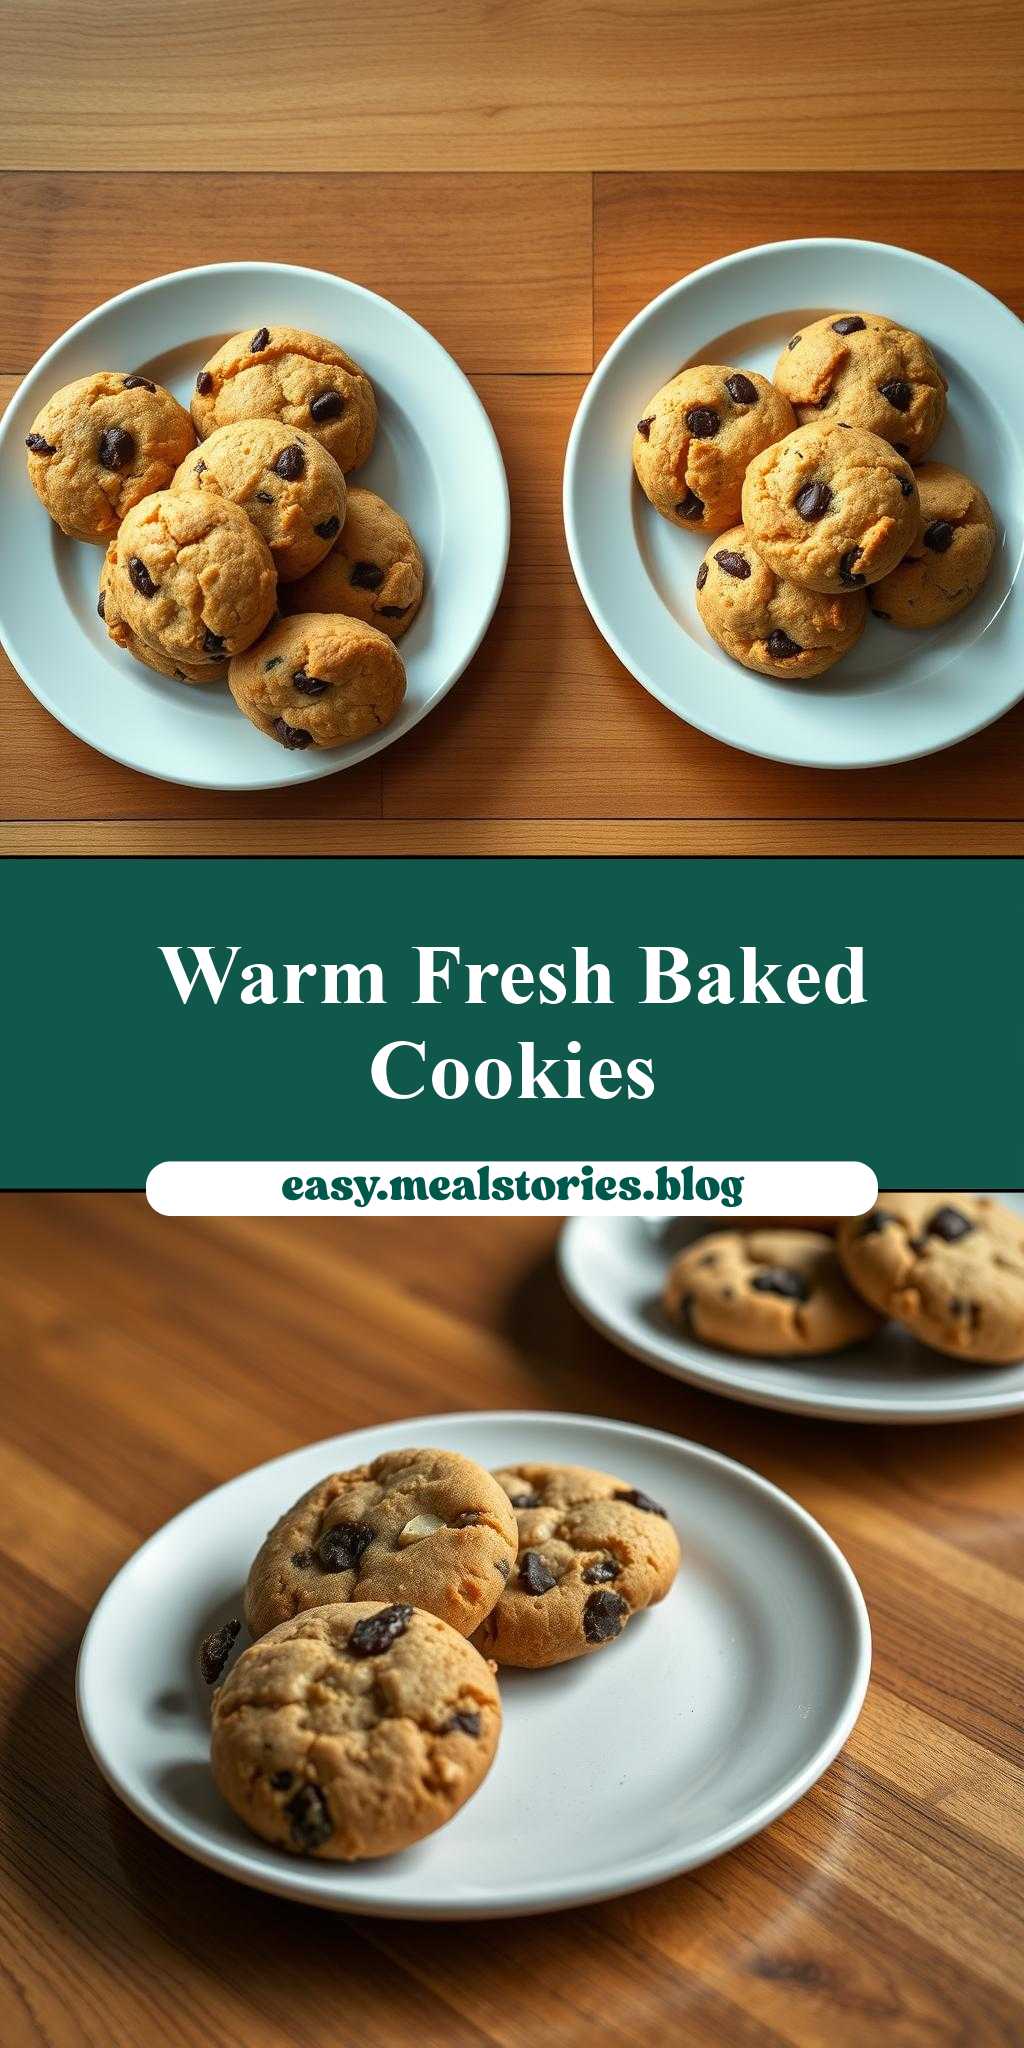
two plates filled with cookies on top of a wooden table
Introduction
Imagine walking into a cozy room filled with the aroma of freshly baked cookies, with two plates filled to the brim with an assortment of crunchy and chewy treats, perfectly arranged on a rustic wooden table. This scene is not only a feast for the eyes but also a delight for the taste buds. The best part? Creating this inviting setup is easier than you think, requiring just a few everyday ingredients and some basic kitchen skills. In this article, we’ll guide you through the process of baking and arranging a variety of cookies that will make your wooden table the centerpiece of any gathering. From classic chocolate chip to innovative flavor combinations, we’ll explore the ease, flavor, and creativity that goes into making these delicious treats.
Why This Works
- Flavor balance and ingredient accessibility: The beauty of baking cookies lies in the simplicity of the ingredients. Most of the items you’ll need are probably already in your pantry, making it easy to get started. Moreover, the variety of flavors you can achieve with just a few ingredients is astounding, from the richness of chocolate to the brightness of citrus.
- Ease of preparation: One of the most appealing aspects of baking cookies is how straightforward the process is. With a basic understanding of mixing, measuring, and timing, you can produce a batch of delicious cookies in no time. This ease of preparation makes it a perfect activity for beginners or for those looking to spend quality time with family and friends.
- Impressive results with minimal effort: The payoff of baking cookies is incredibly high. With minimal effort, you can create a spread that not only tastes amazing but also looks impressive. The act of arranging your freshly baked cookies on a wooden table adds a touch of warmth and hospitality, making it perfect for entertaining guests or simply enjoying a cozy evening at home.
Key Ingredients
The foundation of any great cookie is in its ingredients. For our recipe, we’ll be focusing on a few key components that can be mixed and matched to create a variety of flavors. These include high-quality butter for richness, pure vanilla extract for depth, and of course, a variety of chocolates and nuts for added texture and flavor. Practical substitutions can also be made to accommodate dietary restrictions or preferences, such as using vegan butter or gluten-free flour. The versatility of cookie ingredients is part of what makes baking so enjoyable, allowing you to experiment and find your perfect combination.
Instructions
- Step 1: Begin by preheating your oven to 375°F (190°C). While the oven is warming up, take the time to prepare your ingredients. This includes creaming the butter and sugar, beating in the eggs one at a time, and mixing in your dry ingredients. For those looking to add a personal touch, now is the time to introduce any additional flavors or mix-ins, such as chopped nuts, dried fruits, or even candy pieces.
- Step 2: Once your dough is ready, it’s time to shape your cookies. This can be done using a cookie scoop for uniformity or simply by spooning small amounts of dough onto a baking sheet lined with parchment paper. The size of your cookies will depend on your personal preference, but keep in mind that larger cookies will take longer to bake.
- Step 3: With your cookies shaped and ready, it’s time to bake. Place your baking sheets in the oven and bake for 10-12 minutes, or until the edges are lightly golden. The key to perfect cookies is not to overbake them; you want them to retain a bit of softness in the center. Once done, remove the cookies from the oven and let them cool on the baking sheet for a few minutes before transferring them to a wire rack to cool completely.
- Step 4: The final step is perhaps the most fun – arranging your cookies on the wooden table. This is where you can get creative, grouping similar cookies together or creating a pattern with different types. Consider adding a few decorative elements, like a small vase with fresh flowers or a bowl of creamy icing for dipping, to enhance the visual appeal of your cookie spread.
Handy Tips
- One of the most helpful tips in cookie baking is to keep your ingredients at room temperature. This ensures that your butter creams smoothly and your eggs incorporate evenly, leading to a better texture in your final cookies. Additionally, chilling your dough for at least 30 minutes can help the cookies retain their shape better during baking.
Heat Control
Heat control is crucial when baking cookies. The ideal temperature, as mentioned, is 375°F (190°C), but it’s also important to keep an eye on your cookies as they bake. Different types of cookies will have different signs of doneness, but generally, you’re looking for a light golden color around the edges and a firmness to the touch. For chewier cookies, bake for 8-10 minutes, and for crisper cookies, bake for 12-14 minutes.
Crunch Factor
The crunch factor in cookies can be achieved in several ways. For a crunchier cookie, bake for a few minutes longer than you would for a chewier one. You can also add ingredients like nuts or seeds to introduce texture. On the other hand, if you prefer a softer cookie, take them out of the oven when they’re lightly golden and still slightly soft to the touch. The key is finding the balance that you enjoy the most.
Pro Kitchen Tricks
- One expert tip is to use a combination of white and brown sugar for a richer flavor. Brown sugar contains more moisture than white sugar, which can lead to a chewier cookie. Another trick is to not overmix your dough, as this can lead to tough cookies. Finally, consider using parchment paper or a silicone mat on your baking sheets for easy cleanup and to prevent your cookies from spreading too much.
Storage Tips
- For maximum freshness, store your cookies in an airtight container at room temperature. If you won’t be consuming them within a few days, consider freezing them. Cookies can be frozen for up to 2 months and thawed at room temperature when you’re ready to serve. For reheating, simply place the cookies in a low-temperature oven (around 200°F or 90°C) for a few minutes until warmed through.
Gift Packaging Ideas
If you’re looking to gift your cookies, there are several charming ways to package them. Consider using decorative jars or tins, filling them with a variety of cookies and topping them with a ribbon or gift tag. Another idea is to wrap individual cookies in plastic wrap or wax paper and place them in a gift basket filled with other sweet treats. For a more rustic look, use brown paper bags and twine to create a homespun feel.
Flavor Variations
- Different spices: Introduce warmth with cinnamon, nutmeg, or cardamom for a unique twist on traditional cookie flavors.
- Creative toppings: Add a sprinkle of sea salt, a drizzle of honey, or a handful of chopped nuts to the top of your cookies before baking for added texture and flavor.
- Ingredient swaps: Substitute peanut butter for butter for a nutty flavor, or use oats instead of all-purpose flour for a slightly healthier cookie.
Troubleshooting
- Texture problems: If your cookies are too hard, they may have been overbaked. If they’re too soft, they may not have been baked long enough. Adjust your baking time accordingly for the next batch.
- Ingredient replacements: If you’re out of a certain ingredient, don’t be afraid to get creative with substitutions. Just remember that each substitution may slightly alter the final flavor and texture of your cookies.
- Over/undercooking signs: Keep an eye on your cookies as they bake. If they’re lightly golden around the edges, they’re likely done. If they’re too dark, they may be overcooked.
FAQs
- Can I freeze it? Yes, cookies can be frozen for up to 2 months. Simply place them in an airtight container or freezer bag and thaw at room temperature when you’re ready to serve.
- Is it gluten-free? Depending on the type of flour used, cookies can be made gluten-free. Simply substitute all-purpose flour with a gluten-free flour blend.
- Can I double the recipe? Yes, the recipe can be doubled or even tripled if you’re baking for a large crowd. Just keep in mind that you may need to adjust the baking time slightly for larger batches.
Conclusion
Creating a beautiful and delicious spread of cookies on a wooden table is a simple yet impressive way to entertain or simply enjoy some quality time at home. With the ease of preparation, the variety of flavors you can achieve, and the joy of sharing with others, baking cookies is an activity that never gets old. Whether you’re a seasoned baker or just starting out, we encourage you to experiment with different ingredients and techniques to find your perfect cookie. And don’t forget to share your creations with friends and family – after all, the joy of baking is often in the giving. So go ahead, get baking, and make your wooden table the centerpiece of warmth and hospitality in your home.
two plates filled with cookies on top of a wooden table
A delicious and visually appealing spread of assorted cookies arranged on a wooden table, perfect for entertaining or cozy evenings at home.
🥘 Ingredients
👩🍳 Instructions
-
1Preheat oven to 375°F (190°C).
-
2Prepare ingredients, including creaming butter and sugar, beating in eggs, and mixing in dry ingredients.
-
3Shape cookies using a cookie scoop or spoon, placing them on a baking sheet lined with parchment paper.
-
4Bake for 10-12 minutes or until lightly golden, then cool on the baking sheet before transferring to a wire rack to cool completely.
-
5Arrange cooled cookies on a wooden table, optionally adding decorative elements like fresh flowers or a bowl of icing for a charming presentation.